How to Enhance AI-Generated Videos Before Posting
AI video generators can create an impressive scene in seconds, but the first result is not always ready to publish. Fine textures may look soft, fast motion can reveal compression, and faces or objects may change from one frame to the next.
The best way to enhance AI-generated video is to treat enhancement as the final stage of production, not as a cure for every generation mistake. First identify what is wrong. Regenerate structural errors, then use an AI video enhancer for fixable quality issues such as softness, noise, weak detail, or mild compression.
This guide explains a practical workflow for preparing short AI-generated clips for social posts, presentations, product pages, ads, and creative projects.
Quick Answer: How Do You Enhance an AI-Generated Video?
To enhance AI-generated video efficiently, use this sequence:
- Export the highest-quality original clip.
- Review faces, hands, text, objects, edges, and motion.
- Regenerate any scene with structural or continuity errors.
- Use an AI video enhancer to improve softness, noise, and compression.
- Select 1080p for efficient everyday publishing or 2K when extra detail is useful.
- Compare the enhanced result with the source at full size.
- Edit and compress only once before uploading.
Enhancement works best when the original scene is fundamentally correct. It can clarify usable detail, but it cannot reliably reconstruct a missing object, correct nonsensical text, or make an inconsistent character identical across every frame.
Why AI-Generated Videos Often Need Post-Processing
Video generation models must create many related frames while maintaining motion, lighting, composition, and subject identity. That is more demanding than generating a single image.
As a result, otherwise attractive clips may contain several small quality problems.
Soft or Low-Resolution Detail
Hair, fabric, skin texture, leaves, product surfaces, and background architecture can look softer than expected. Enlarging the player may make this more obvious.
Compression Around Motion
Fast-moving subjects, water, smoke, particles, and camera movement may produce blockiness or smeared edges. Repeated downloads and re-exports can make these artifacts worse.
Frame-to-Frame Inconsistency
A face, hand, logo-like mark, or object may subtly change during the clip. Enhancement can make each frame clearer, but it does not necessarily solve temporal inconsistency.
Unreadable Generated Text
AI-generated signs, labels, interfaces, and packaging text may contain malformed characters. Sharpening usually makes the incorrect text more visible rather than correcting it.
High-resolution AI workflows increasingly treat upscaling as a separate post-generation stage. For example, Google Cloud documents Veo video upscaling as a dedicated capability rather than expecting one generation pass to do everything: Google Cloud's official Veo upscaling announcement.
What an AI Video Enhancer Can and Cannot Fix
Before processing a clip, classify the problem. This prevents wasted enhancement attempts and unrealistic expectations.
| Video problem | Best next step | Why |
|---|---|---|
| Slight softness | Enhance | Detail recovery and sharpening may improve perceived clarity. |
| Mild compression blocks | Enhance | Noise and artifact reduction can clean up the image. |
| Low output resolution | Enhance or upscale | A higher-resolution export can improve display quality. |
| Moderate sensor-like noise or grain | Enhance | Denoising can produce a cleaner frame. |
| Incorrect hands or duplicated objects | Regenerate | These are structural generation errors. |
| Face changes between frames | Regenerate or re-edit | Sharpening does not restore identity consistency. |
| Garbled text | Replace in an editor | Upscaling cannot infer the intended wording reliably. |
| Severe motion blur | Regenerate if possible | Important detail may not exist in the source frames. |
| Choppy movement | Regenerate or use frame tools | Resolution enhancement does not repair the motion path. |
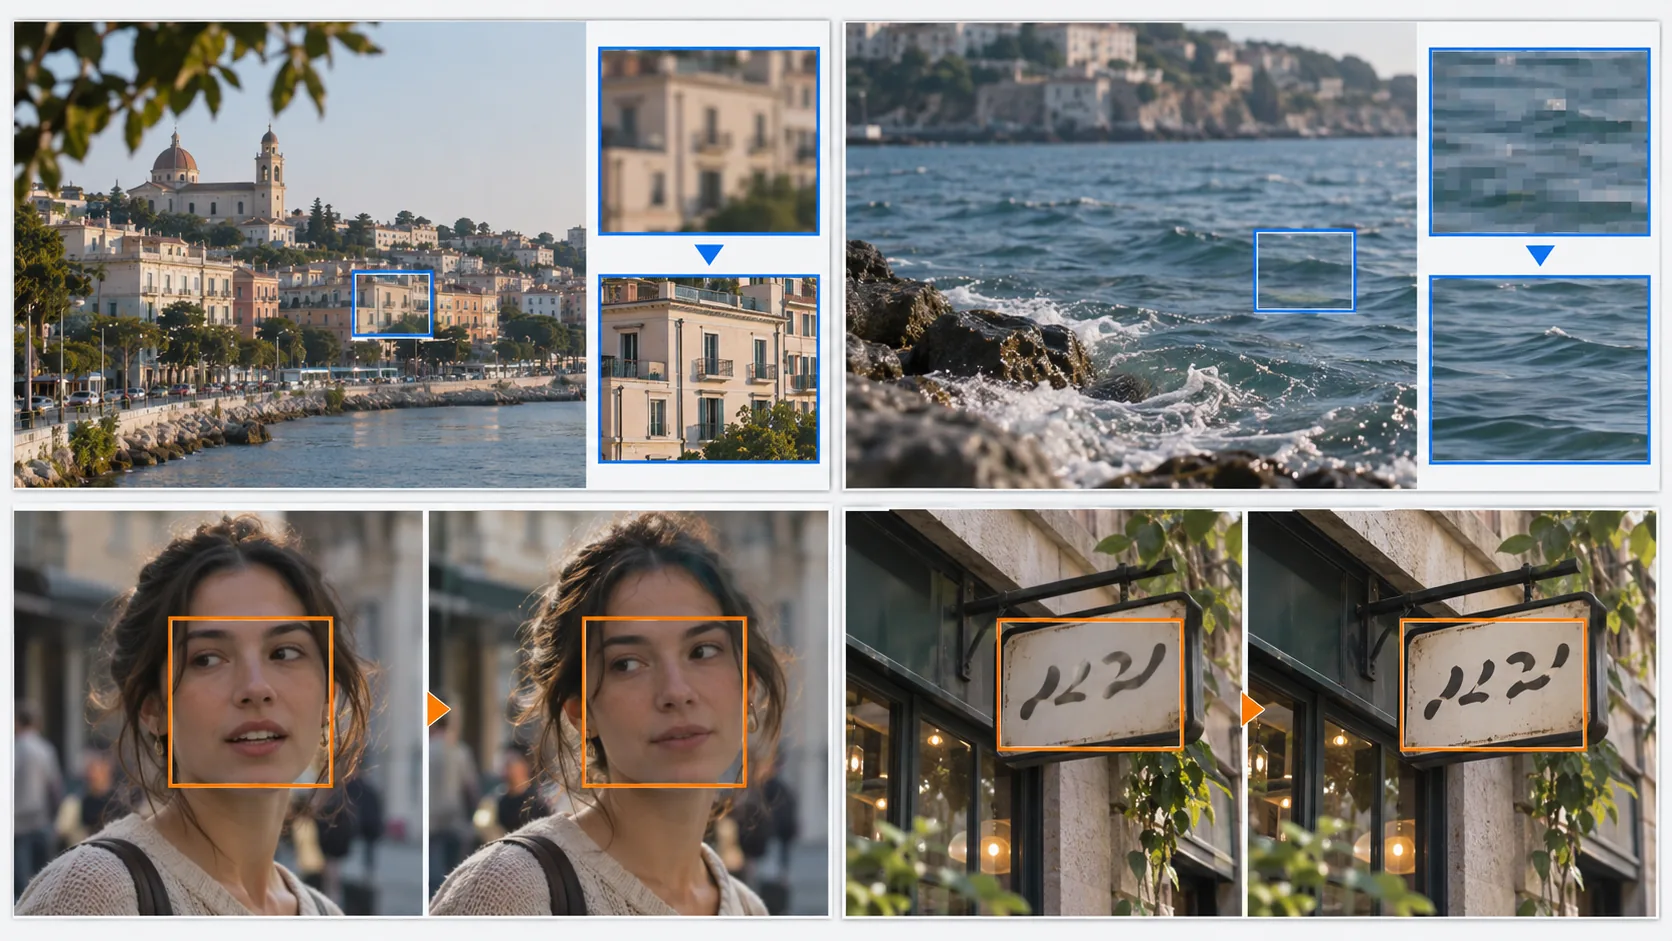
The practical rule is simple: enhance quality; regenerate meaning and structure.
How to Enhance AI-Generated Video Step by Step
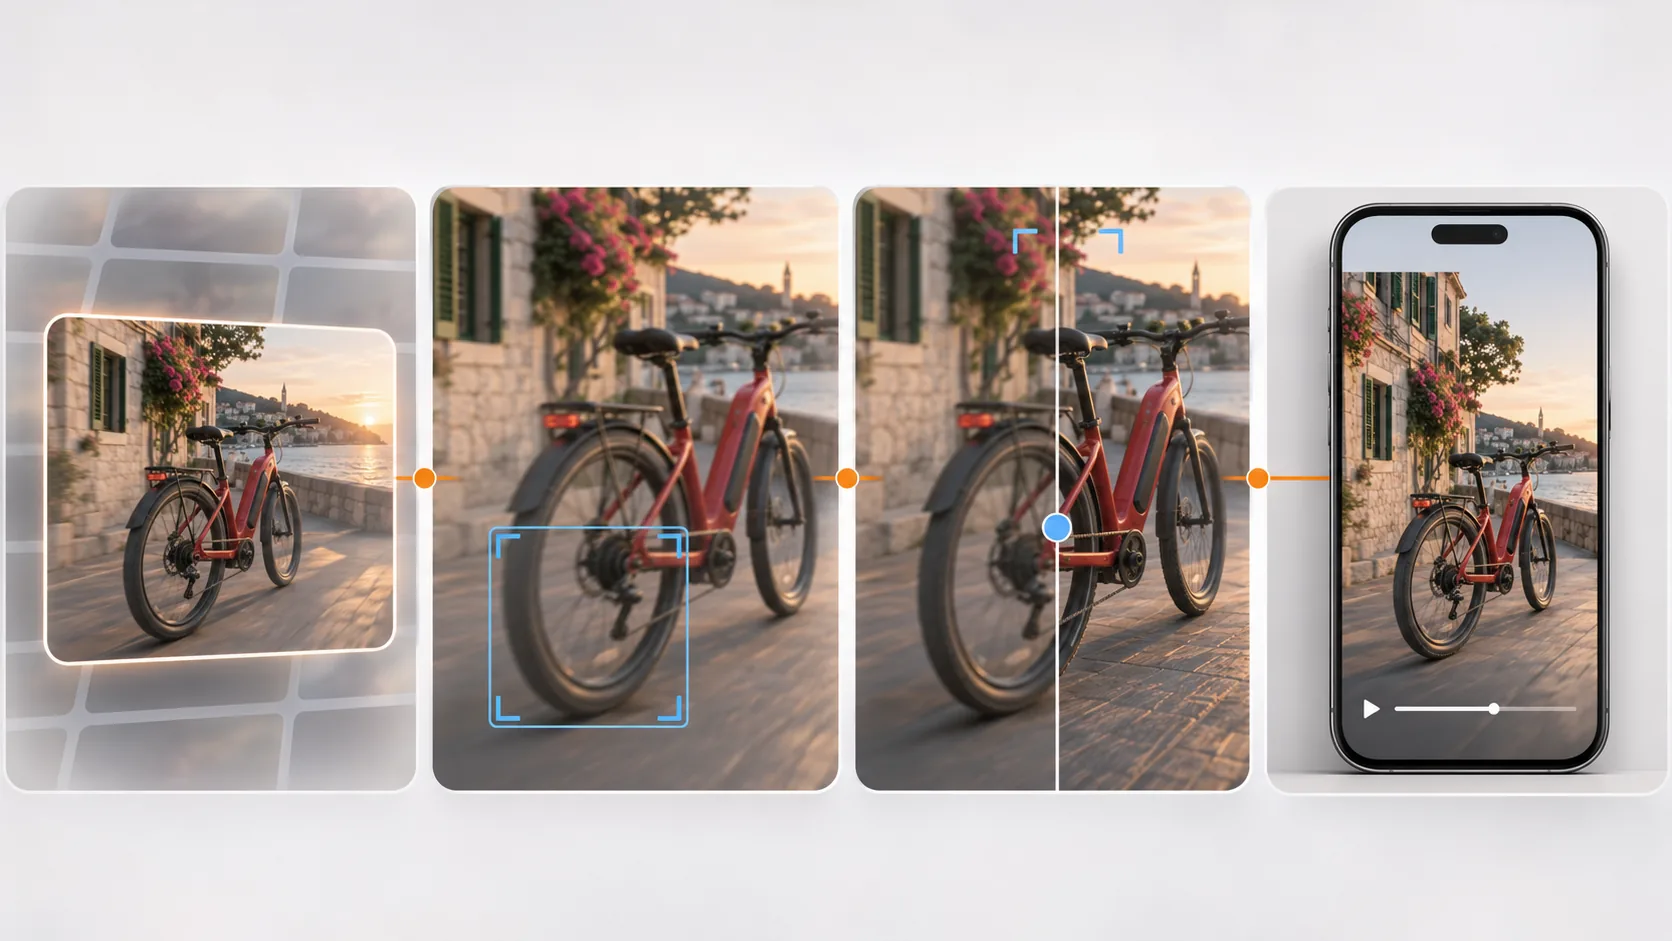
1. Start With the Best Available Source
Download the original output directly from the video generator. Avoid screen recordings, clips forwarded through messaging apps, or files downloaded from a social platform.
Every additional compression step removes information. If your generator offers multiple quality settings, choose the highest-quality source you can reasonably process, even when the final social upload will be smaller.
Keep this original file unchanged. It gives you a clean point of comparison and lets you repeat the workflow with different settings later.
2. Inspect the Clip Before Enhancing It
Watch the video once at normal speed and once frame by frame. Check the areas viewers notice first:
- Faces, eyes, hair, and hands
- Product shapes and surface details
- Text, signs, labels, and interfaces
- Straight edges and repeating patterns
- Fast movement and camera pans
- Background objects entering or leaving the frame
- Light flicker and sudden color shifts
If the story, anatomy, object shape, or movement is wrong, return to the generator or editing stage. Do not spend time sharpening a clip that needs to be rebuilt.
3. Choose a Clear Enhancement Goal
Do not process a clip simply because a higher number sounds better. Decide what the finished video needs.
Common goals include:
- Make a soft clip look cleaner on a phone or laptop
- Reduce visible compression around movement
- Prepare an AI scene for a vertical social edit
- Improve texture in a product or environment shot
- Create a larger source for cropping and reframing
- Clean a short clip before adding captions or graphics
A specific goal makes it easier to choose between 1080p and 2K and to judge whether the result is genuinely better.
4. Upload the Clip to EzEnhancer
Open the online AI Video Enhancer and upload your original MP4, MOV, or M4V file. EzEnhancer processes the video in the browser workflow without requiring desktop software.
EzEnhancer is designed for short clips. The maximum duration depends on the output resolution: up to 90 seconds at 1080p or 60 seconds at 2K. The full supported clip is processed without automatic trimming. If your video exceeds the limit, split it into logical shots before enhancement and reassemble them afterward.
5. Choose 1080p or 2K Output
Select the output according to the destination and the source, not just the maximum available setting.
| Choose 1080p when... | Choose 2K when... |
|---|---|
| The video is mainly for social feeds or presentations. | The scene contains fine architecture, products, landscapes, or texture. |
| You want a smaller, faster file. | You plan to crop or reframe the clip later. |
| The source is already reasonably clear. | The source needs additional display detail. |
| Viewers will mostly watch on phones. | The clip may be viewed on larger screens. |
| Faster processing matters more than extra pixels. | Preserving more detail matters more than file size. |
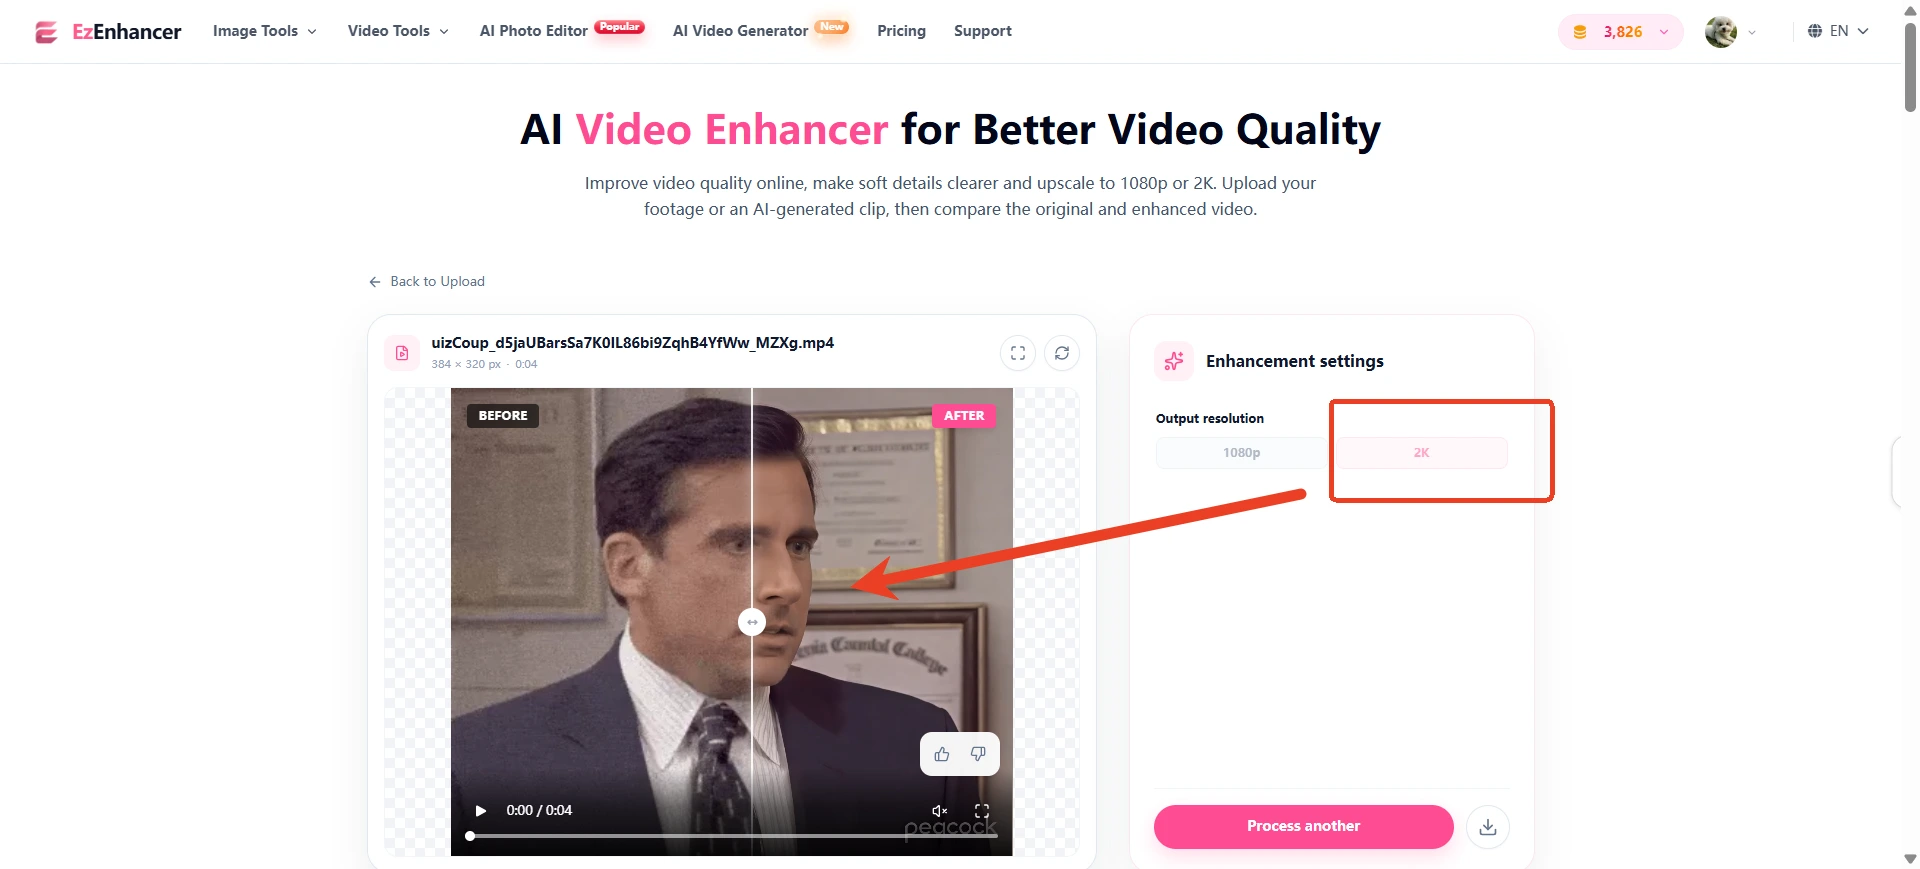
Increasing resolution does not guarantee a better image. A clean 1080p export can look more professional than an over-sharpened 2K file.
6. Process and Compare the Result
After selecting the resolution, start the enhancement and let the tool process the clip. Then use the before-and-after comparison to inspect the actual change rather than relying on the output label.
Compare the source and enhanced clips in motion. Watch the subject's fine texture and the edges of nearby objects through the whole sequence, rather than judging a single paused frame.
| Source clip | Enhanced clip |
|---|---|
 |  |
Check whether:
- Edges look clearer without bright halos
- Skin and organic textures still look natural
- Background noise has decreased
- Fine patterns remain stable during motion
- Faces and objects have not acquired artificial details
- Color and contrast still match the original creative intent
Compare at full size and replay difficult sections. A good enhancement should look cleaner without calling attention to the processing.
7. Run a Final Frame-Level Quality Check
To enhance AI-generated video responsibly, review the processed file as carefully as the original. Greater clarity can reveal defects that were less visible in the softer source.
Pause on scene changes and fast movement. Look for flicker, crawling texture, ringing around edges, over-sharpened skin, or newly emphasized generation errors. If the enhanced result looks unnatural, return to 1080p or use the cleaner original.
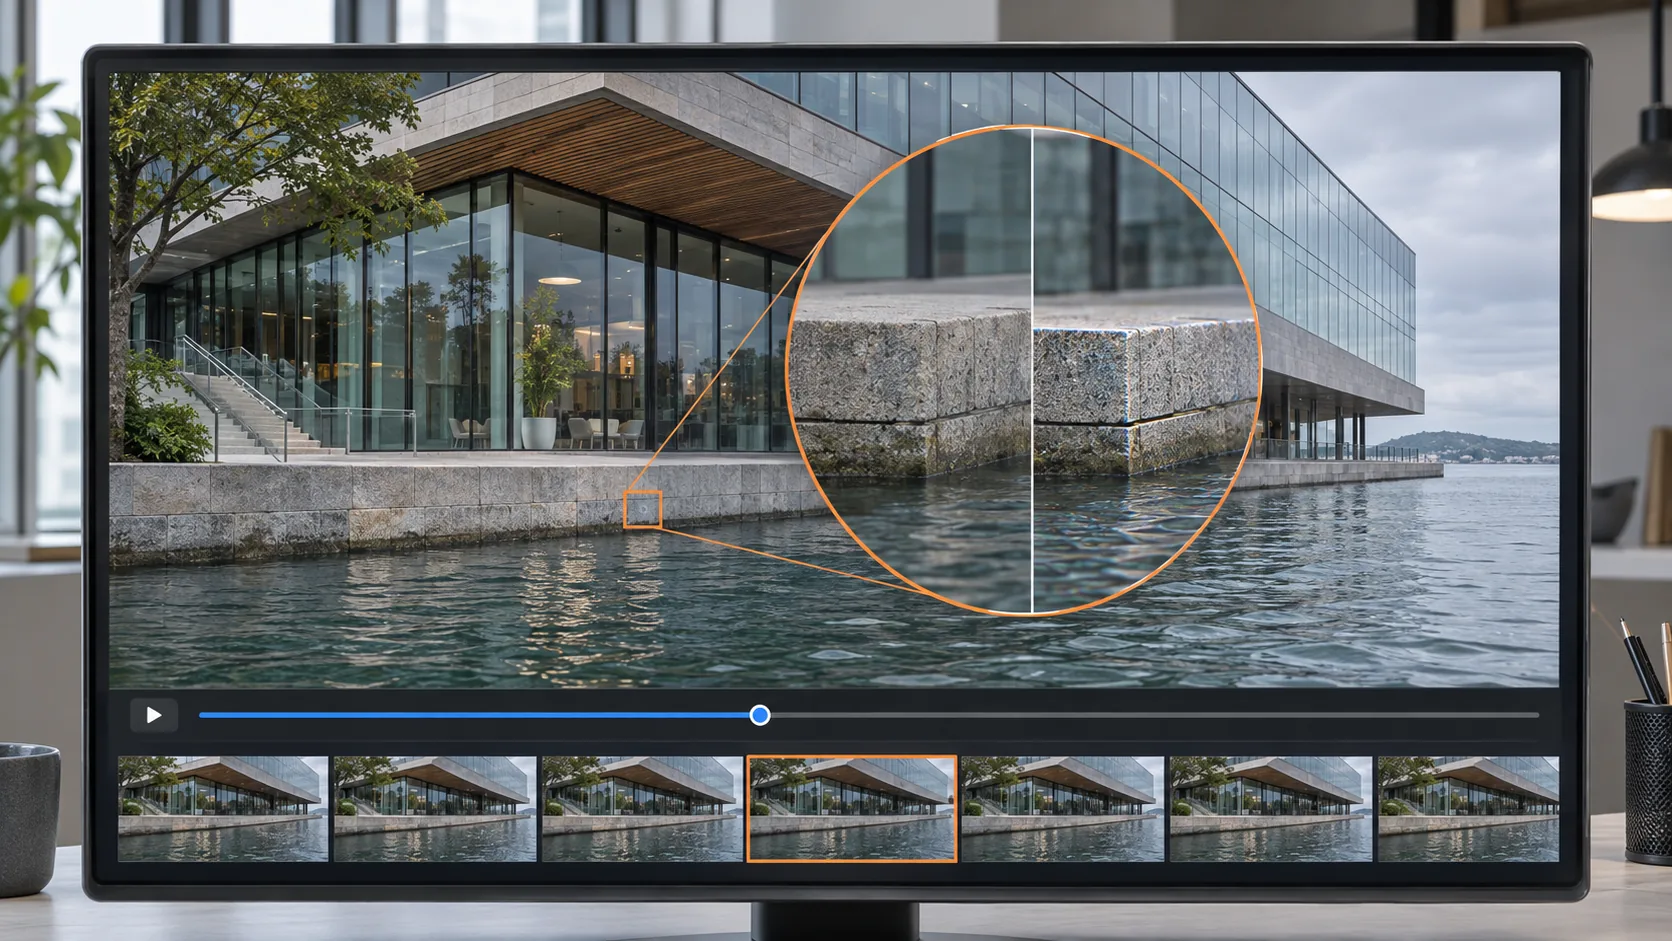
Do not assume the largest output is automatically the best output.
8. Edit Once, Then Export Once
Add captions, music, transitions, or brand graphics after the visual enhancement stage. This gives your editor the cleanest practical source.
Avoid repeated export cycles. Each lossy encode can reduce detail and create new artifacts. Keep one editable master file, then make platform-specific exports from that master.
For YouTube, follow the platform's recommended upload encoding settings, including maintaining the native frame rate and using a supported container and codec. Other platforms may recompress uploads, so always inspect the published version as well as the local file.
1080p vs 2K for AI-Generated Videos
When you enhance AI-generated video, the right resolution depends on how the clip will be used.
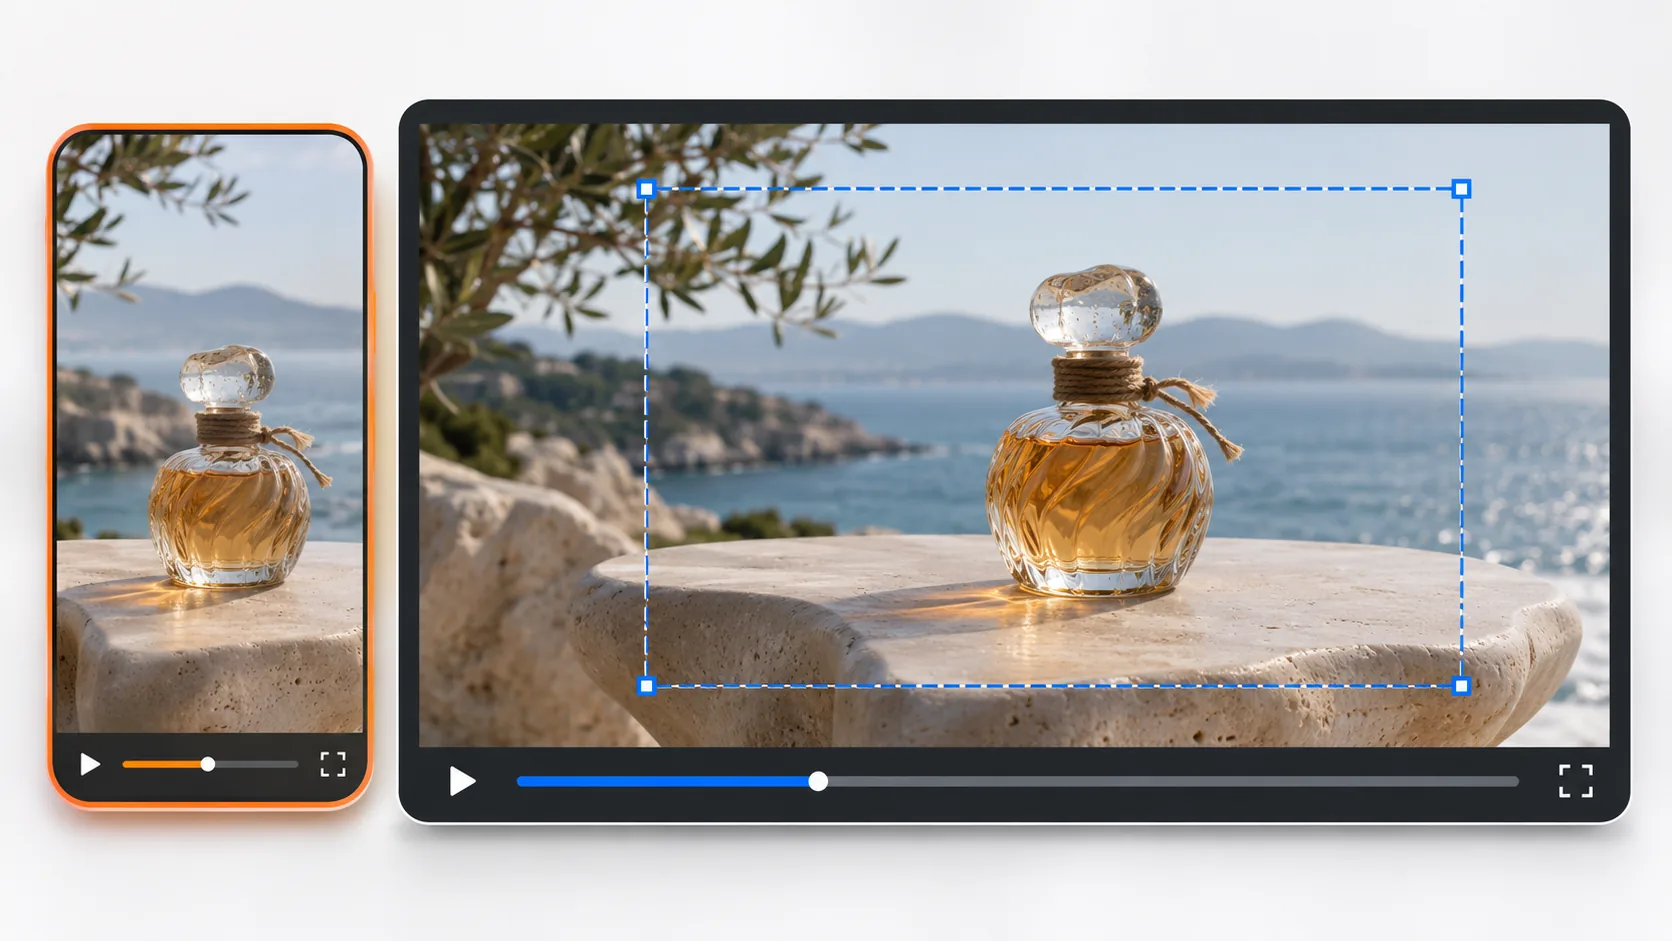
Social Posts and Short Vertical Videos
1080p is usually the practical starting point. It keeps files manageable and provides sufficient detail for phone-based viewing. Enhancement is most useful when it cleans the source before captions, crops, or platform compression are applied.
Product, Architecture, and Landscape Scenes
2K can preserve more visible texture in scenes containing small details. It also provides more flexibility when you need to crop a horizontal generation into a vertical or square layout.
Presentations and Website Embeds
Match the output to the actual display size. A large file may add loading time without improving the viewing experience. If the embedded player is relatively small, a clean 1080p version may be the better choice.
Editing and Reframing
Use 2K when the video will undergo additional cropping, stabilization, or layout changes. The extra pixels give the editor more room, but they do not replace careful generation or quality control.
Common Mistakes When Enhancing AI Video
Trying to Repair a Bad Generation
Enhancement cannot correct a broken action, missing limb, changing character, or impossible object. Regenerate these scenes before upscaling.
Enhancing a Social-Media Download
A downloaded post has already been compressed. Whenever possible, work from the original file produced by the generator.
Choosing the Highest Resolution Every Time
Higher resolution may increase processing time and make artifacts more visible. Test a representative clip and compare 1080p with 2K.
Judging Only a Single Frame
A still image can look excellent while the moving clip contains flicker or unstable texture. Always inspect motion, transitions, and repeated patterns.
Applying Too Many Processing Stages
Multiple sharpeners, denoisers, editors, and exports can create plastic surfaces and harsh edges. Use the fewest stages needed to reach a clean result.
Ignoring the Final Platform Upload
The local export is not the final viewer experience. Upload a private or draft version, then inspect it on the devices your audience commonly uses.
How EzEnhancer Fits Into the Workflow
EzEnhancer works best as the quality-control bridge when you enhance AI-generated video between generation and final editing.
| Production stage | EzEnhancer resource | Practical use |
|---|---|---|
| Create a short source clip | AI Video Generator | Turn a prompt or image into a draft video. |
| Improve usable source footage | browser-based video quality enhancer | Clean and enlarge an AI-generated or recorded short clip. |
| Check recent tool additions | EzEnhancer product updates | Confirm newly released generation and enhancement options. |
| Plan higher-volume processing | EzEnhancer plans and credits | Compare account limits before processing multiple clips. |
The important point is sequencing: generate the scene, remove structural errors, enhance the usable version, then add final edits and publish.
Pre-Publish Checklist
Before uploading, confirm that:
- You used the original source file
- The scene contains no major structural generation errors
- Faces, hands, text, and objects remain consistent
- The selected resolution matches the destination
- Sharpening looks natural at full size
- Motion does not reveal flicker or crawling texture
- Captions and overlays remain inside platform-safe areas
- The final file plays correctly from beginning to end
- You saved an untouched original and a clean master export
- You checked a draft upload after platform compression
Frequently Asked Questions
Can AI make a generated video clearer?
Yes. An AI video enhancer can improve perceived clarity, reduce mild noise or compression, and upscale a usable clip. Results depend on the source. It cannot reliably correct malformed objects, identity changes, unreadable generated text, or severe missing detail.
Should I enhance AI-generated video before or after editing?
Enhance the clean source before adding captions, transitions, or graphics. Then complete the creative edit and export once. This gives the editor a better source and avoids sharpening text or interface overlays unnecessarily.
Is 1080p or 2K better for AI video?
Choose 1080p for efficient social publishing, presentations, and smaller screens. Choose 2K when the scene contains fine detail, will be cropped, or may appear on a larger display. Always compare the actual result instead of selecting 2K automatically.
Can an AI video enhancer fix blurry motion?
It may improve mild softness or compression around motion, but it cannot reliably reconstruct detail lost to severe motion blur. If an important subject is heavily blurred or deformed, regenerating the shot is usually safer.
Can upscaling fix changing faces in AI video?
No. Upscaling may make a face clearer in individual frames, but it does not guarantee identity consistency over time. Regenerate or re-edit clips where facial structure changes between frames.
How can I enhance AI-generated video online?
Upload the original short clip to an online AI video enhancer, select an appropriate output such as 1080p or 2K, process the file, and compare the result with the source. Keep the version that improves clarity without introducing harsh edges or artificial texture.
Final Takeaway
The most reliable way to enhance AI-generated video is to use the right tool for the right problem. Regenerate errors in meaning, anatomy, movement, or continuity. Use enhancement for softness, mild noise, compression, and resolution.
Start with the highest-quality source, choose 1080p or 2K based on the destination, compare the actual frames, and export only once after editing. That workflow produces a cleaner video without exaggerating the weaknesses of the original generation.
Best Photo Enhancer in 2026 | Top AI Tools Compared
Discover the best app for photo enhancing in 2026. Compare EzEnhancer AI, Remini, Photoshop, Topaz, Lightroom, and more with detailed reviews.
EzEnhancer vs Remini: The Better Choice for Photo AI Enhance
Compare EzEnhancer and Remini for photo enhancement, upscaling, blur removal, portrait restoration, and image quality to find the best tool.