
1
Step 1
Upload the Original Image
Choose a JPG, PNG, or WebP image up to 18 MB. Keep enough surrounding context visible around the area you plan to change.

Enhance photo quality and clarity

Restore old photos and recover details

Upscale images to 4K resolution

Remove blur and restore sharpness
Enhance image clarity with AI super resolution

Sharpen blurry text in images and screenshots
Edit and enhance photos with advanced tools
Remove backgrounds and replace with custom colors

Remove unwanted objects and distractions

Replace selected image areas with a text prompt
Remove glare and enhance contrast in images

Transform black & white photos into vibrant color images

Colorize photos, manga, sketches, and artwork with guided colors

Apply artistic styles and filters to your photos
Paint the part of an image you want to change, describe the replacement or guide it with a reference image, and let AI use that selection as the target when generating the edited image. Precise mask, prompt or reference-guided replacement.
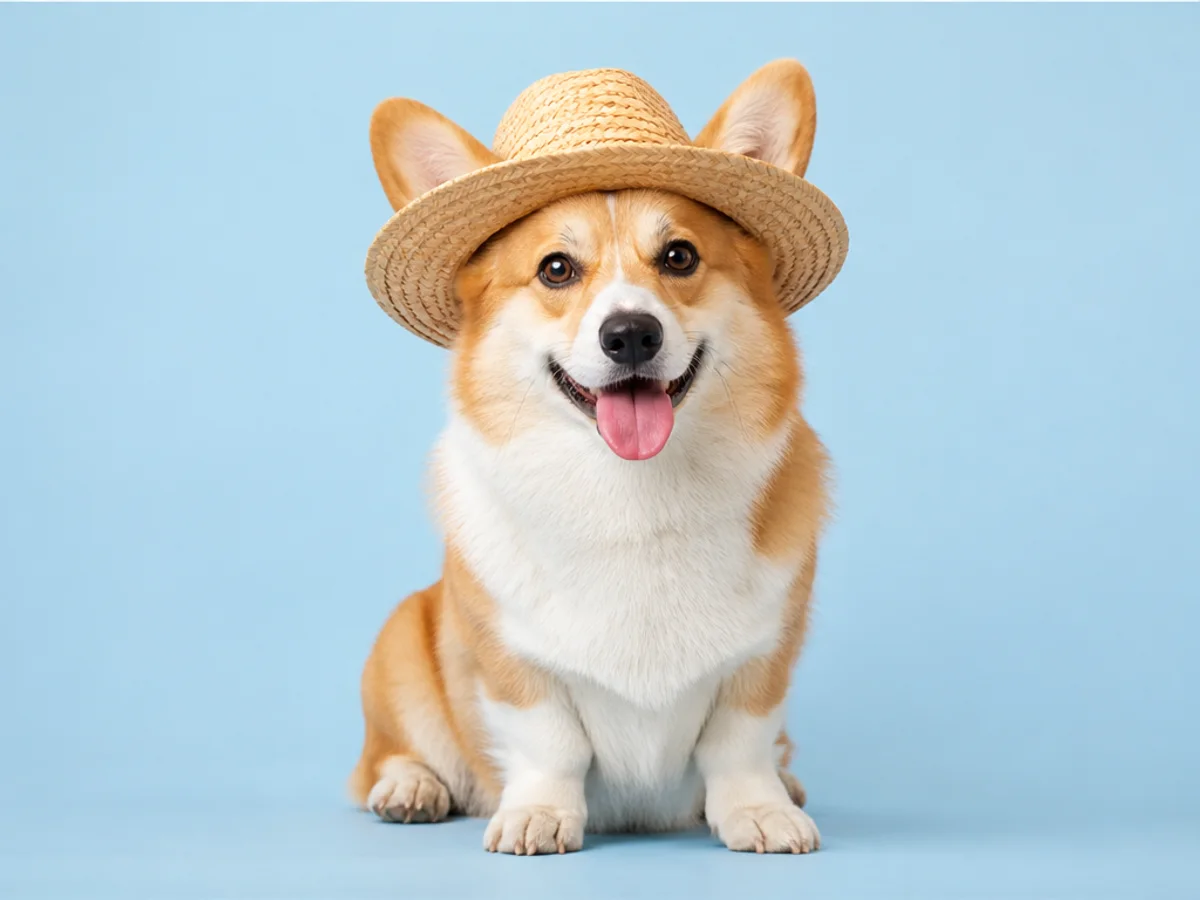
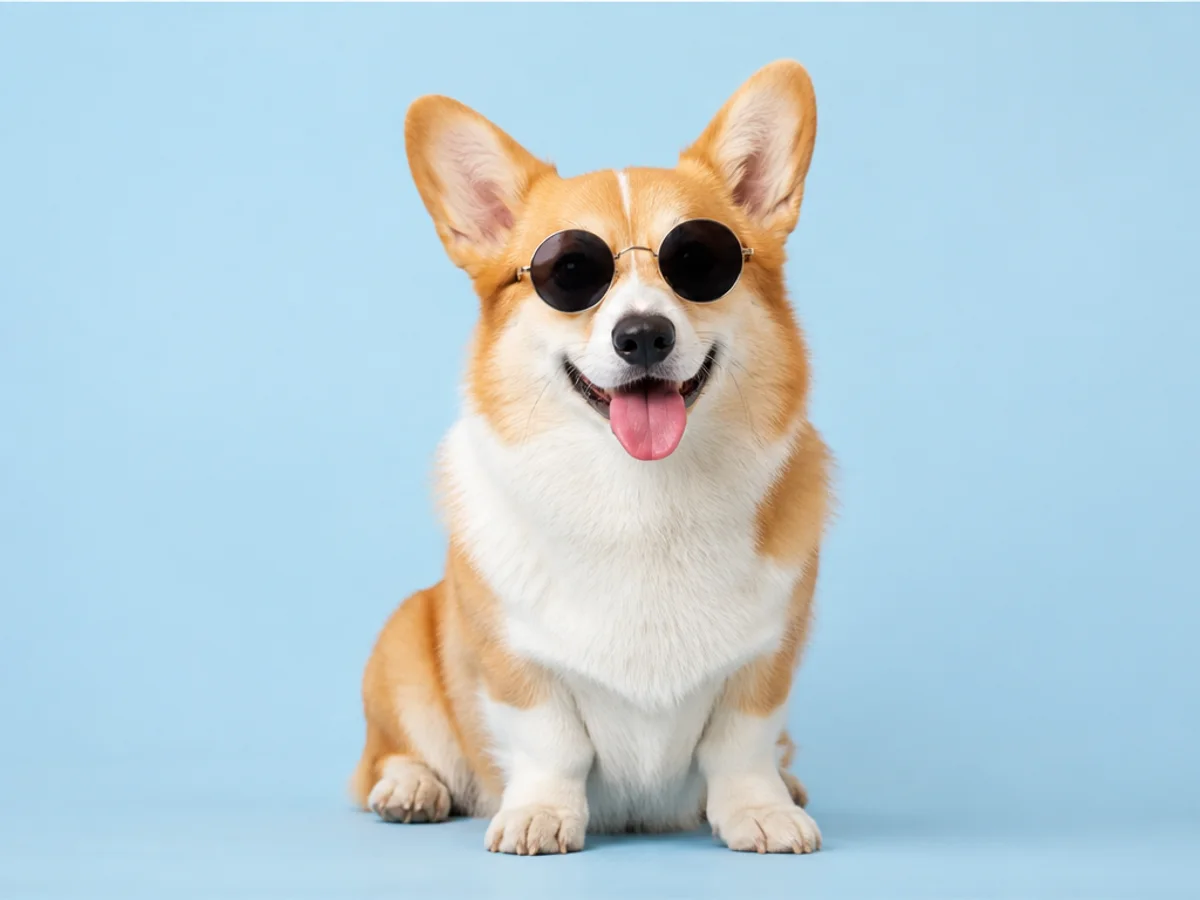
A focused selection and a concrete prompt help the replacement match the original scale, perspective, and lighting.
Choose a JPG, PNG, or WebP image up to 18 MB. Keep enough surrounding context visible around the area you plan to change.
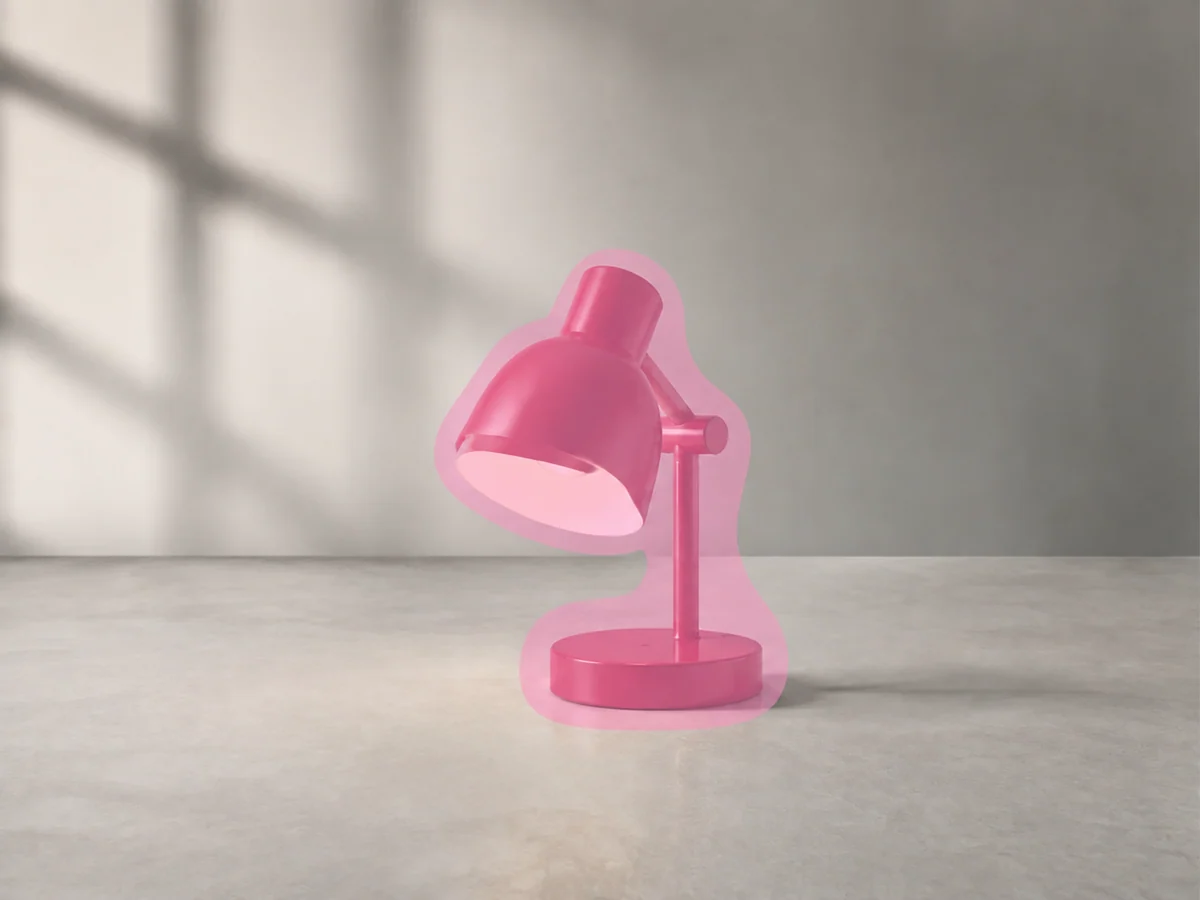
Brush over only the complete object or region that should change. Include its outer edge while preserving nearby surfaces and structural lines.
Enter a direct text prompt, or choose GPT Image 2 reference mode and upload a visual reference. Select the output quality, generate the edit, and compare it with the original.
See how a focused mask, text prompt, or reference image can replace one object while retaining the surrounding composition, perspective, textures, and light.



Built for photographers, designers, and product content creators
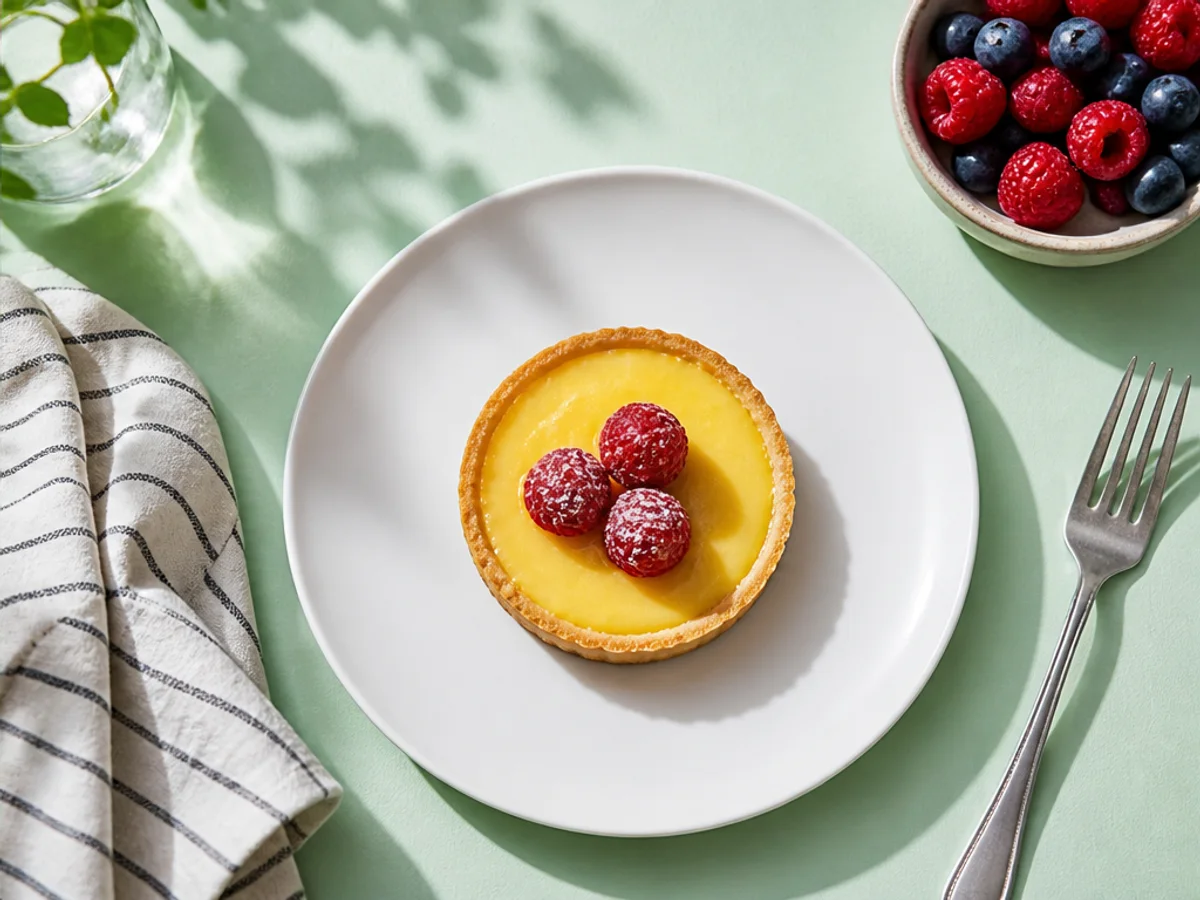
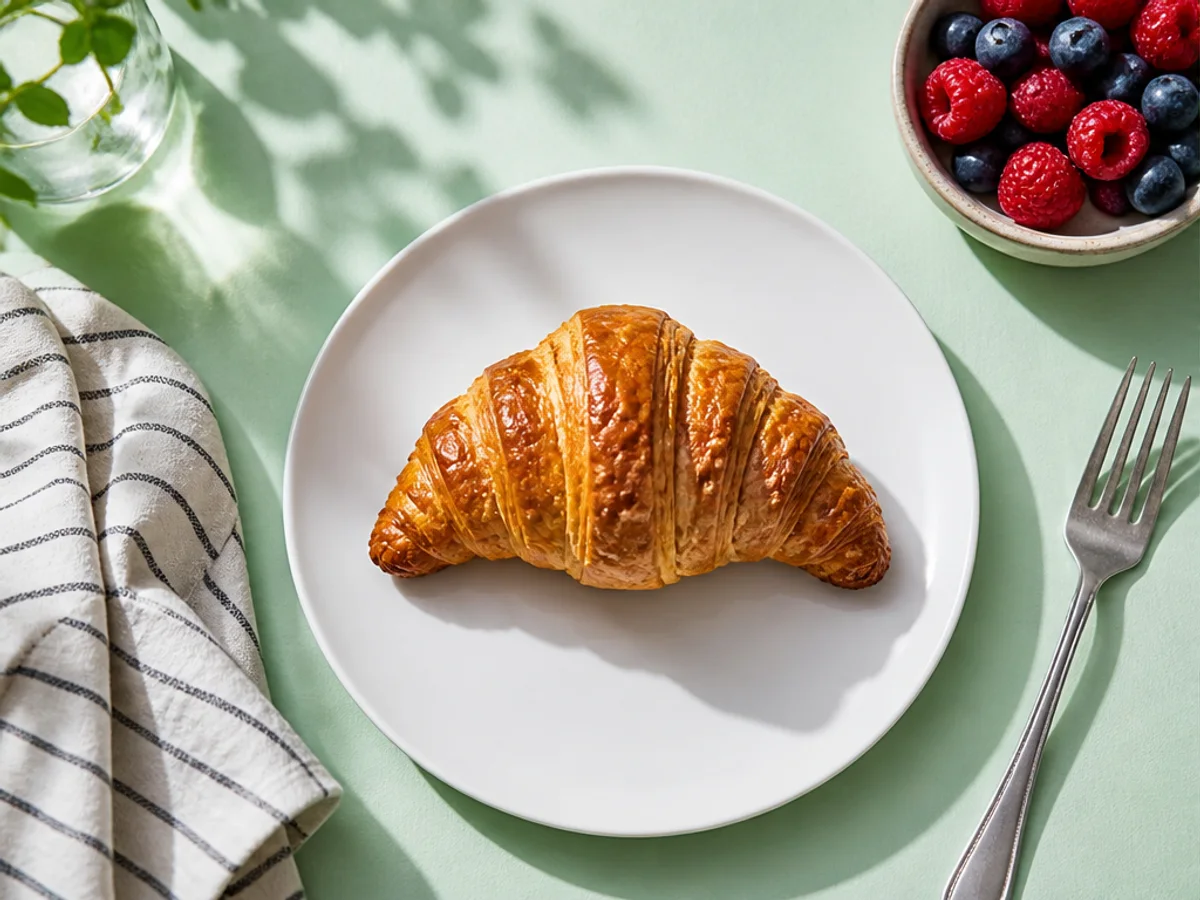
A croissant becomes a lemon tart while the plate, napkin, berries, table color, overhead framing, and natural shadows remain consistent.
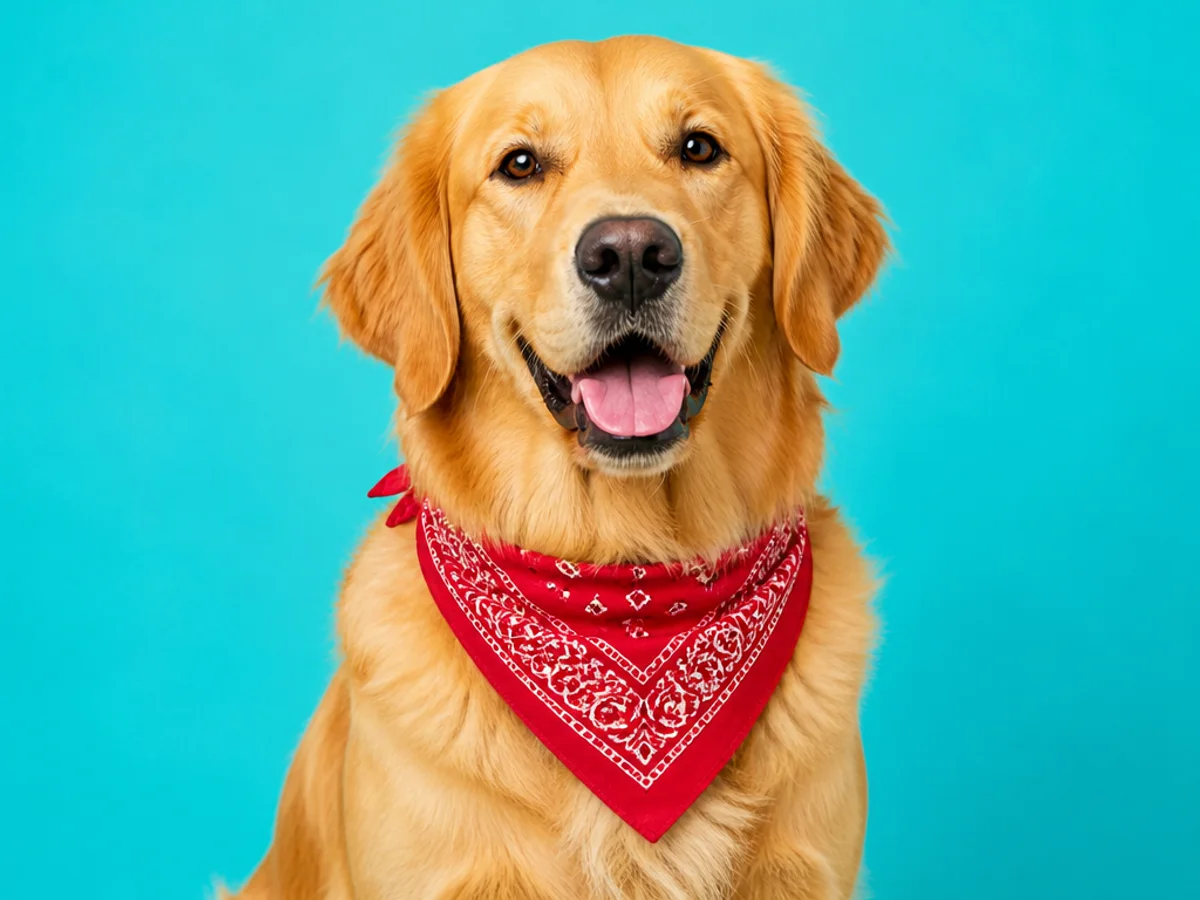
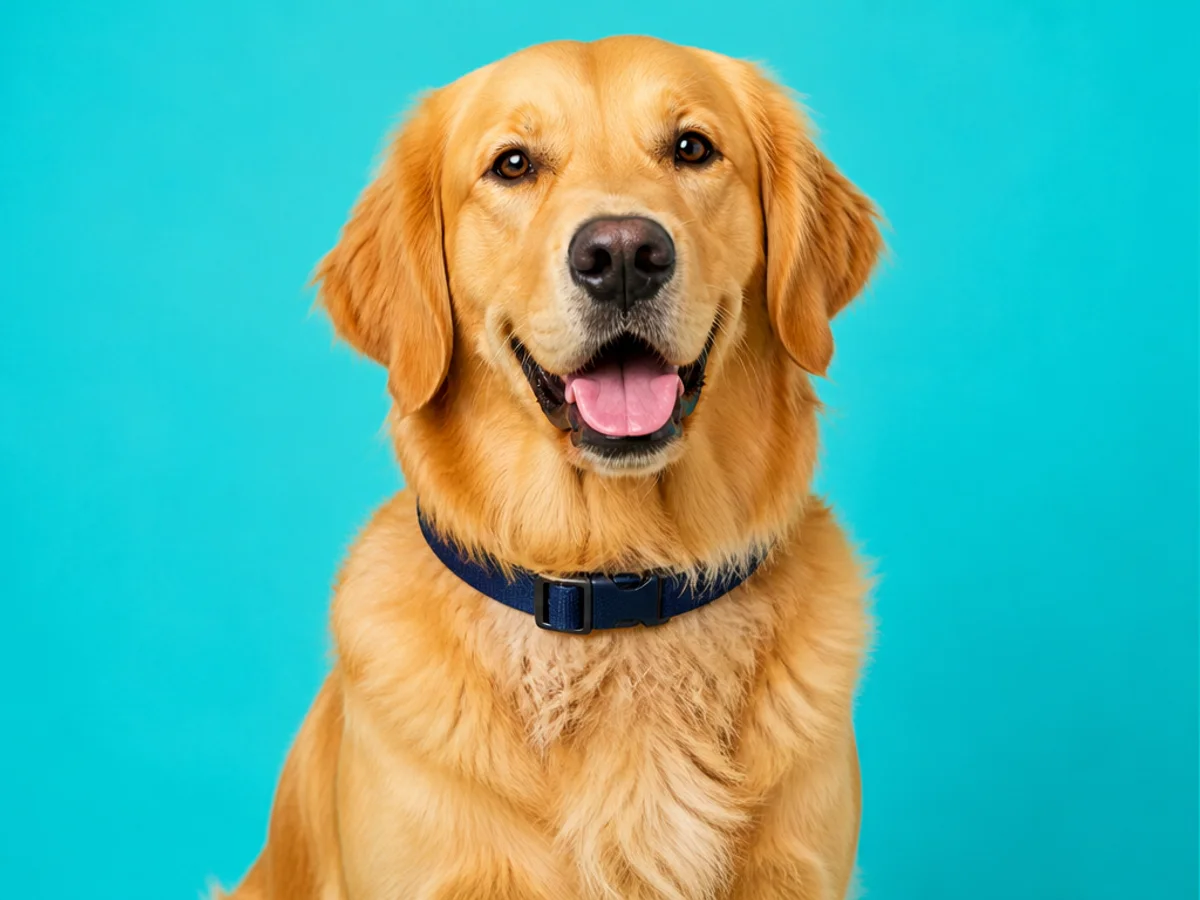
A navy collar changes into a red bandana while the retriever's face, fur, pose, studio background, and lighting stay intact.
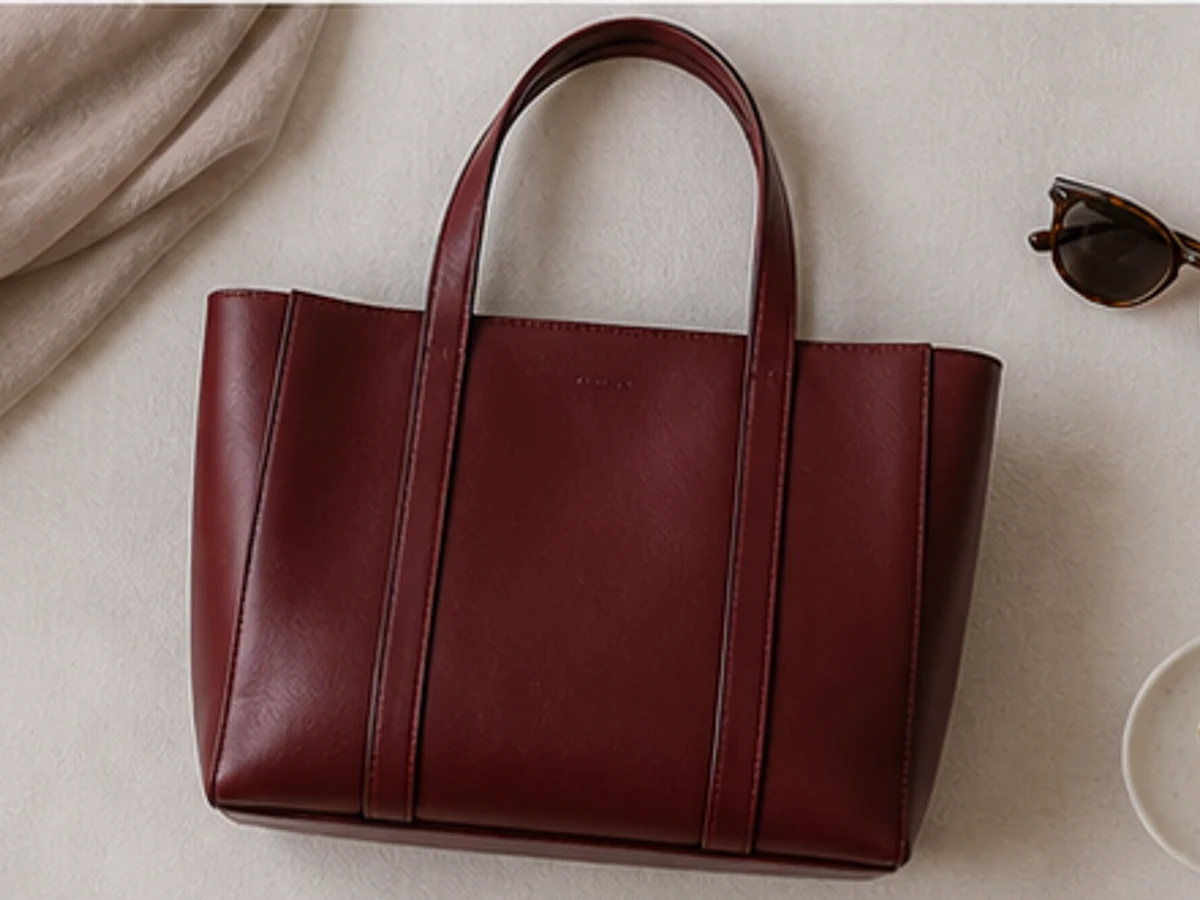
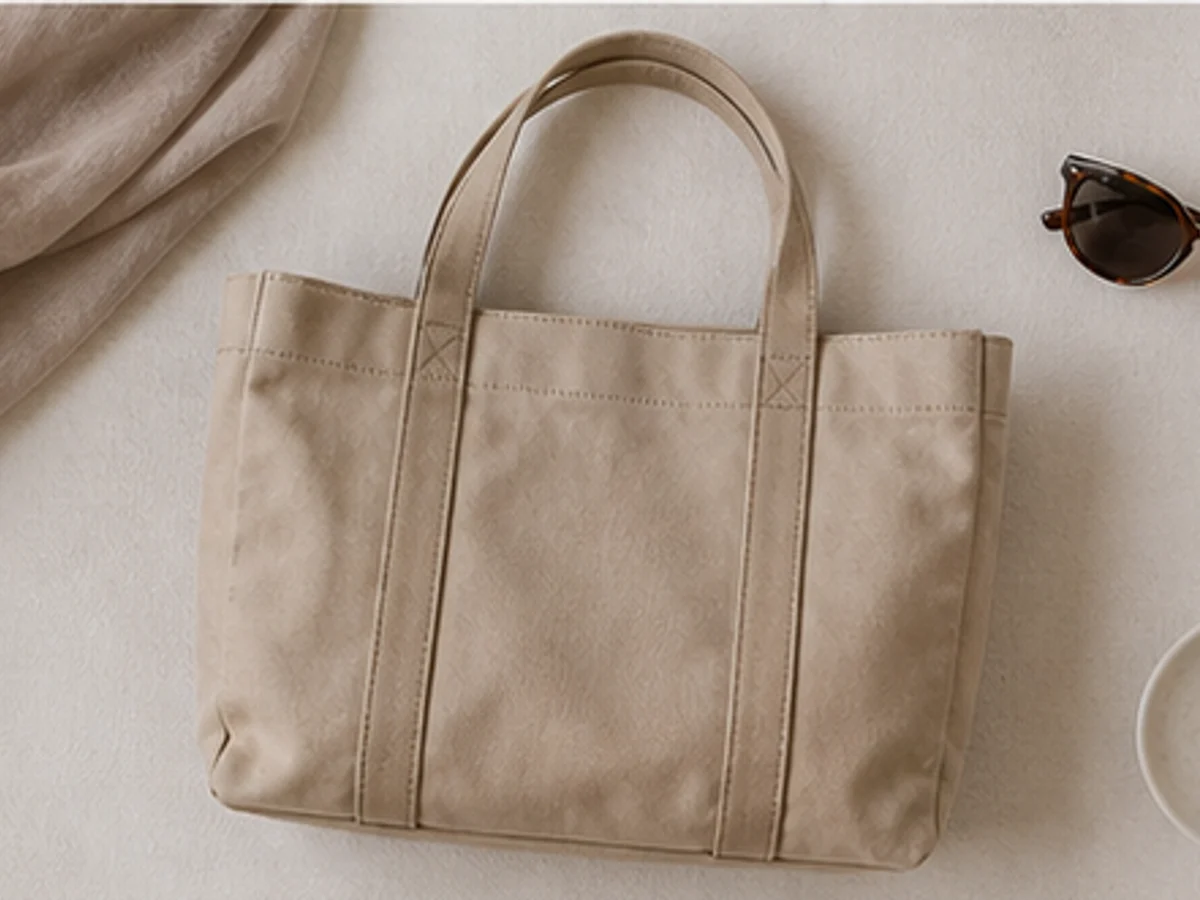
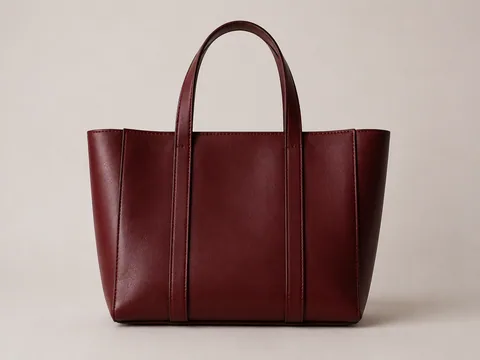 Reference
A separate product photo guides the replacement of a beige canvas bag with a structured burgundy leather tote while the flat-lay framing, nearby props, and scene lighting stay intact.
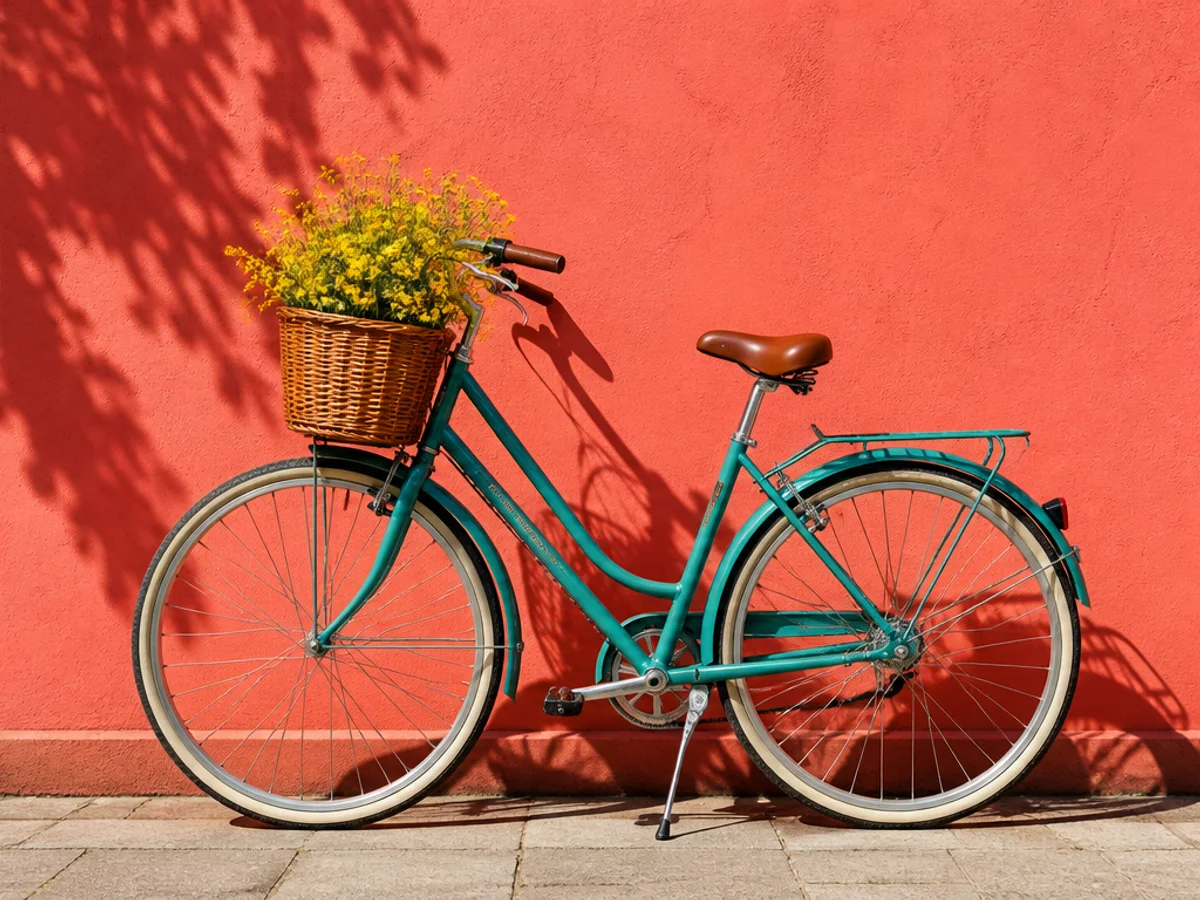
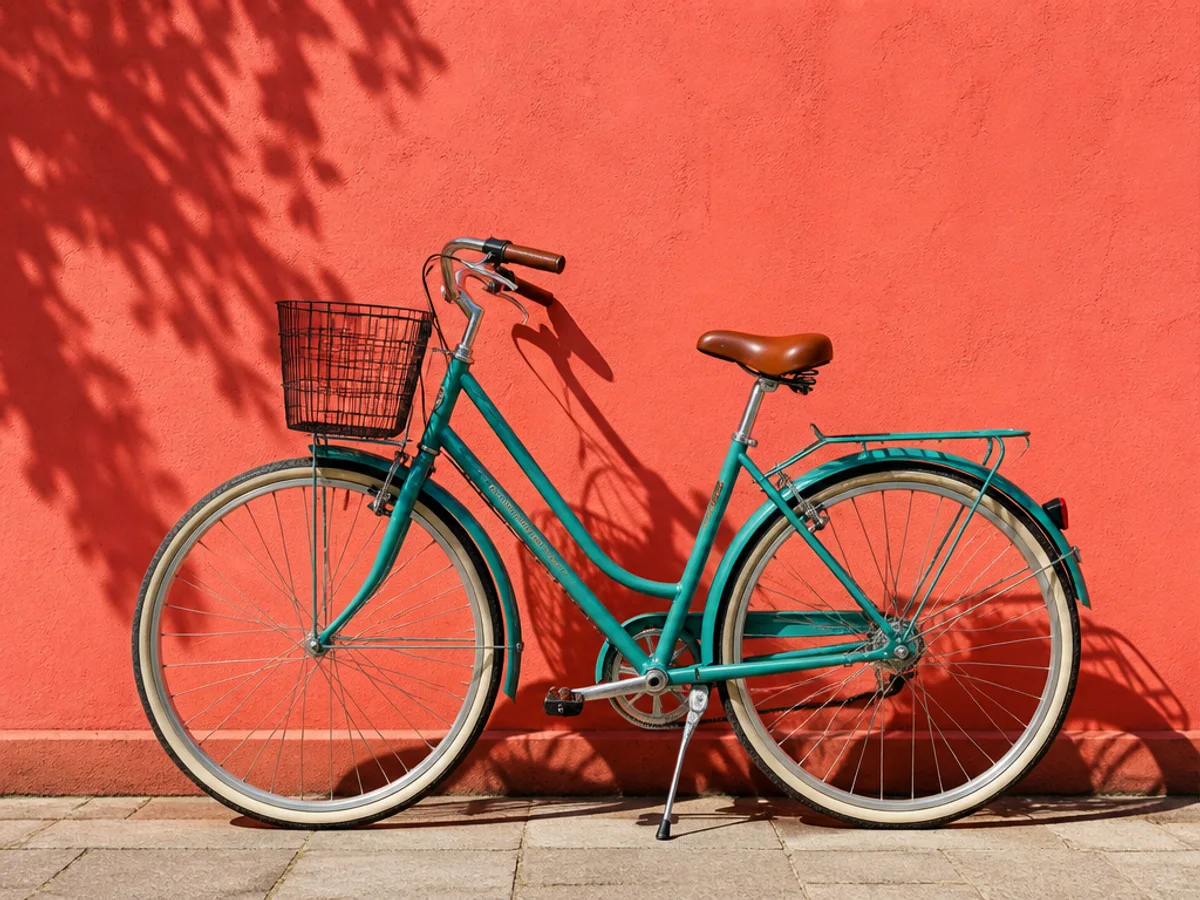
A black wire bicycle basket becomes a wicker basket filled with yellow flowers while the bicycle, coral wall, shadows, and street remain unchanged.
Use local image editing when the overall photo is already right but one object or detail needs a controlled replacement, addition, or redesign.
Upload a separate product or object photo as visual guidance, paint the target area in the main image, and let GPT Image 2 rebuild the referenced subject at the correct scale, angle, and lighting.
Prompt: Use the burgundy leather tote from the reference image in the selected area, matching the top-down camera angle and soft window light.
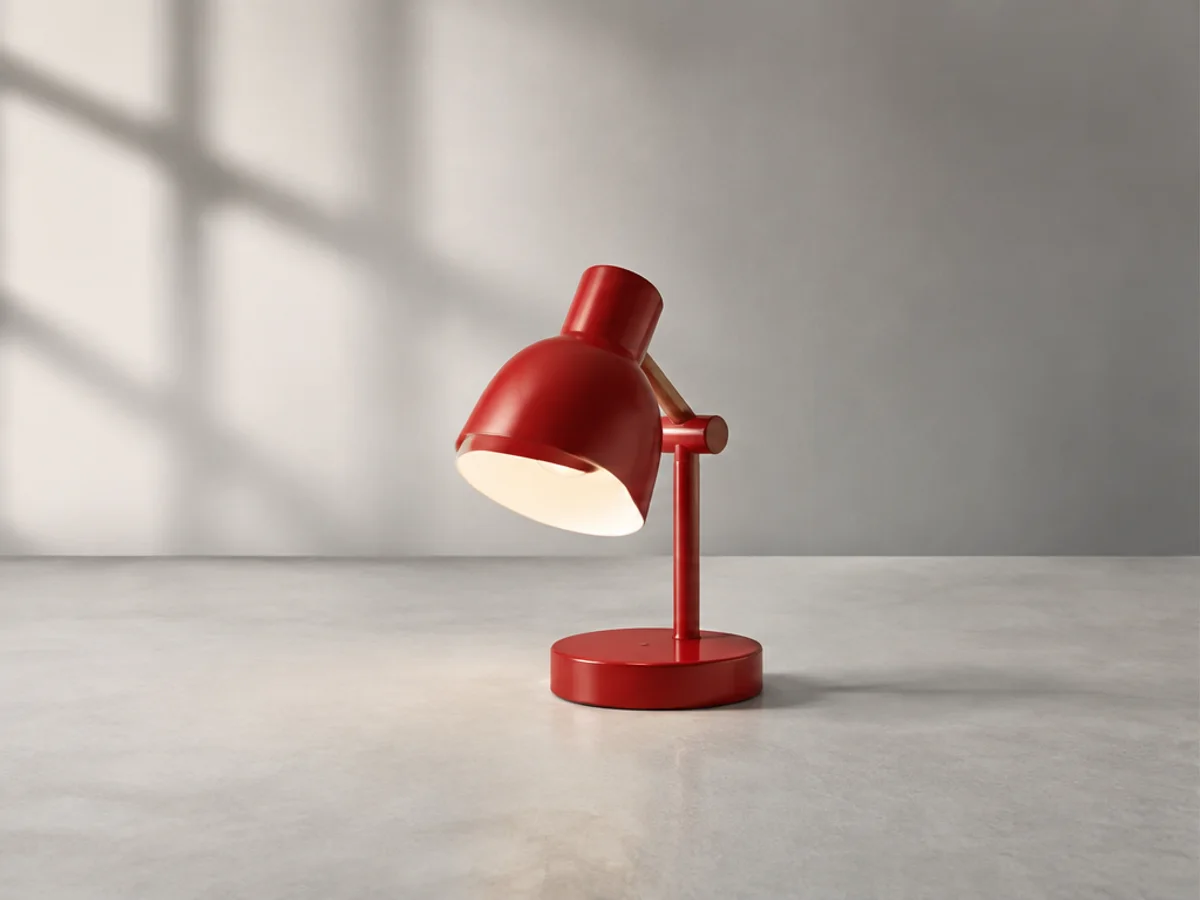
Add a lamp, plant, decoration, sign, or product prop to a selected empty area while matching the existing perspective, lighting, and surface.
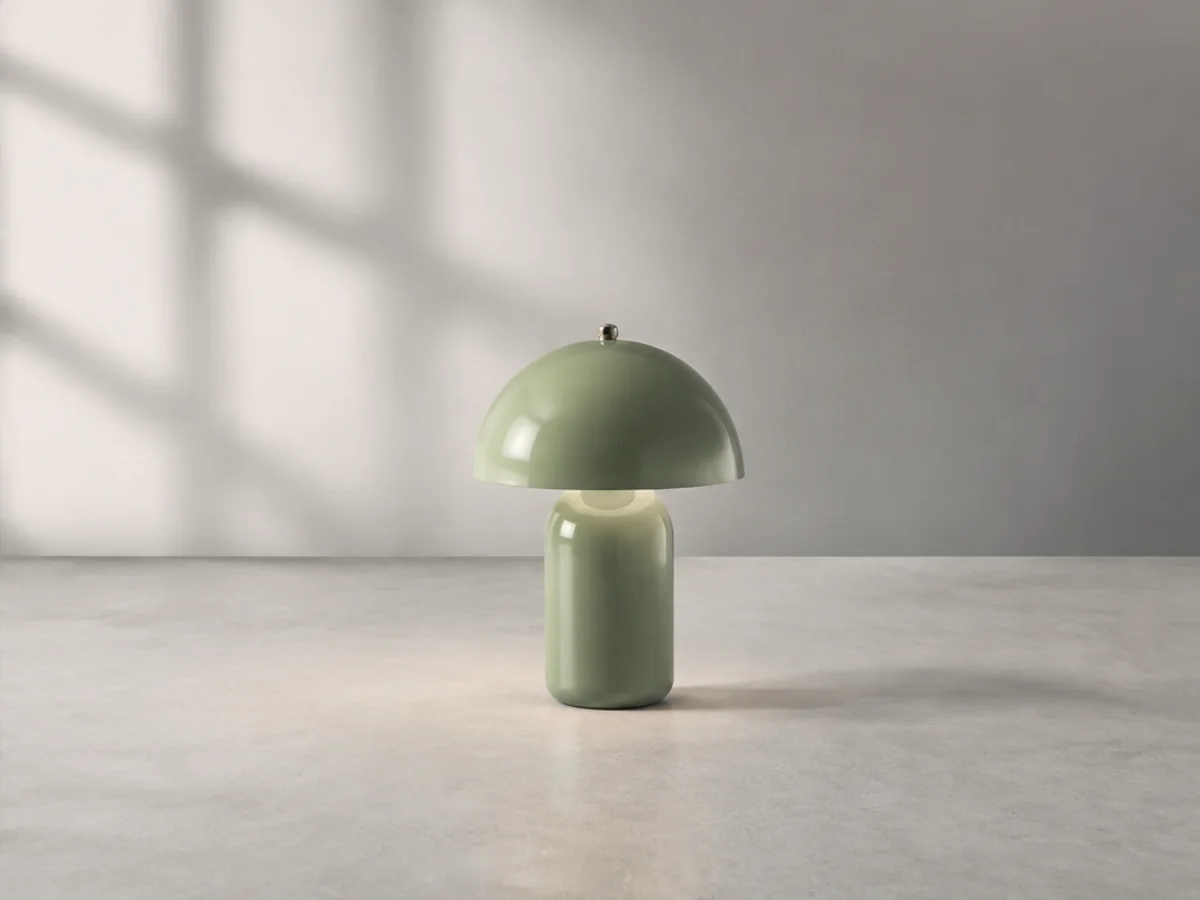
Prompt: Add a small ceramic table lamp with a cream shade on the selected side table.
Replace a bag, hat, scarf, shoe, jewelry item, or isolated clothing detail when it does not heavily overlap faces or hands.
Prompt: Replace the selected handbag with a structured black leather tote.
Change a lamp, chair, wall decoration, cushion, or small furnishing without rebuilding the whole room.
Prompt: Replace the selected chair with a low cream boucle armchair.
Generative Fill separates two signals: the mask identifies where the requested new content should appear, while the full image remains part of the generation context.
The painted mask tells the model where the requested new content should appear. The full image is still processed and regenerated; a smaller, accurate selection reduces visual drift around the target but does not pixel-lock the unselected area.
Describe the replacement directly, or use a reference image when its appearance matters. Material, color, size, direction, and style details help the model rebuild the subject instead of pasting it over the scene.
The model reads nearby edges, surfaces, lighting, depth, and perspective to fit generated content into the scene. Leaving useful context visible improves consistency at the mask boundary.
Review the original and generated image with a draggable divider. If scale or edge blending is wrong, return to the mask, narrow the selection, and make the prompt more specific.
Most weak results come from an oversized mask, an ambiguous prompt, missing object boundaries, or too little surrounding context.
Choose the next tool according to whether your image needs a broader creative edit, more output resolution, or clean object removal before a replacement.
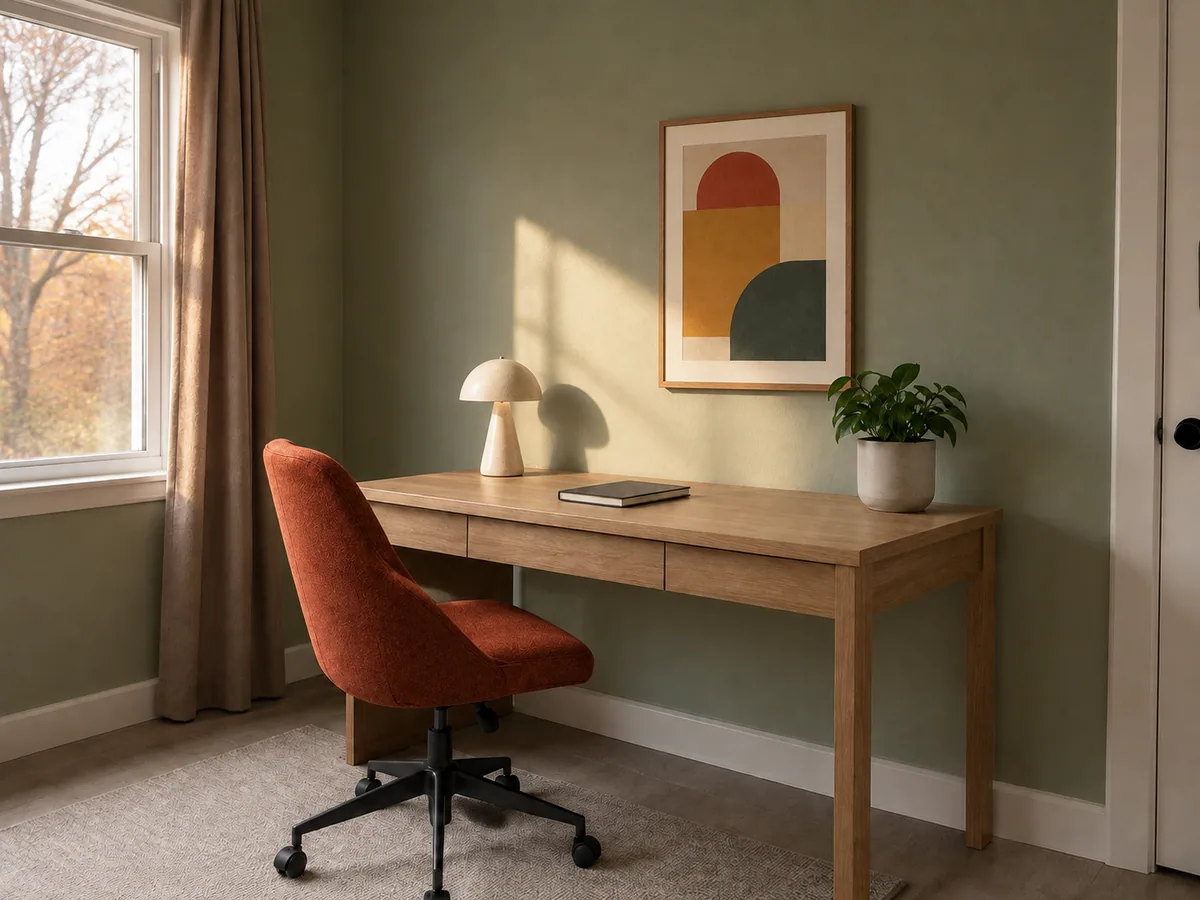
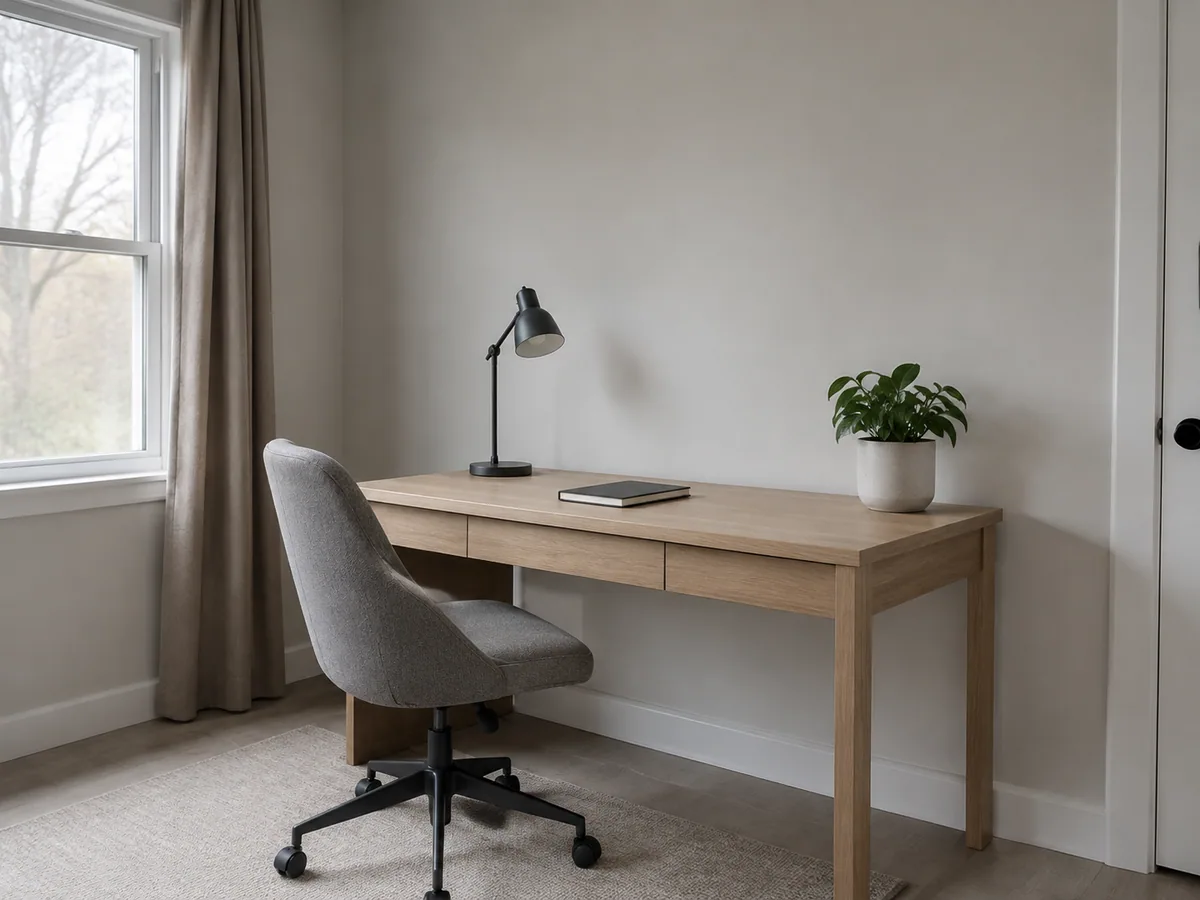
Open AI Photo Editor when the whole visual direction needs coordinated changes. Restyle the background color, furniture, decor, and lighting together, while Generative Fill remains the better choice for one focused replacement.
Open AI Photo Editor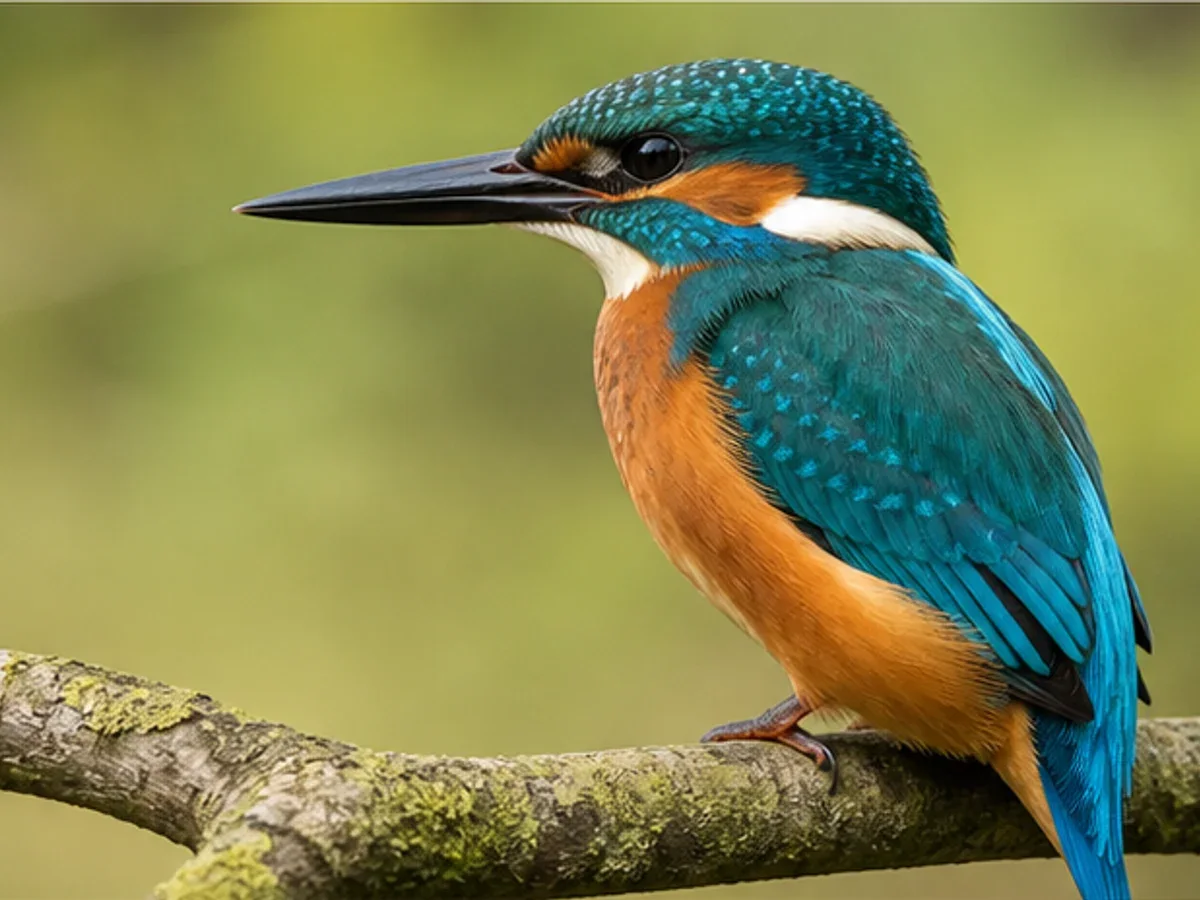
Use Image Upscaler after the local edit looks correct and you need more pixels for a product listing, presentation, print, or large display. Finishing the replacement first prevents the upscaler from enlarging an object you still plan to change.
Upscale the Edited Image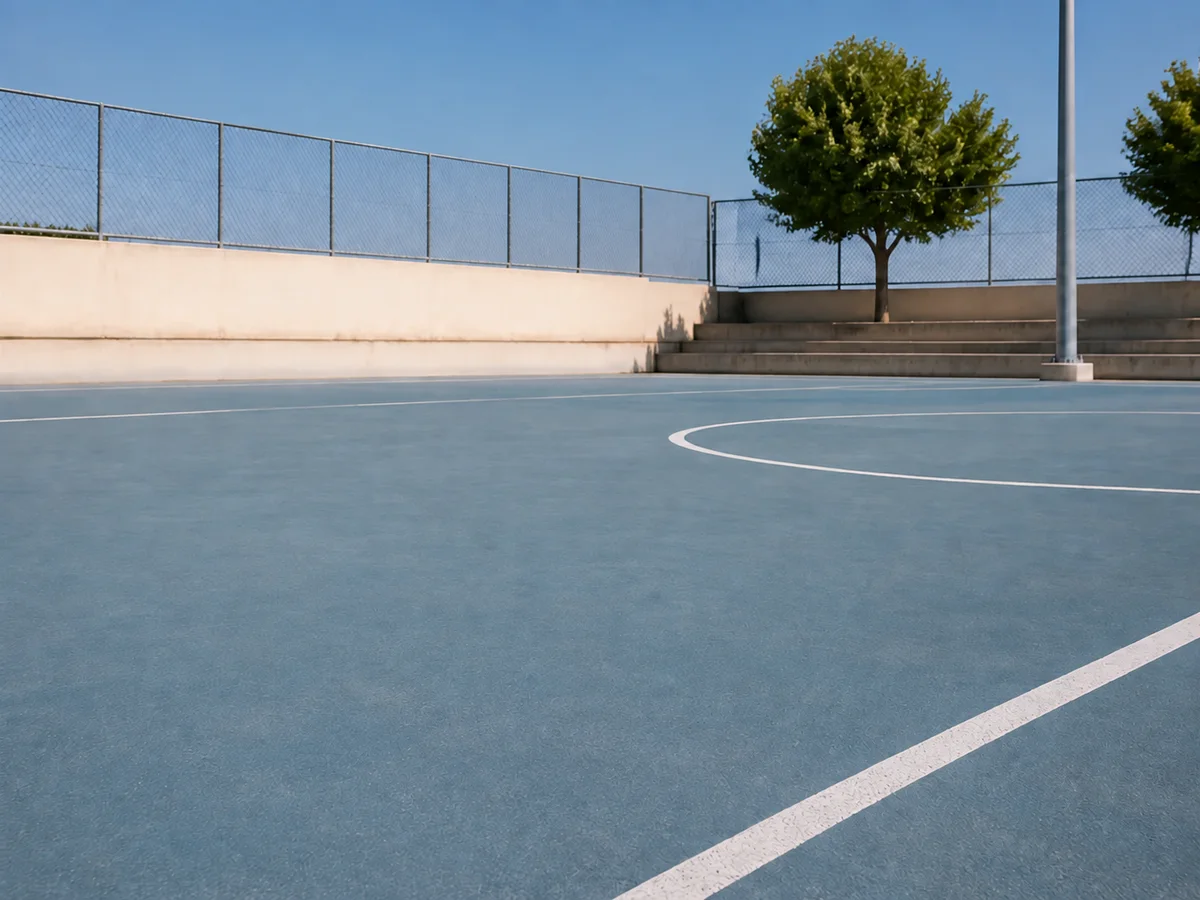
Use Magic Eraser before Generative Fill when the goal is first to clear a distraction and reconstruct the original background. Choose Generative Fill instead when a specific new object, texture, or detail should occupy the selected area.
Remove an ObjectAI Generative Fill is a mask-guided editing method that generates new pixels inside a selected image area from a text prompt and surrounding visual context. It is useful when you want to replace or redraw one part of an existing image.
Upload an image, paint over the exact area you want to change, and describe what should appear there. Generate the edit, compare it with the original, and adjust the mask or prompt if the first result needs refinement.
EzEnhancer AI Generative Fill is free to try with daily credits. The generation button shows the current credit cost before you submit a task. Reviewing or downloading a completed result does not use additional credits.
They describe closely related workflows. AI inpainting is the technical process of reconstructing or generating pixels inside a masked region. Generative Fill is the user-facing workflow that combines a selection, a prompt, and contextual image generation.
The mask guides the model toward the intended replacement target, while the entire image is processed and regenerated as context. The model aims to keep the rest visually consistent, but it does not lock unselected pixels exactly; small variations can occur, and focused selections usually give the most stable results.
Describe the replacement directly. Include object type, material, color, size, orientation, or placement when those details matter. For example, replace the selected mug with a small amber glass vase holding white tulips.
Yes. Choose GPT Image 2 and switch to Reference Image mode, then upload a separate image of the object or subject you want to use as visual guidance. Paint the target area in the main image and optionally add a short replacement description for more precise control.
Low quality is useful for quick drafts, Medium provides a stronger balance of detail and credit cost, and High is best for final images or replacements with important textures and edges. The model selector and generation button show the current credit cost before processing.
Repaint the mask around the complete original object with a small margin, keep useful scene context visible, and use a reference image with a similar viewing angle when possible. Describe the expected size, material, and placement so the generated object can match the original perspective, lighting, contact shadow, and depth of field.
Yes. EzEnhancer AI runs in your web browser, so you can create a mask, enter a prompt, and generate a local image edit without installing Photoshop or other desktop editing software.
You can upload JPG, PNG, and WebP images up to 18 MB and export the generated result as JPG or PNG.
Your images are securely uploaded only for processing and are not used for model training. Temporary processing files are automatically deleted according to our retention policy.
Use Magic Eraser when you want an object removed and the original background reconstructed. Use Generative Fill when you want a specific new object, texture, or visual detail generated inside the selected area.