
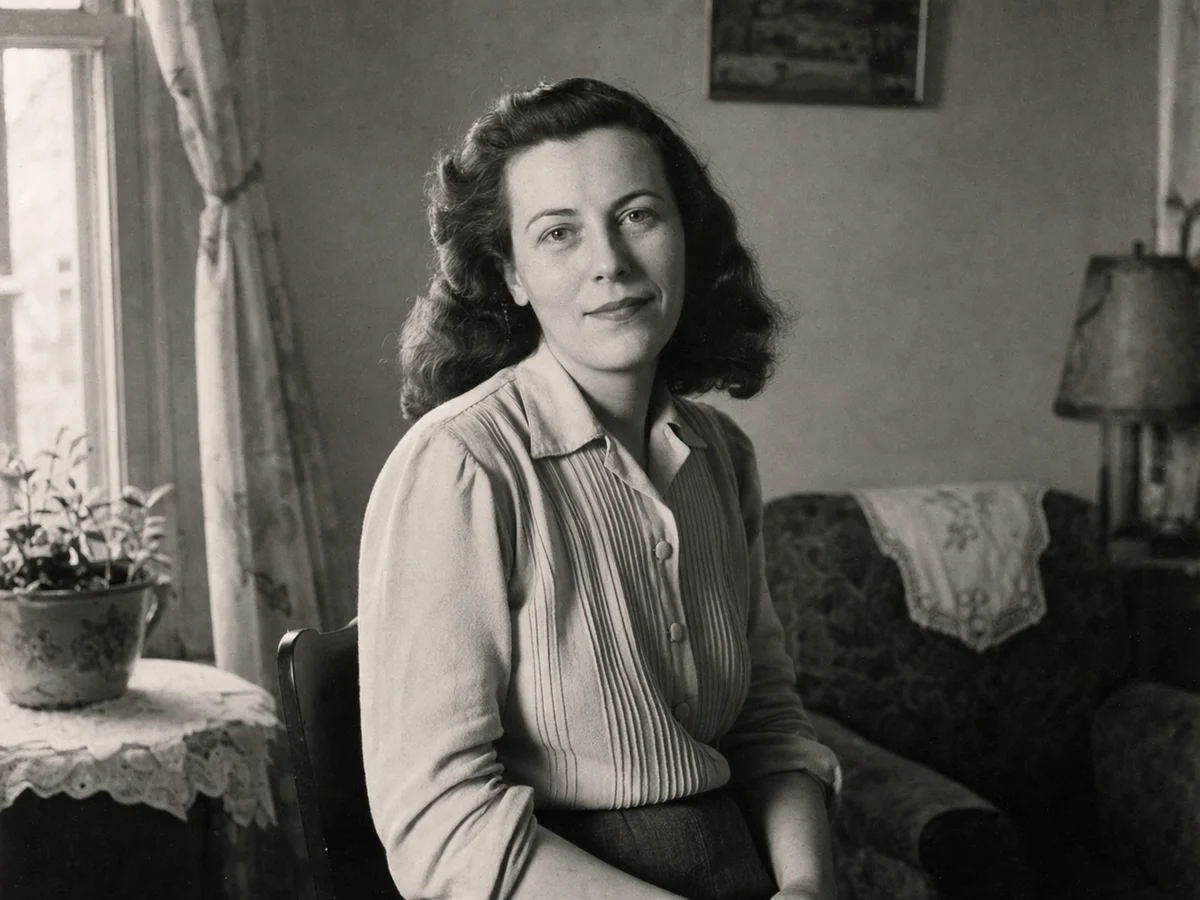
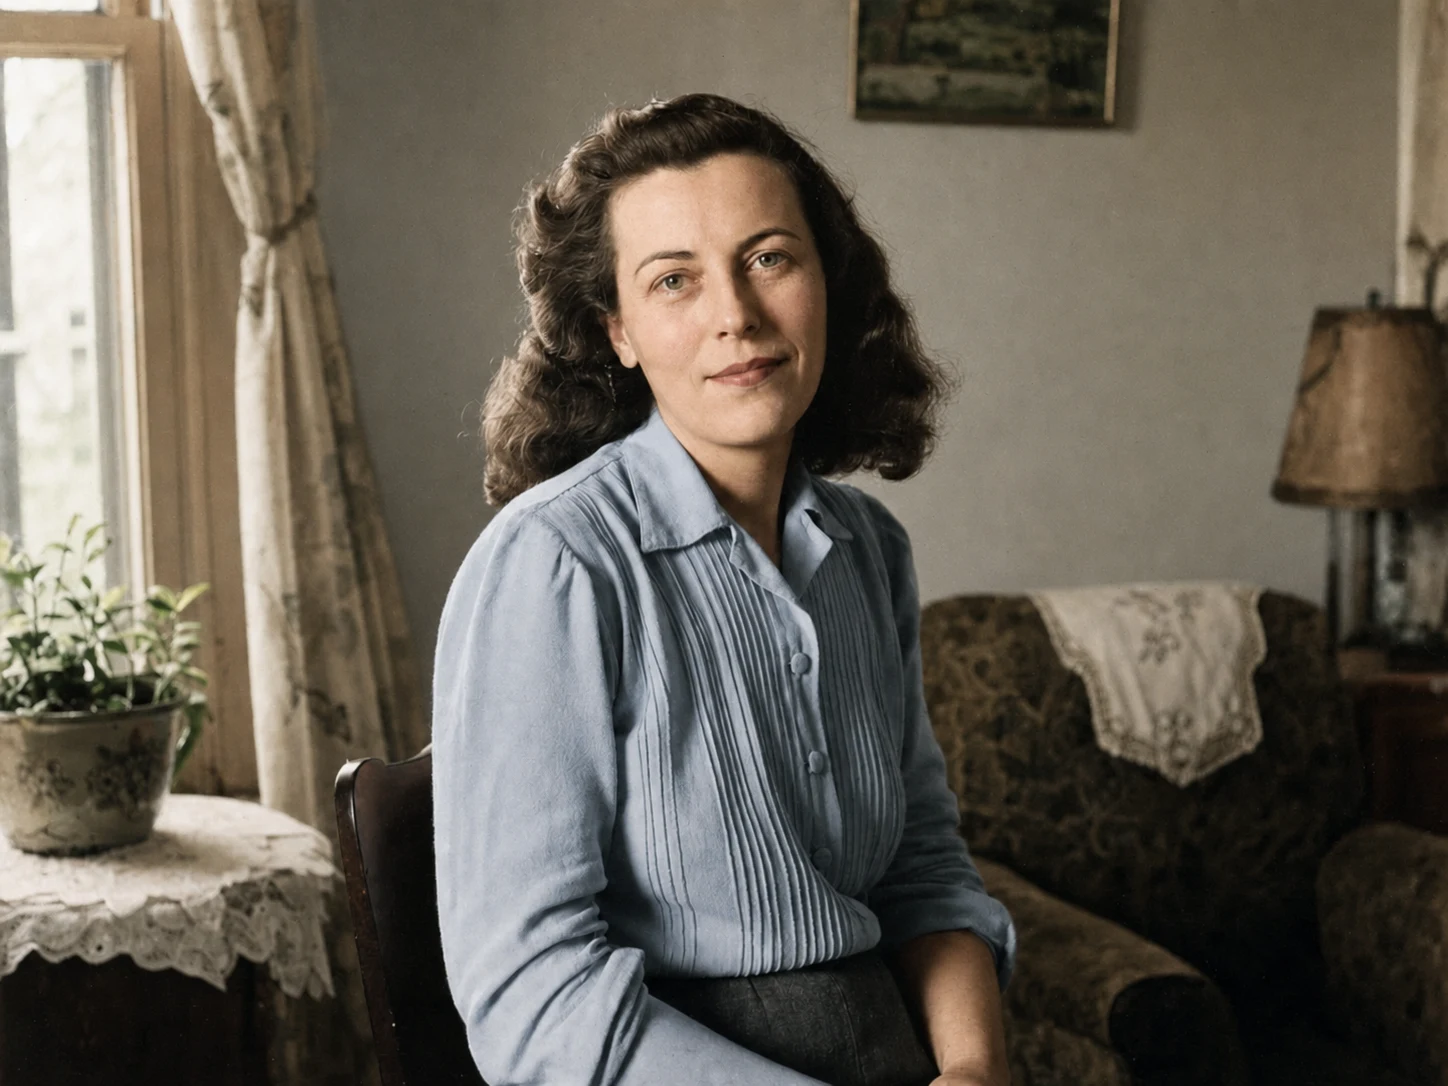
Natural Color for Black-and-White Portraits
Recover believable skin, hair, clothing, and interior colors while keeping the person, expression, and photographic mood intact.

Enhance photo quality and clarity

Restore old photos and recover details

Upscale images to 4K resolution

Remove blur and restore sharpness

Enhance image clarity with AI super resolution

Sharpen blurry text in images and screenshots

Edit and enhance photos with advanced tools

Remove backgrounds and replace with custom colors

Remove unwanted objects and distractions

Replace selected image areas with a text prompt

Remove glare and enhance contrast in images

Transform black & white photos into vibrant color images

Colorize photos, manga, sketches, and artwork with guided colors
Choose the image type and color style, describe the colors you need, or guide the main subject with a reference image. Colorization stays faithful to the original composition.
Free users can upload 1 image at a time. VIP supports up to 10 images.
JPG, PNG, or WebP up to 18 MB. Images are moderated before processing.
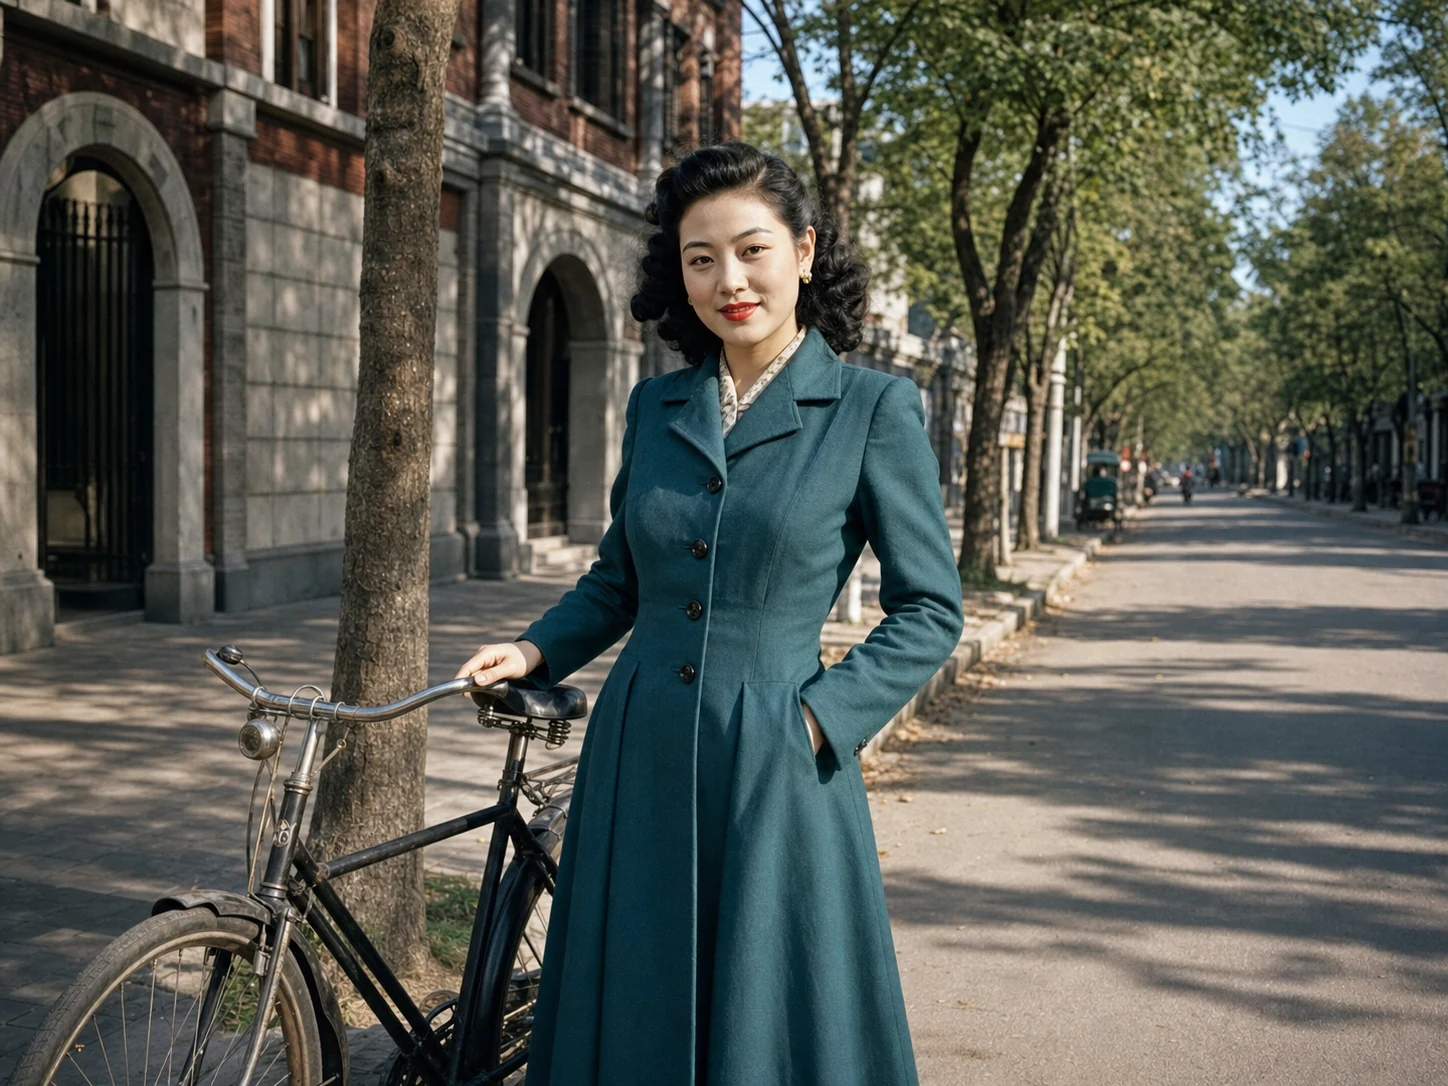
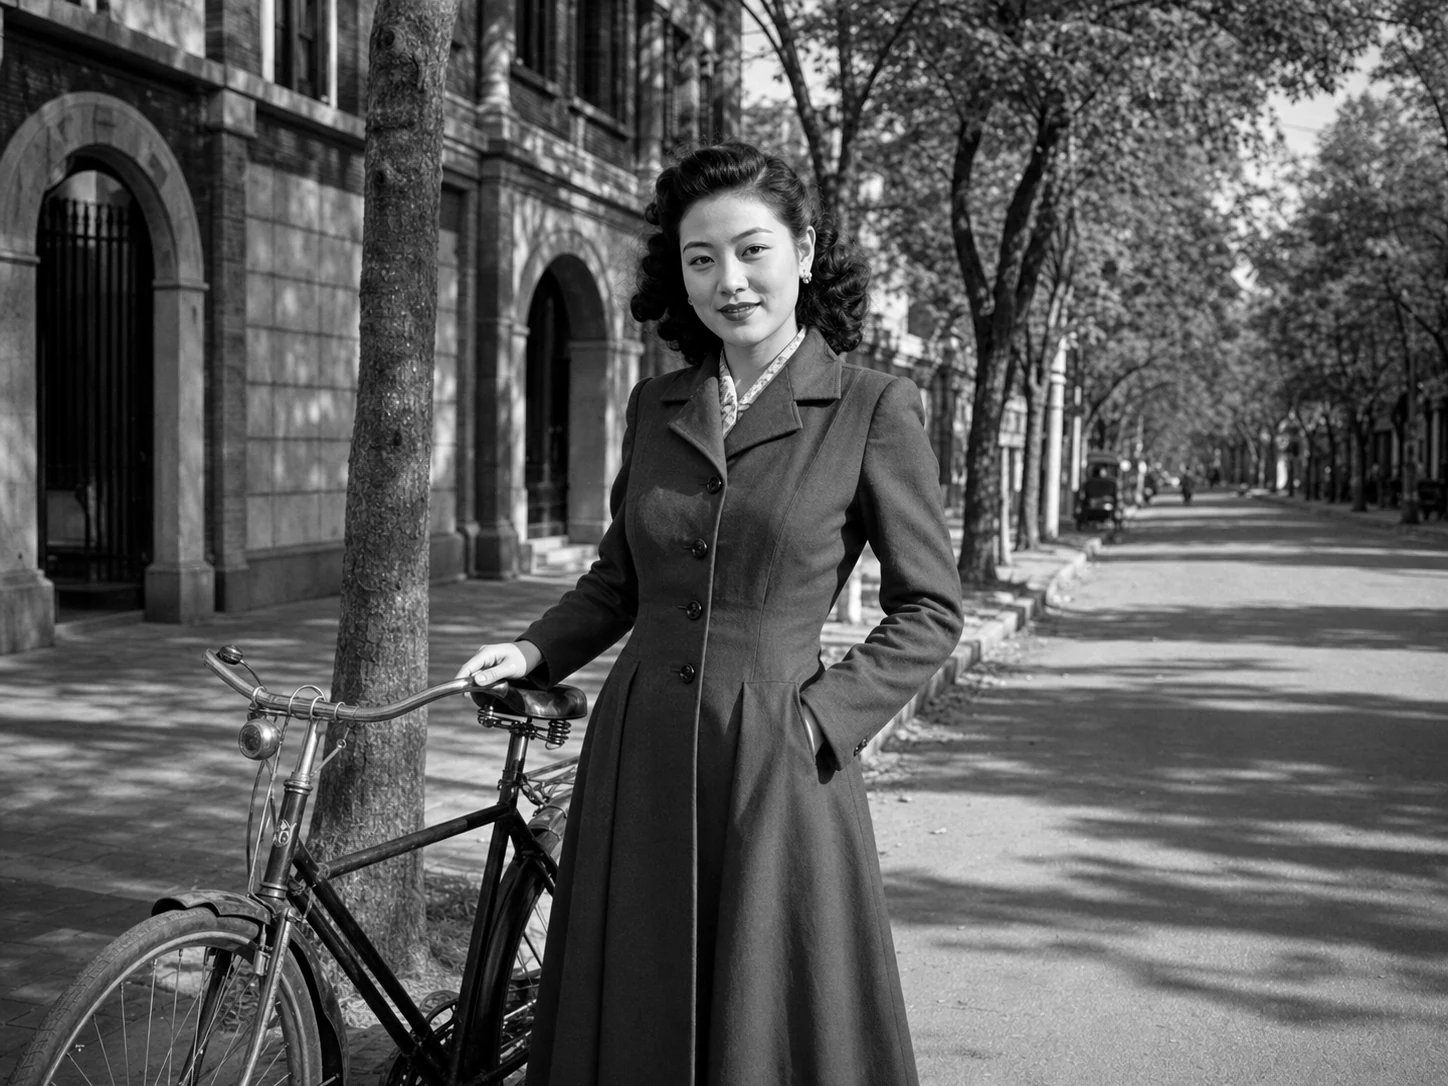
Explore real colorization results across portraits, faded photos, manga, and products. Each comparison shows how color guidance can change the image while preserving its original structure.
Trusted by 500,000+ photographers and content creators worldwide
Recover believable skin, hair, clothing, and interior colors while keeping the person, expression, and photographic mood intact.
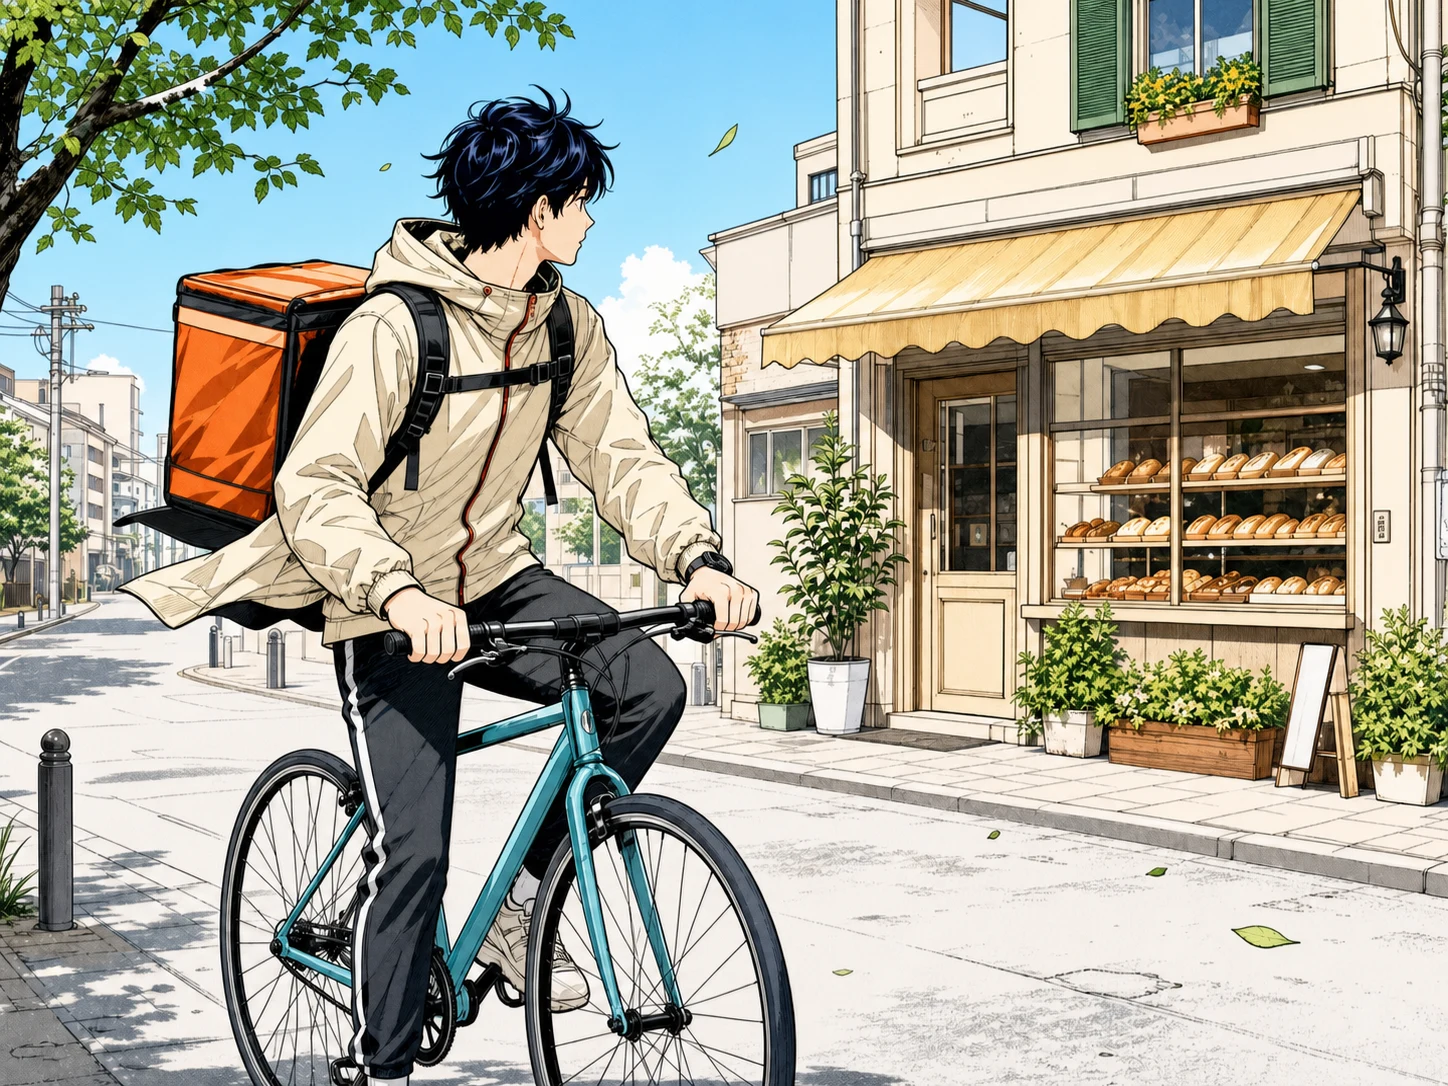
Add readable character and scene colors without covering the ink lines, facial details, or panel composition.
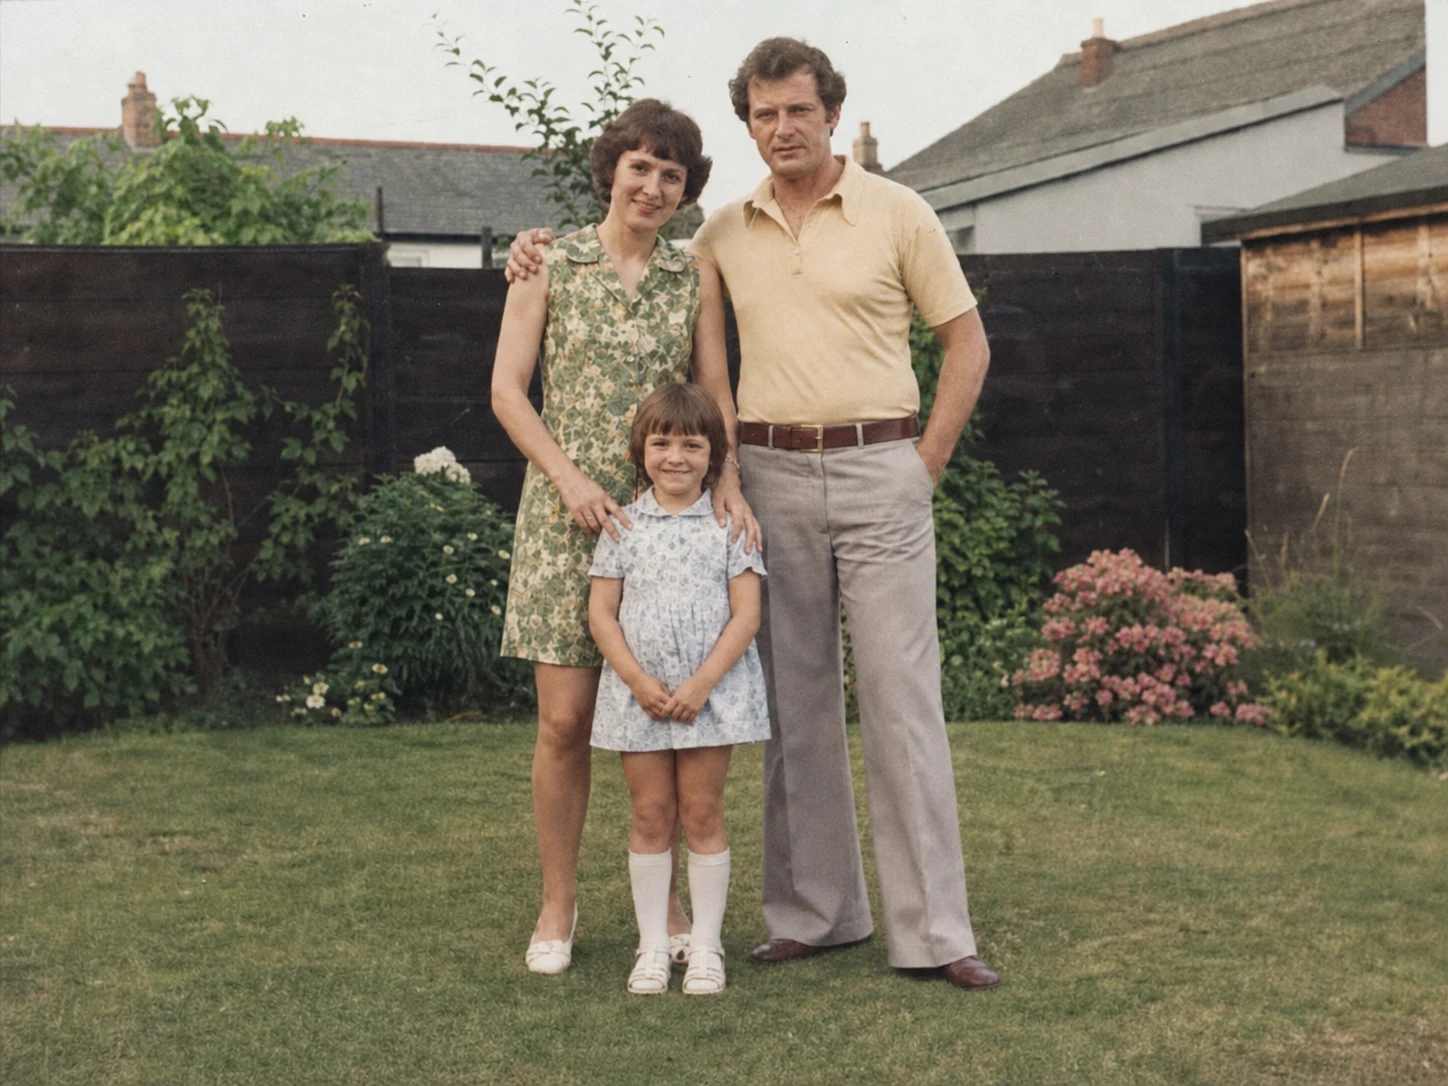
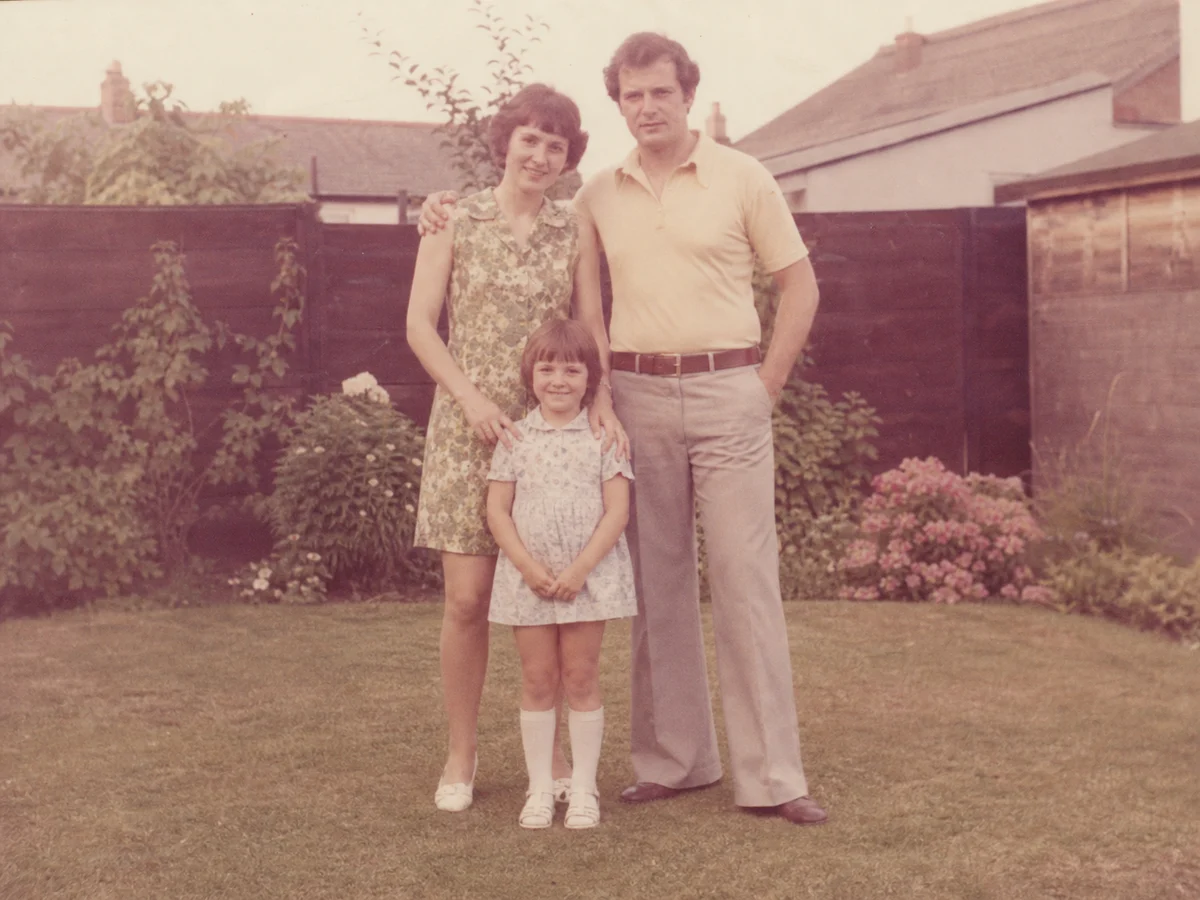
Restore warmth, contrast, and familiar everyday colors without forcing a modern filter onto an older photograph.
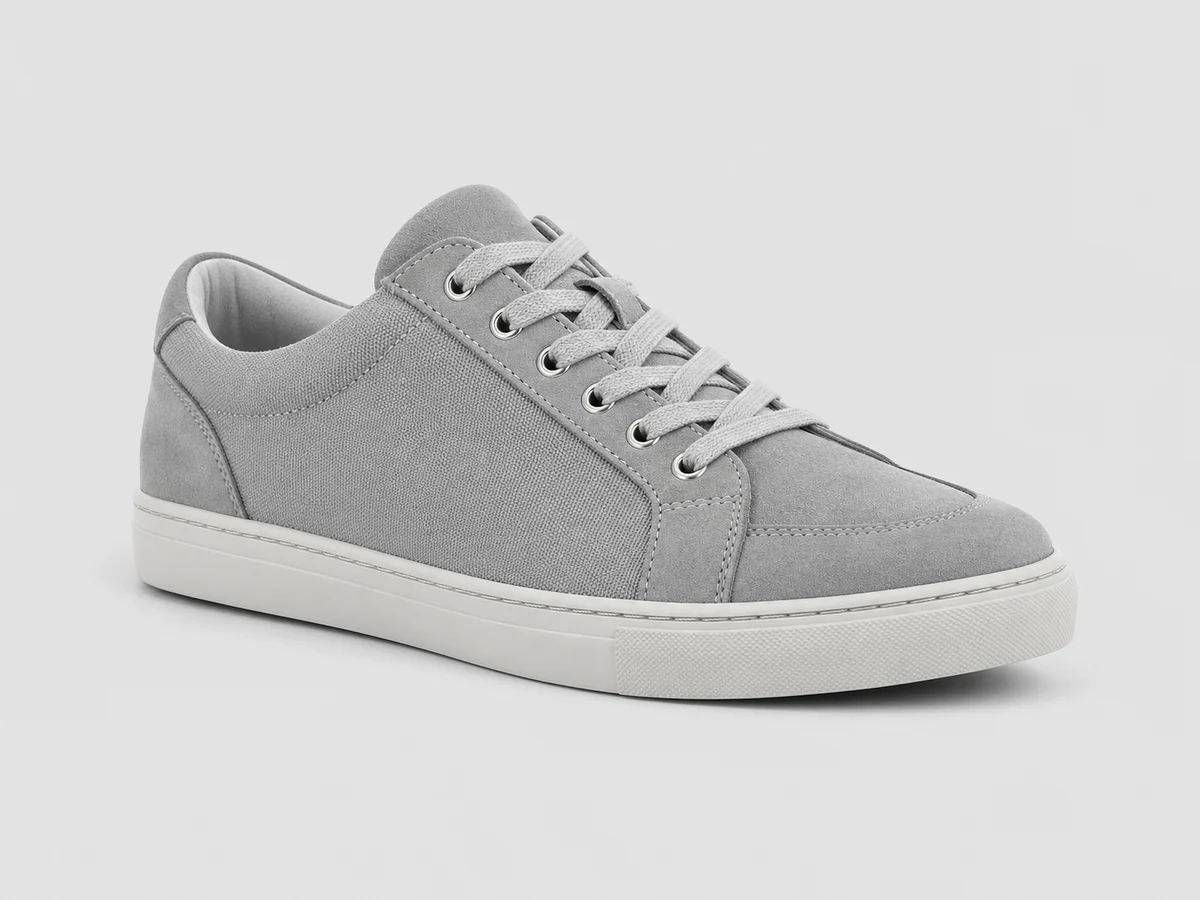
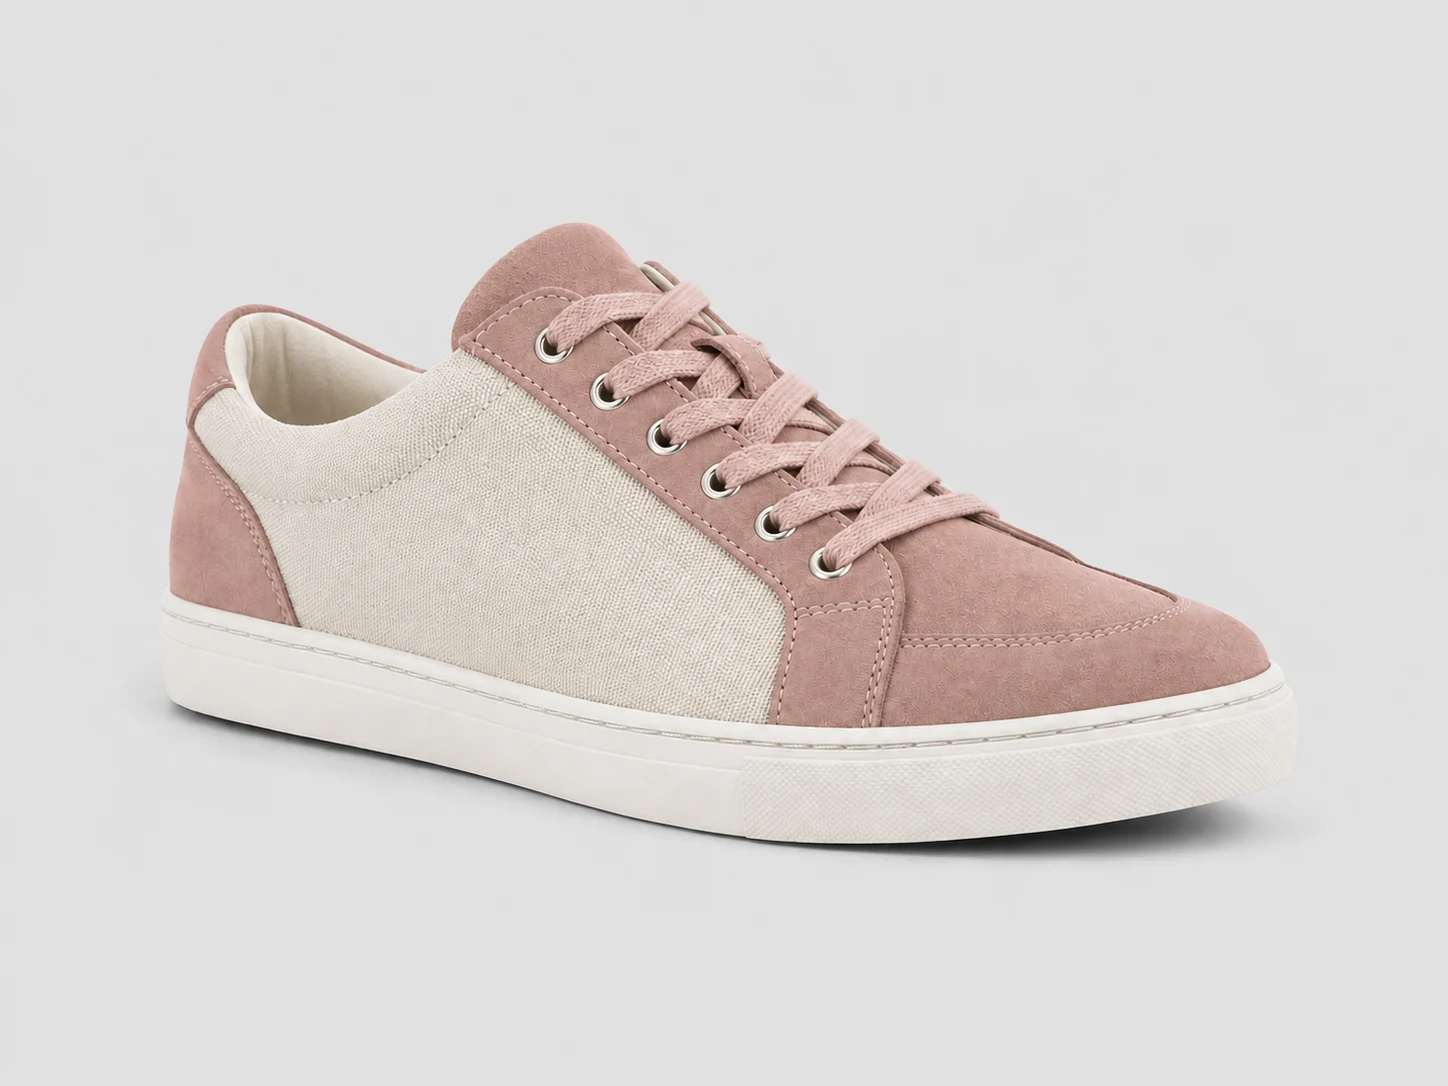
Use another image to guide the main subject color while the original shape, materials, lighting, and background remain independent.
Different image types need different color logic. Choose the closest scene so the model can interpret faces, linework, materials, and backgrounds more accurately.
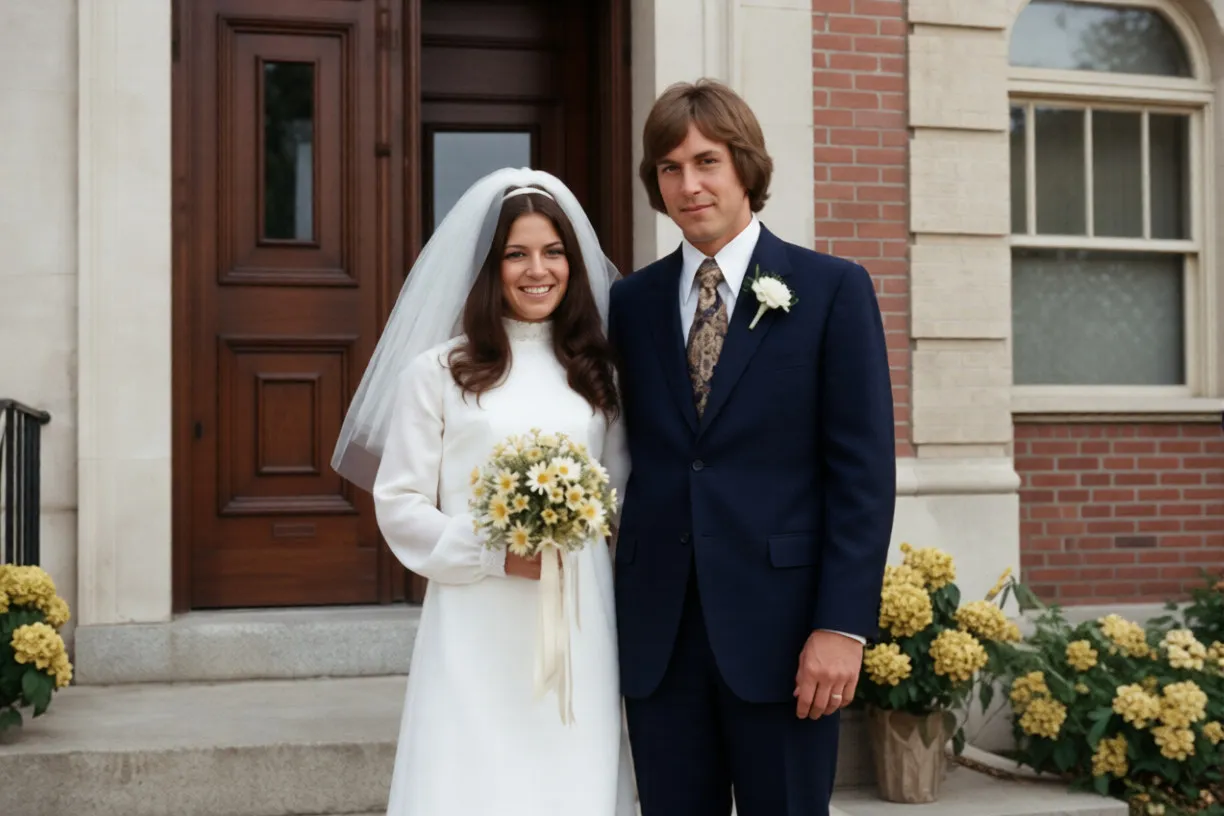
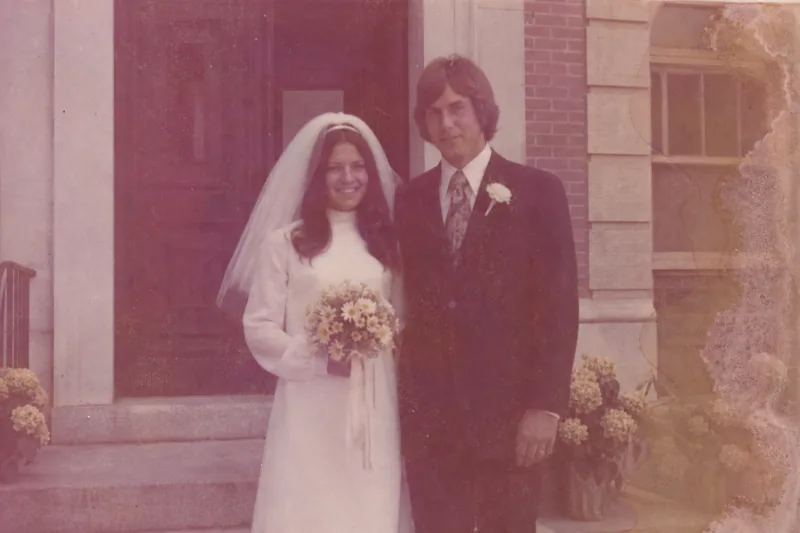
Bring realistic color to portraits, family photographs, scanned film, and faded prints. For a simpler black-and-white workflow, use the AI photo colorizer; for scratches and physical damage, restore the old photo before adding color.
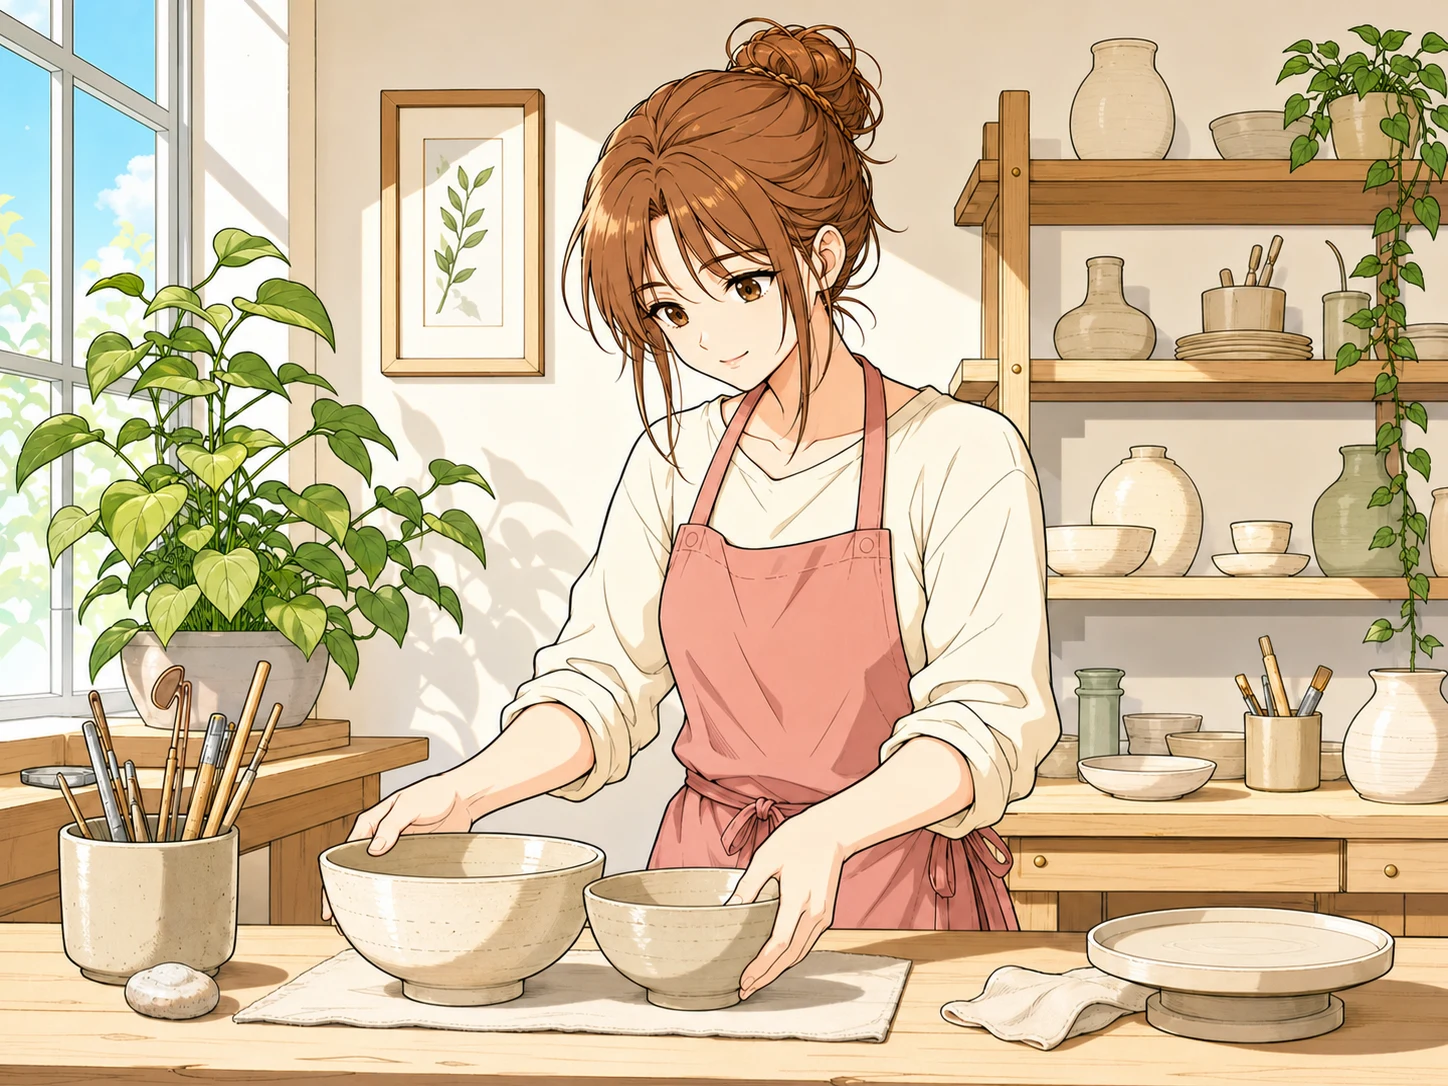
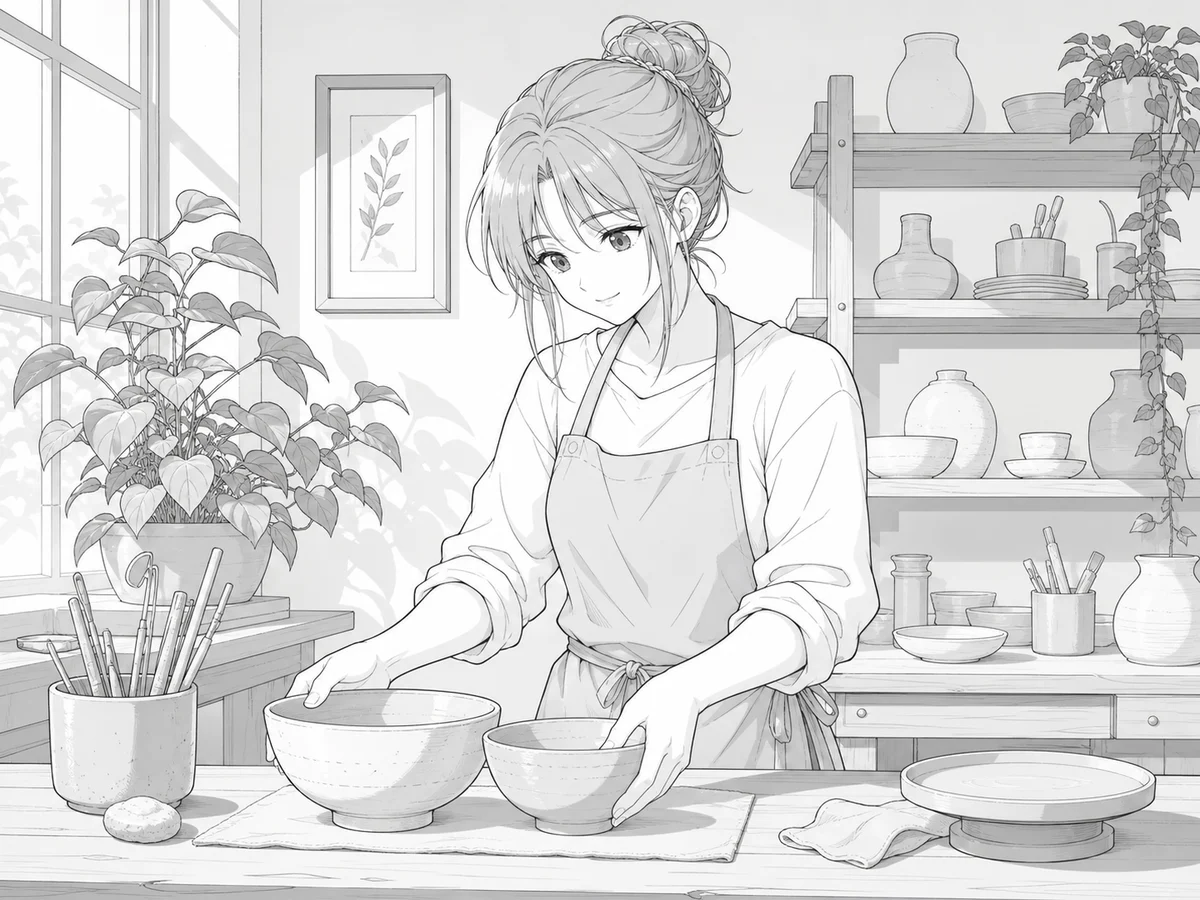
Turn monochrome artwork into clear color studies while preserving outlines and drawing structure. After colorization, use the AI photo editor for broader composition or object changes.
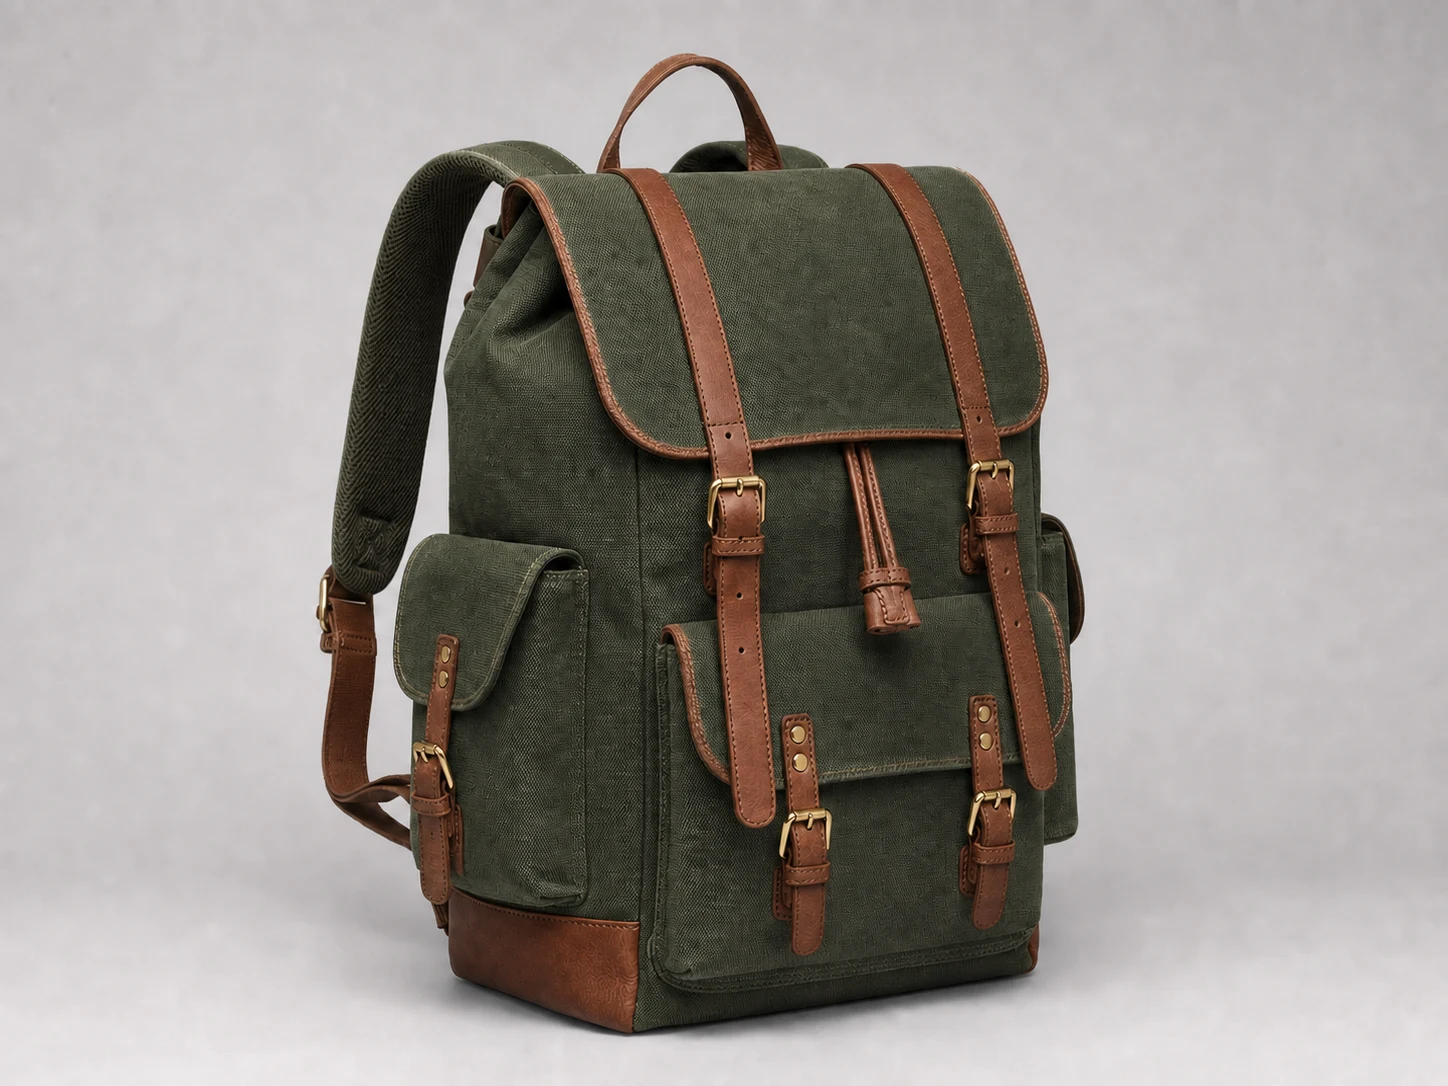
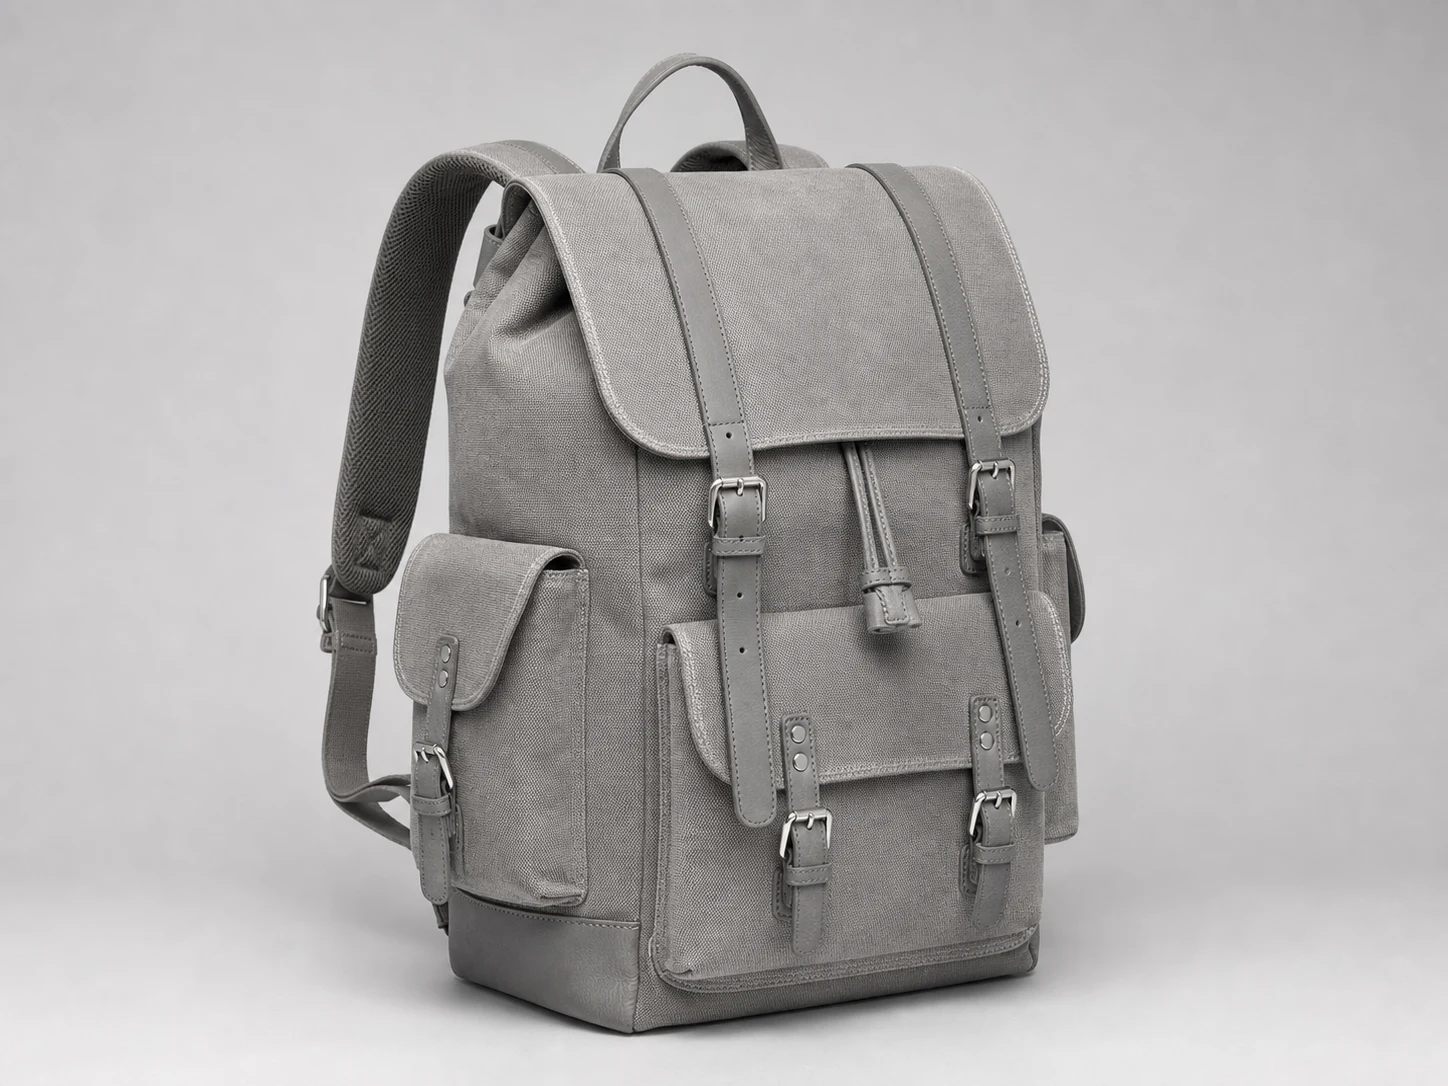
Use prompts or a reference image to control a product or main subject without rebuilding the design. When the final asset needs a larger export, upscale the colorized image after confirming its colors.
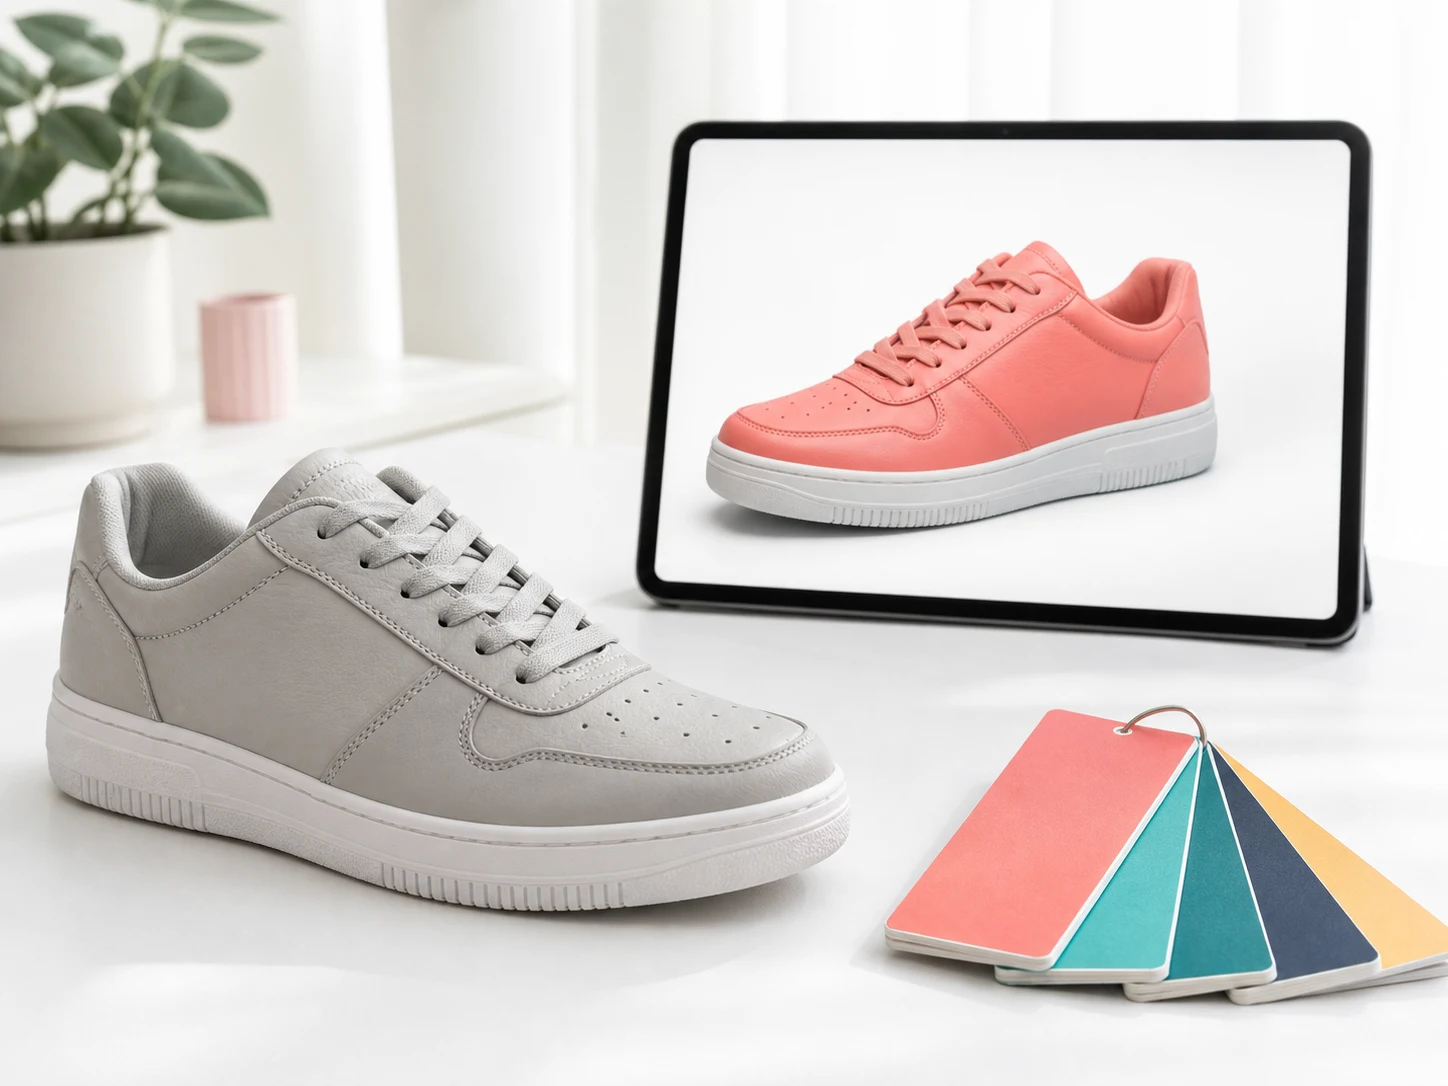
Start with automatic color, then add only the guidance your image needs. The controls stay simple while supporting precise creative direction.
Select photo, old photo, manga, comic, sketch, line art, anime, illustration, or product so the model follows the right visual rules.
Use natural, vivid, cinematic, pastel, watercolor, cel-shaded, or flat color according to the source and desired finish.
Describe specific details such as auburn hair, a navy coat, muted paper, or warm afternoon light in plain language.
Upload a second image to guide subject colors only. Its pose, background, lighting, and scene are not copied.
Move from upload to a downloadable result in three clear steps, with automatic or guided color control.
Add a JPG, PNG, or WebP photo, manga page, sketch, illustration, or product image.
Select the scene and style, add optional color notes, or switch to a subject reference image.
Run the 5-credit task, review the full result, and download it in your preferred output format.
A few focused choices help the model produce cleaner, more intentional color without changing what makes the original image recognizable.
Name the object first, then the desired color and material. Short, concrete instructions are easier to follow than broad artistic descriptions.
Example: dark auburn hair, ivory shirt, navy wool jacket, natural skin tone.
Natural works well for photography, cel-shaded for anime and manga, and flat color for clean line art or design drafts.
Choose a reference where the corresponding subject is visible, well lit, and not heavily filtered. Similar viewing angles improve color matching.
Do not request several incompatible palettes at once. Start with the most important subject colors and let the scene context handle secondary areas.
Colorization works best as part of a considered workflow. Prepare damaged sources first, choose the right coloring path, then improve clarity or refine individual colors without disturbing the finished image.
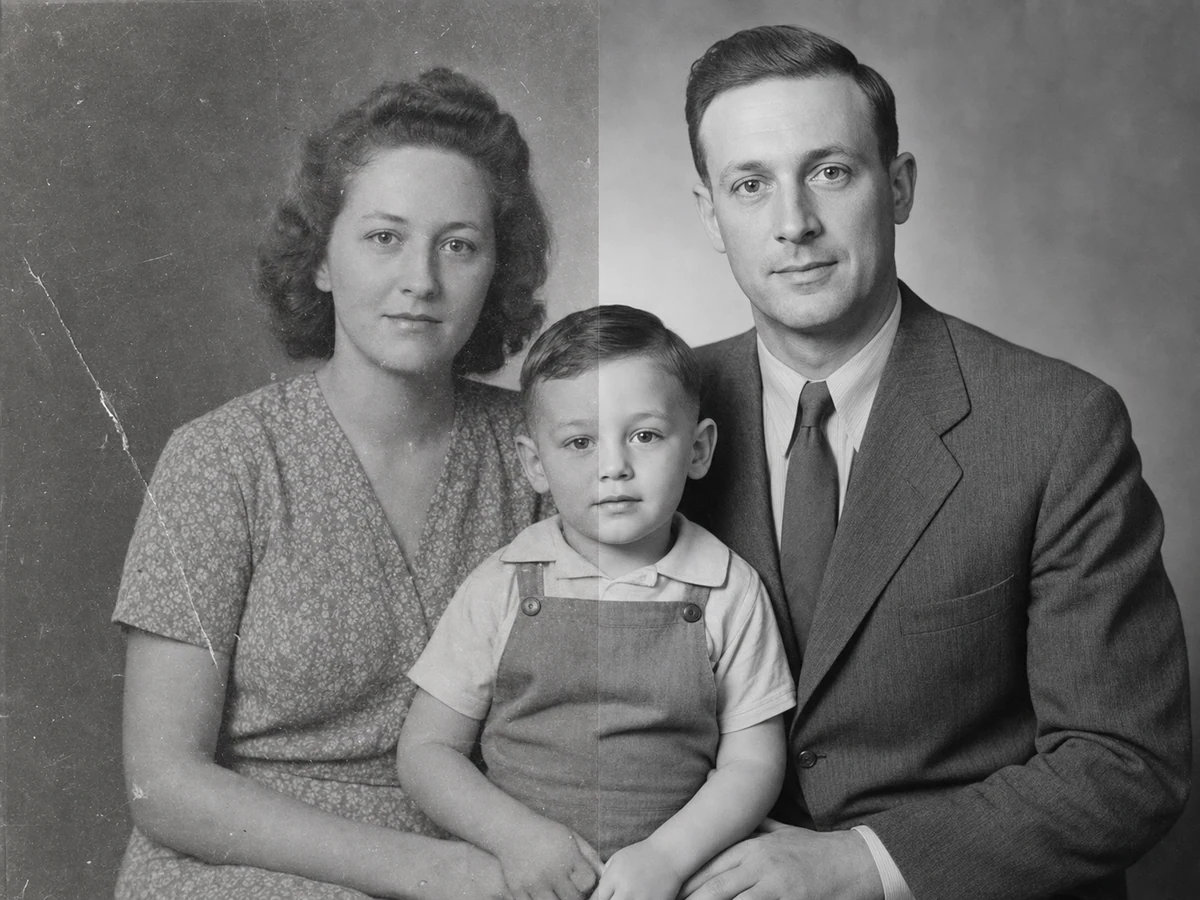
Start with Photo Restoration when an old scan contains scratches, tears, creases, stains, or missing detail. Repairing the physical damage first gives the colorizer cleaner facial features, fabrics, and background structure to interpret, reducing unstable color around damaged areas.
Restore an Old Photo Before Colorizing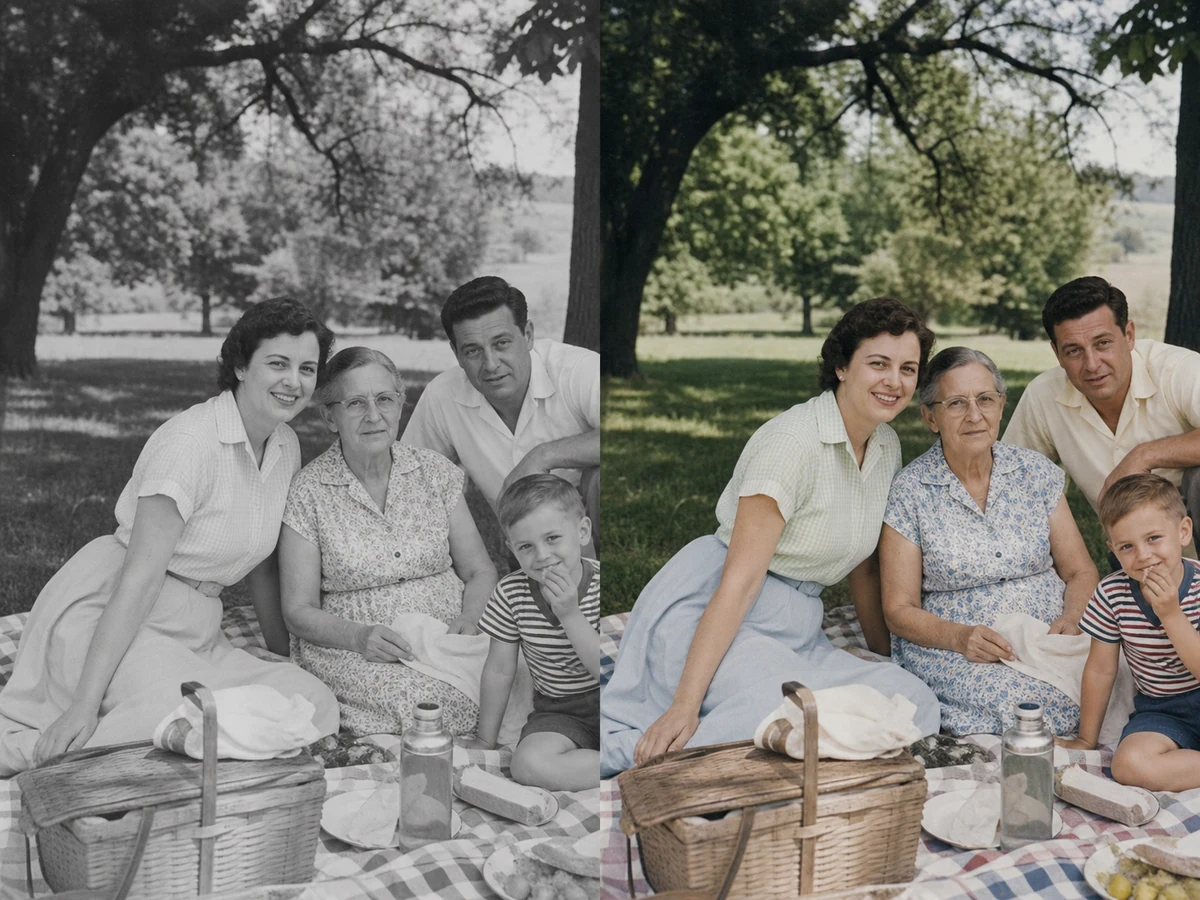
Use Photo Colorizer when you have a straightforward black-and-white portrait, family picture, or scanned print and do not need prompts, style controls, or a reference image. Its focused automatic workflow is the quickest way to recover natural photographic color.
Colorize a Black-and-White Photo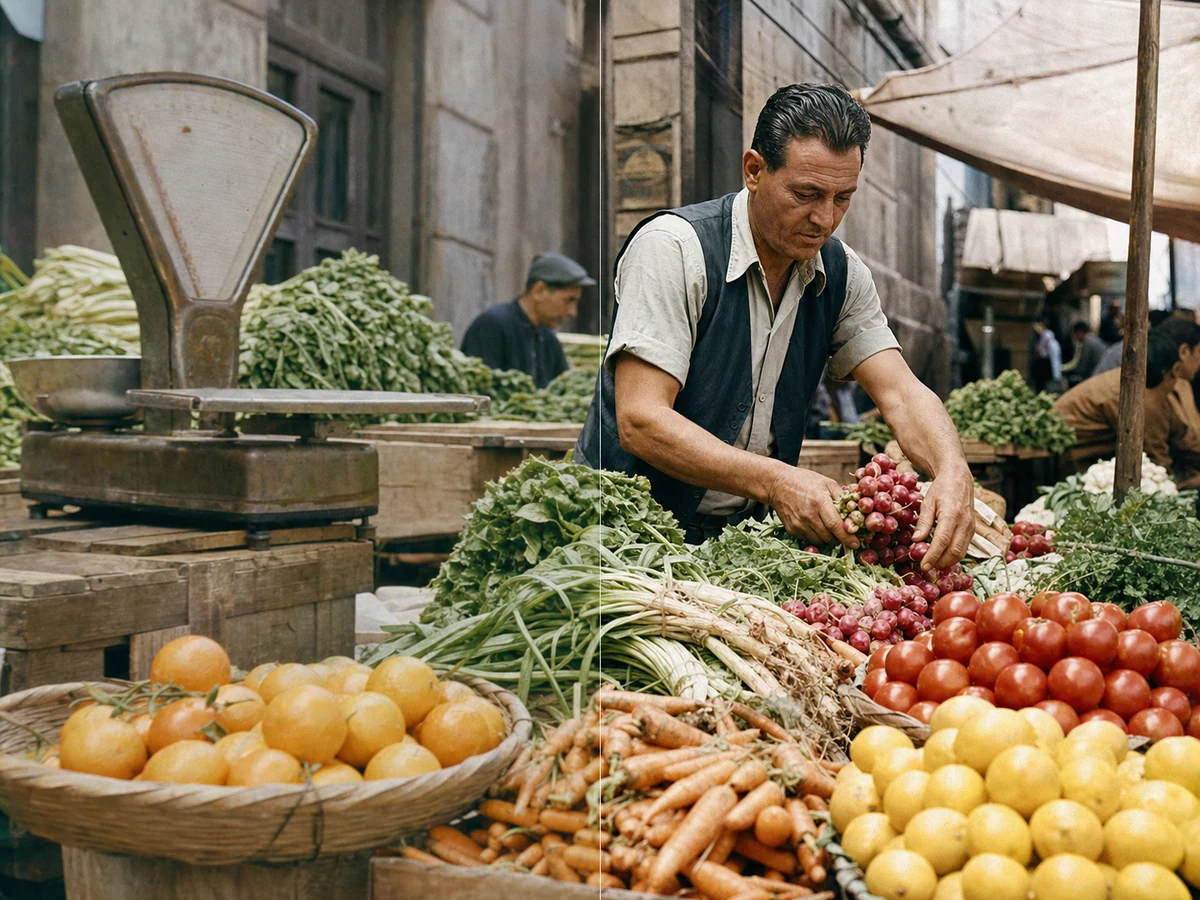
After colorization, use Image Enhancer when the result still looks soft, noisy, or low in contrast. It can improve facial detail, fabric texture, edges, and overall clarity while keeping the established color palette, making the finished image easier to share or publish.
Enhance a Colorized Image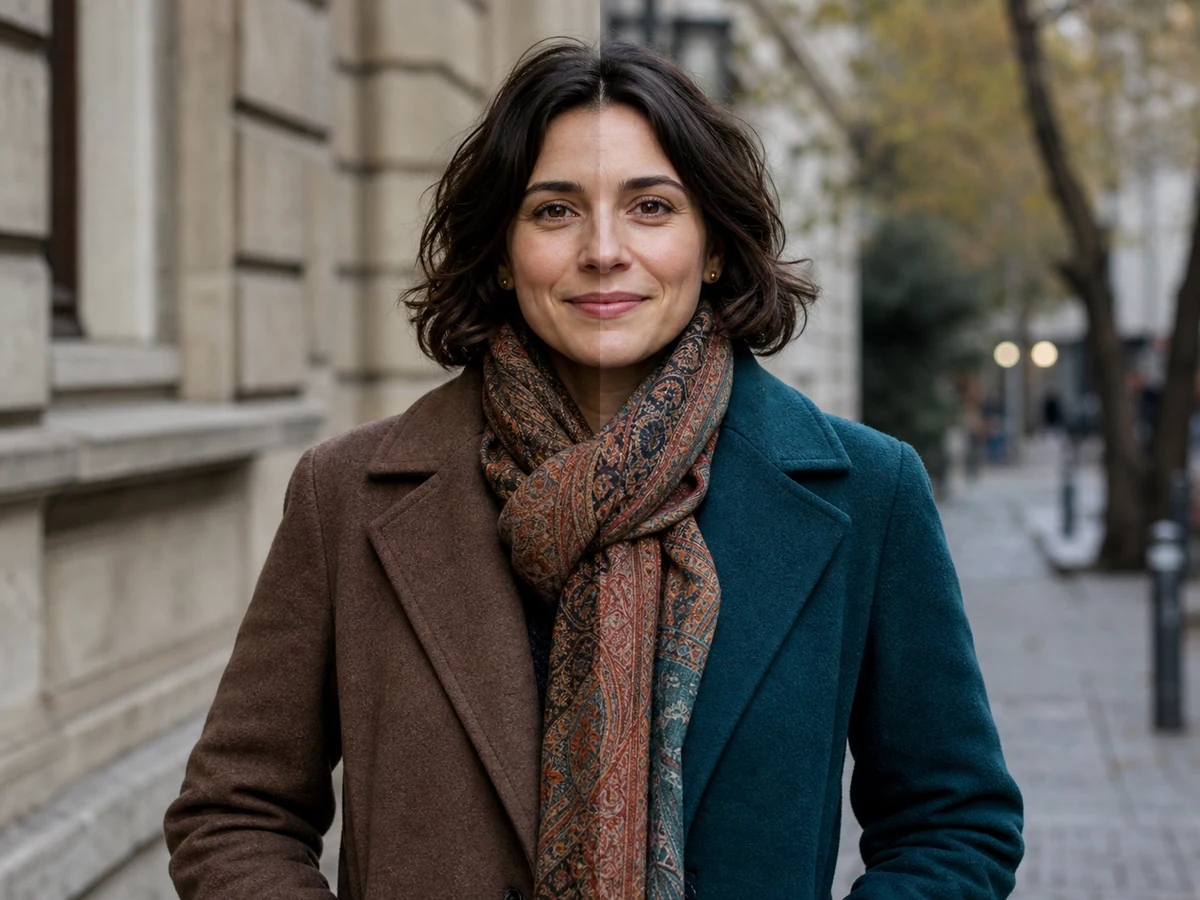
Move to AI Photo Editor when most of the colorization is correct but one garment, object, or background detail needs adjustment. Describe only the color and region you want to change so the editor preserves the subject, composition, lighting, and all approved colors elsewhere.
Refine Colors with AI Photo EditorAn AI image colorizer analyzes subjects, materials, and scene context to add plausible color to grayscale photos or drawn artwork. This page supports photography, manga, comics, sketches, line art, anime, illustrations, and product images.
Photo Colorizer is a focused, simpler workflow for old and black-and-white photos. AI Image Colorizer is the broader color hub with artwork scenes, style controls, text guidance, and subject reference colors.
Yes. Select the matching image type so the model can favor clean contours, readable regions, and artwork-appropriate color treatment.
Yes. In Smart Colorize mode, add plain-language color notes for hair, clothing, objects, materials, background elements, or lighting.
The reference image guides colors for the corresponding main subject only. It does not replace the original subject, background, pose, composition, or overall lighting.
No. Reference Color mode uses a dedicated subject-only reference workflow. Scene presets, filters, and user color notes are excluded to avoid conflicting instructions.
The workflow is designed to preserve identity, anatomy, framing, objects, text, and composition. As with any generative model, review important historical or commercial details before publishing.
You can upload JPG, PNG, and WebP images and select PNG, JPG, or WebP for the processed result.
Each colorization task uses 5 credits. The required credit amount is shown directly on the action button before processing.
Yes. Uploaded images and applicable text guidance are checked by automated content moderation before the task is processed.