
01
AI upscaling, not just stretched pixels
An AI image upscaler estimates edges and textures while adding pixels. It can make small photos more usable at larger sizes, but cannot guarantee recovery of details missing from the original.

Enhance photo quality and clarity

Restore old photos and recover details

Upscale images to 4K resolution

Remove blur and restore sharpness

Enhance image clarity with AI super resolution

Sharpen blurry text in images and screenshots

Edit and enhance photos with advanced tools

Remove backgrounds and replace with custom colors

Remove unwanted objects and distractions

Replace selected image areas with a text prompt

Remove glare and enhance contrast in images

Transform black & white photos into vibrant color images

Colorize photos, manga, sketches, and artwork with guided colors

Apply artistic styles and filters to your photos
Upscale low-resolution images with AI for sharper edges, richer textures and clearer details. Enlarge photos 2x or 4x, with output up to 16K.
Enlarge photos for prints and larger screens
Drag & drop or click to browse
Upload 1–20 images; multiple images require VIP.
Choose the enlargement your image needs, then judge the result at its intended size.
An AI image upscaler estimates edges and textures while adding pixels. It can make small photos more usable at larger sizes, but cannot guarantee recovery of details missing from the original.
Double or quadruple width and height, or choose 2K, 4K, 8K and, with the standard model, 16K. Available choices vary by model; presets are not a promise of a fixed 16:9 crop.
The standard model offers sizes up to 16K; the fast model offers up to 8K, with an 8192-pixel output limit on either side. Check the available options and credit cost before processing.
Upload JPG, PNG or WebP images up to 18 MB each and choose an output format. Upscale a single image, or use VIP batch upscaling to enlarge up to 20 images with the same settings.
Explore photo enlargement for landscapes, portraits, products and artwork. Compare edges and textures to see where a larger image can help your next project.
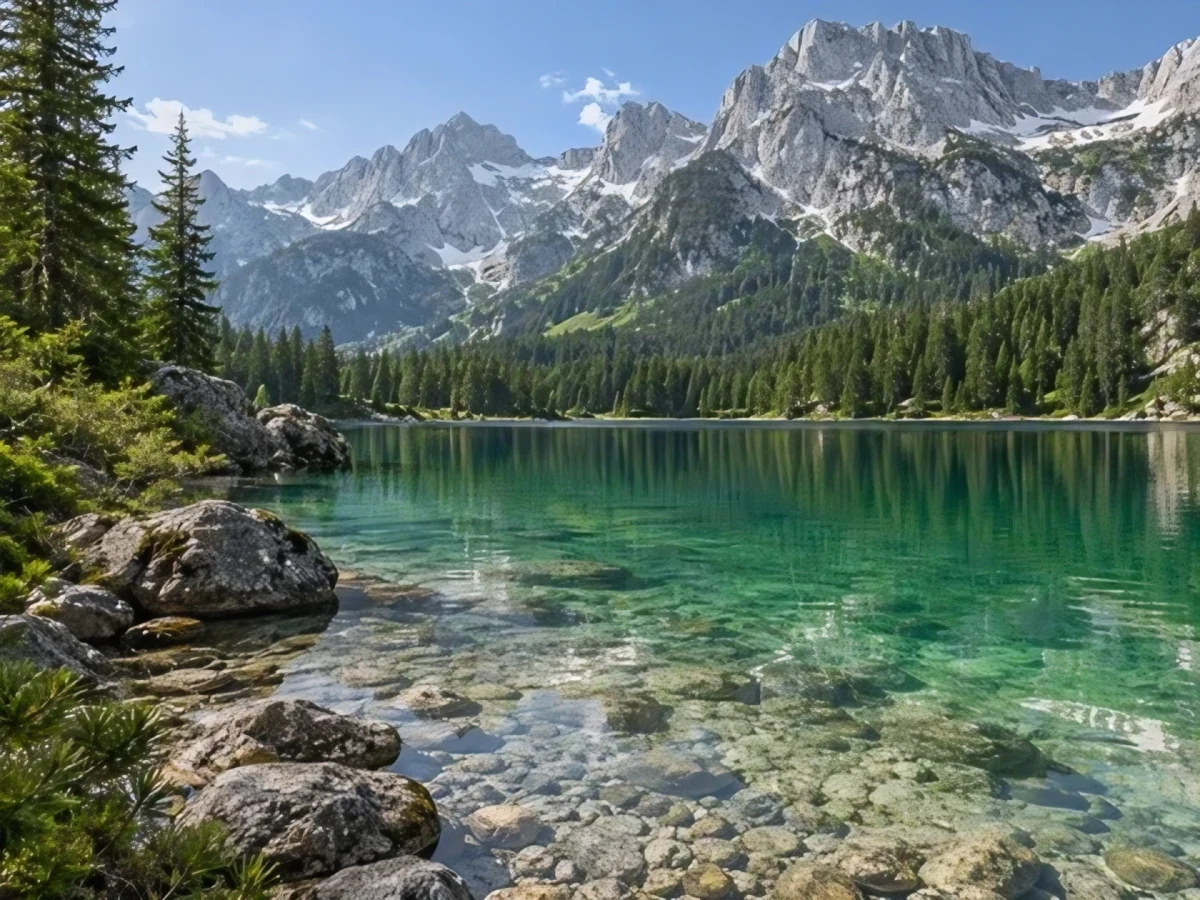
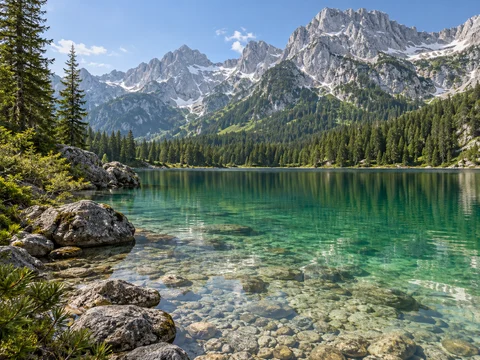
A 480 × 360 landscape enlarged to 1920 × 1440 at 4x. Inspect the tree line and rock textures instead of judging only the file size.
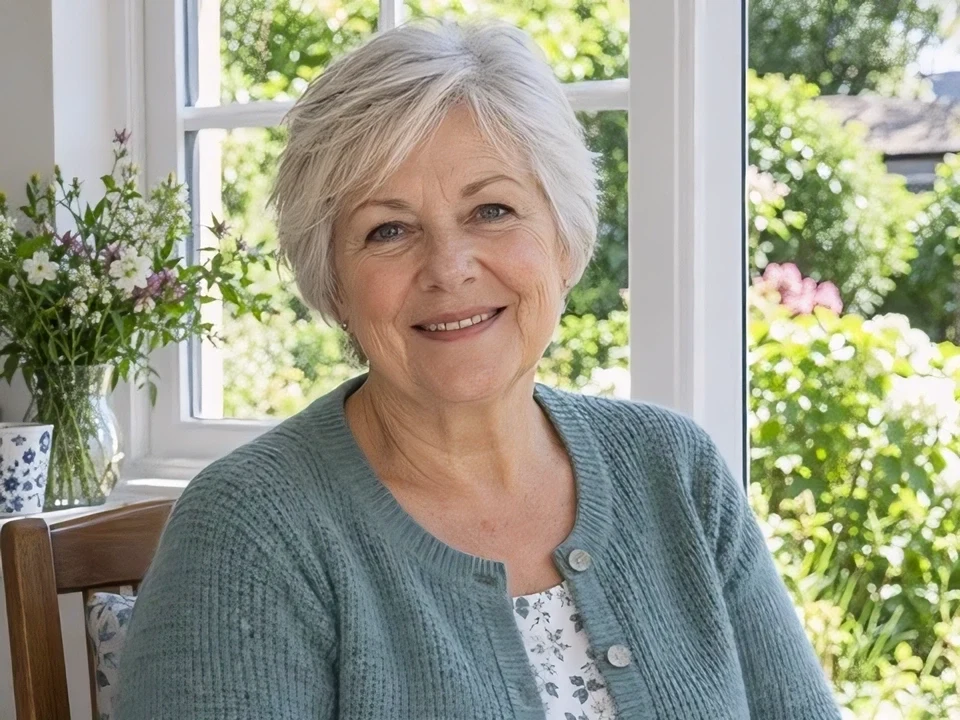
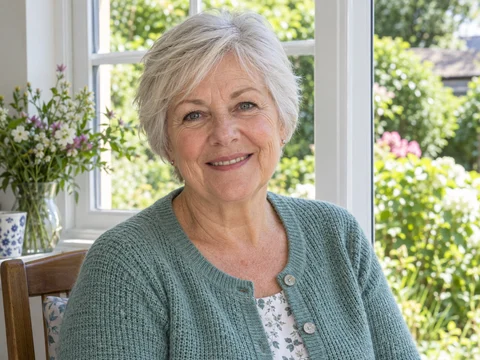
This 2x portrait example lets you compare hair, skin and knit texture. Check facial features against the original before ordering a photo print.
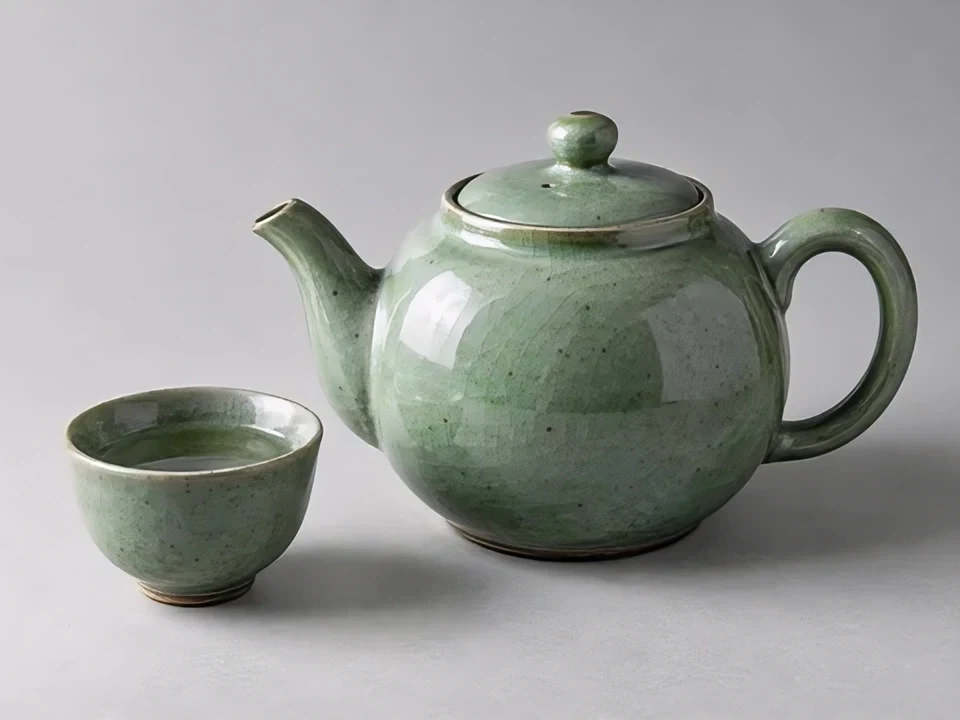
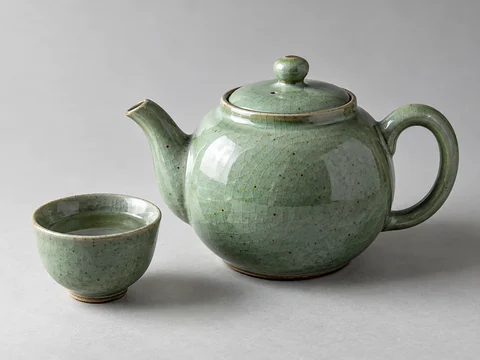
See the glaze and edges of a ceramic teapot at 2x. Larger product images still need a check for accurate shape, color and markings.
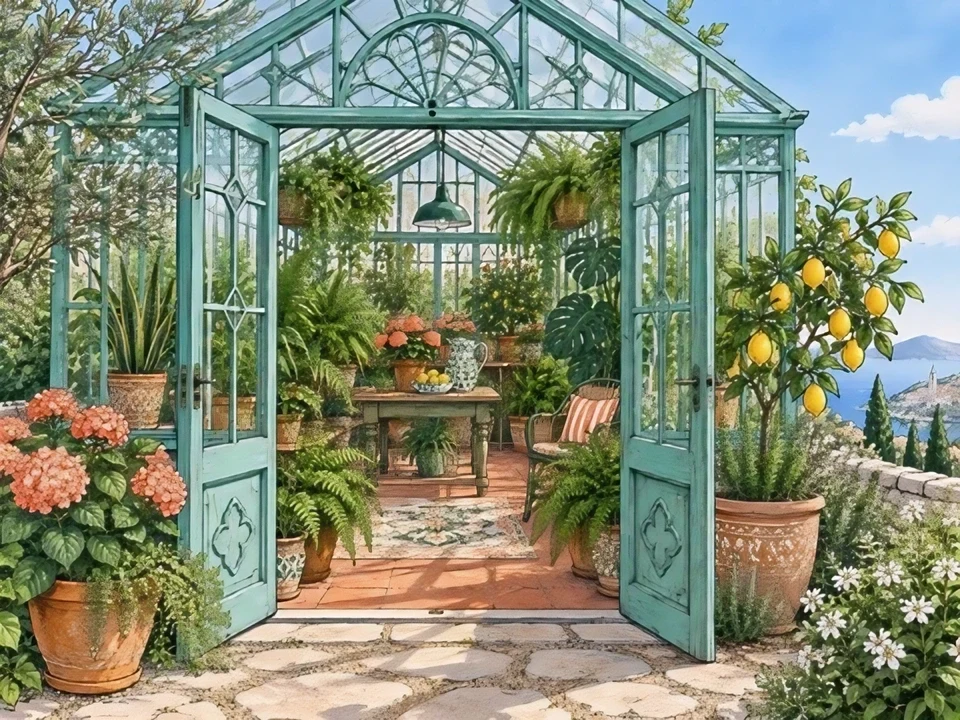
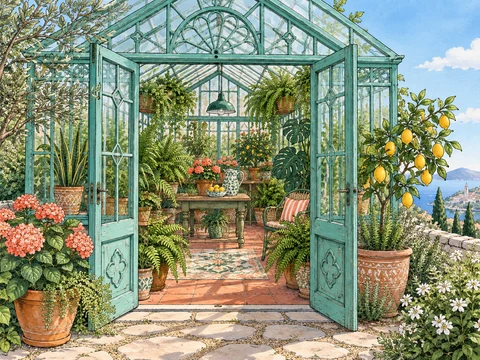
Compare fine lines and painted texture in this 2x illustration. Treat the output as a candidate to review, not a guarantee that every brushstroke is unchanged.
The right target depends on where the picture will be used, not on choosing the biggest number.
Enlarge a photo for framing, a photo book or a poster. Get the printer's required pixel dimensions first and check a proof before ordering a large print.
Upscale a small wallpaper for a larger display. Match the screen's aspect ratio separately; adding pixels does not extend the image or turn a portrait into a wide background.
Make a small product photo large enough for a store gallery or closer viewing. Inspect labels, logos and material texture against the real product before publishing.
Prepare a small family portrait or a cropped scan for display. Scan the original at a higher resolution when possible; repair scratches before enlarging.
Upscale artwork for a portfolio or print. Start with a modest enlargement and compare linework and brush texture so added detail does not change the intended style.
Work with a small shared photo when the original is unavailable. Ask for the original file first: enlarging a compressed copy cannot recreate every lost detail.
Check the source width and height before choosing a target. More pixels and more faithful detail are not the same thing.
Finish edits and cropping first, enlarge once, and inspect the downloaded dimensions. Choose a smaller target if the result looks artificial.
A better source and a careful final check usually matter more than the maximum resolution.
Avoid repeated screenshots and message-app copies. Keep your original, and make the final crop before upscaling with the image cropper.
A small image and a blurred image are different problems. For missed focus or camera shake, try to unblur the photo first, check it, then enlarge only as needed.
AI may invent plausible detail. Compare names, numbers and faces with the original; use text image enhancement for a text-focused task, and still verify every important character. Prefer vector originals for logos.
Free credits are a limited allowance, not unlimited free upscaling. Review plans and credits and the image privacy policy before uploading sensitive photos.
Use another tool only when the source needs it. Finish content changes and repairs before your final enlargement, then choose the size for your print or screen.
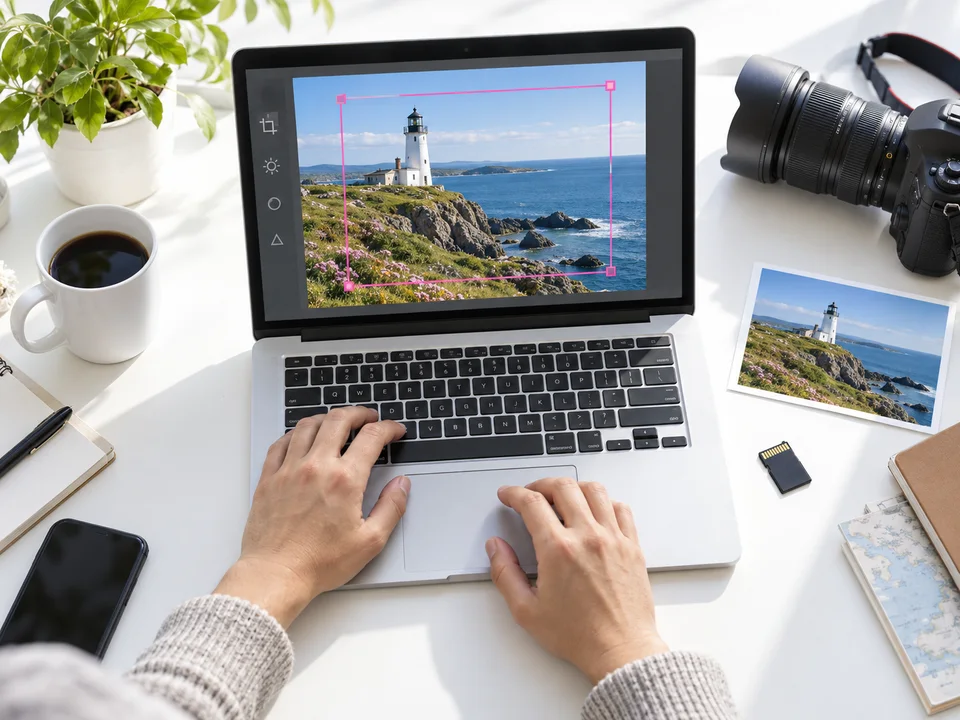
Remove a distraction or change the composition in the photo editor first. Review the edit, then bring the finished image here to increase its resolution for the final use.
Edit a photo before upscaling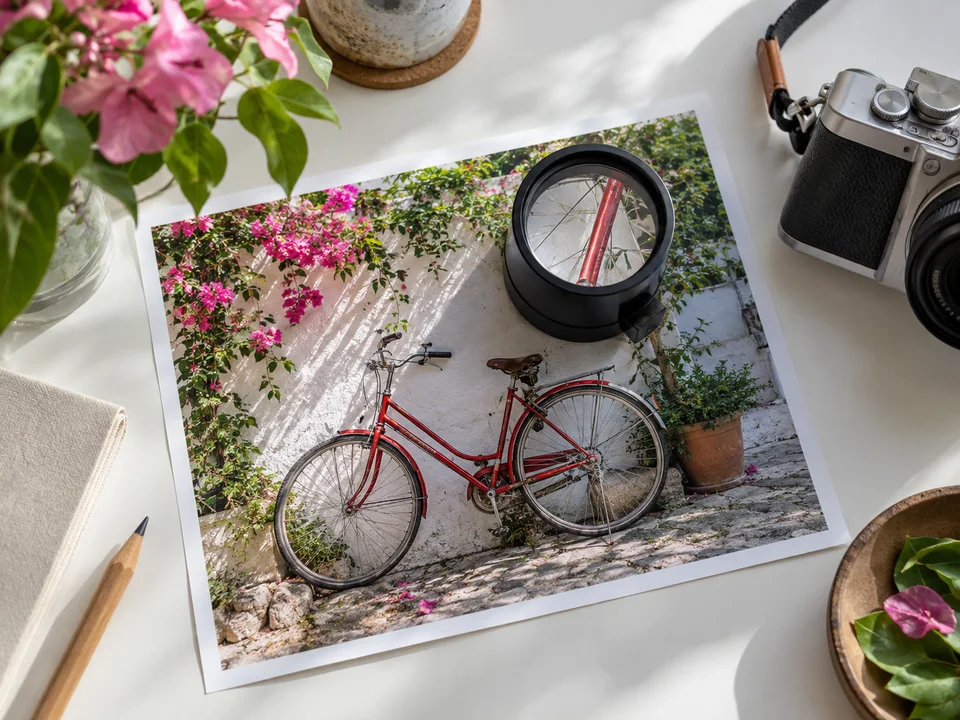
If the source is out of focus rather than simply too small, start with the unblur tool. Check edges and facial features before adding pixels so an enlargement does not merely magnify blur.
Fix blur in the source photo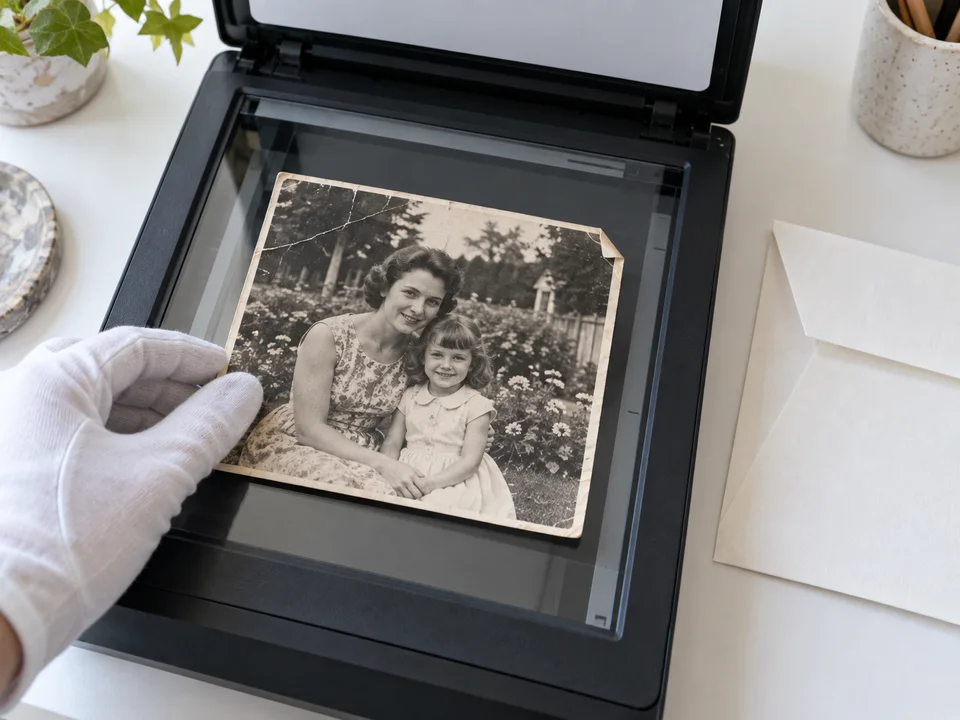
Scratches, creases and fading need repair, not just a larger file. Restore the scan first, inspect the repaired details, then upscale for the intended print size.
Restore a photo before enlargingUpload a JPG, PNG or WebP image, then choose a model, 2x or 4x enlargement or an available resolution preset, and an output format. Check the credit cost and confirm to start. Compare the result before downloading.
Yes. VIP members can batch upscale up to 20 images; non-VIP users can upload one image at a time. Upload your photos, choose a model, output size and format, then confirm to process the batch with the same settings. Credits are calculated per image, and the total is shown before you start.
AI can reduce the soft or blocky look of simple enlargement, but completely lossless detail recovery is not guaranteed. Results depend on the original, and generated details may differ. Keep the original and compare at 100%.
You can try it with available free credits. Each job uses the credits shown for its settings; larger sizes can cost more. Free allowance, account requirements and paid access follow the current tool and pricing information.
Choose the smallest output that meets your needs. Both models offer 2x and 4x options; the fast model has an 8K output limit, while the standard model also offers 16K. A 16K file is not automatically more accurate or better for printing.
Start with the print size and your printer's requested PPI. Multiply inches by PPI to find the required pixels: 8 × 10 inches at 300 PPI needs 2400 × 3000 pixels. Upscale if necessary, check the crop and ask for a print proof.
Changing only the DPI or PPI metadata does not add pixels or recover details. Upscaling changes pixel dimensions; print settings determine how densely those pixels are placed on paper. This tool does not replace print layout or color proofing.
Yes, you can submit these as supported image files. Start with 2x and compare fine lines, faces and brush texture. If the model changes the style, use a smaller enlargement or return to a higher-resolution original.
Not reliably. A sharp-looking character or facial feature can be an AI estimate rather than recovered information. Use the original document or a clearer photo whenever accuracy matters; do not treat an enlarged image as proof of missing detail.
This page accepts JPG, PNG and WebP images up to 18 MB each and offers those three output formats. Resolution choices and output limits depend on the selected model.
Yes. Open this page in a supported mobile browser, upload a photo from your phone, then choose the output settings and confirm to start. Use a stable connection for large files and download the finished image rather than taking a screenshot of the preview.