
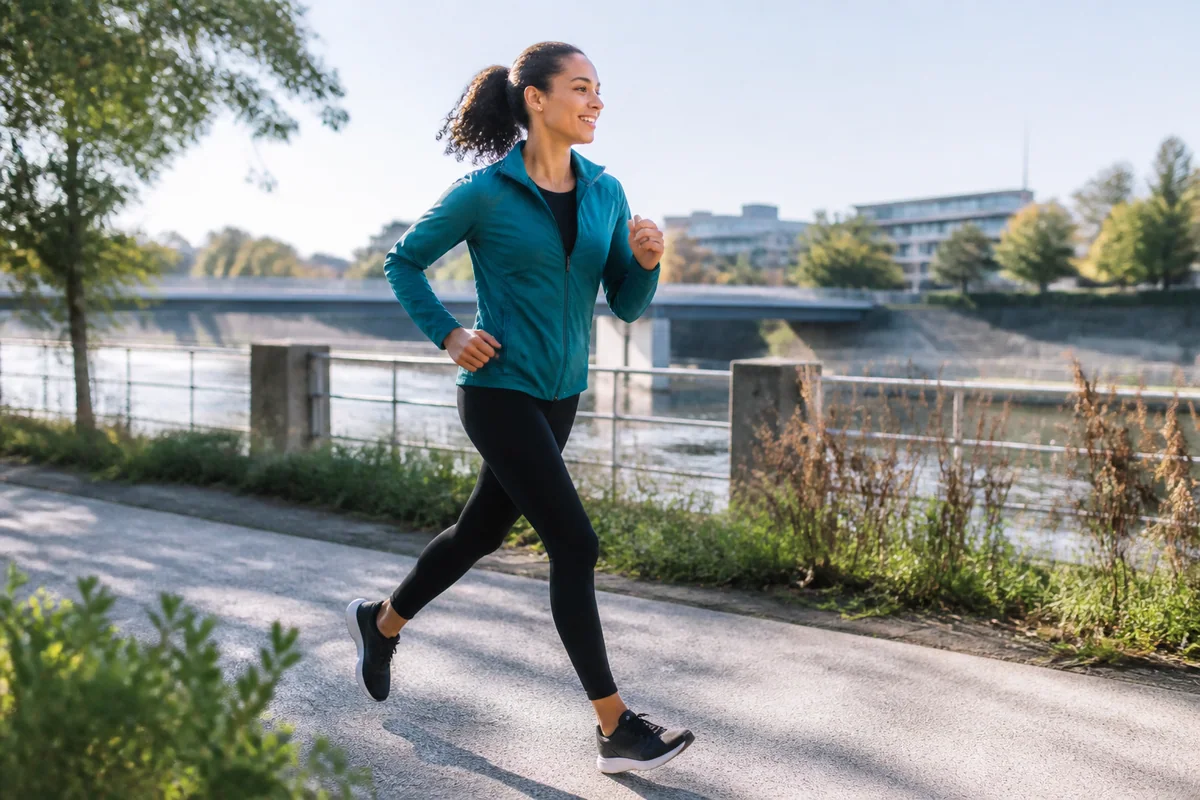
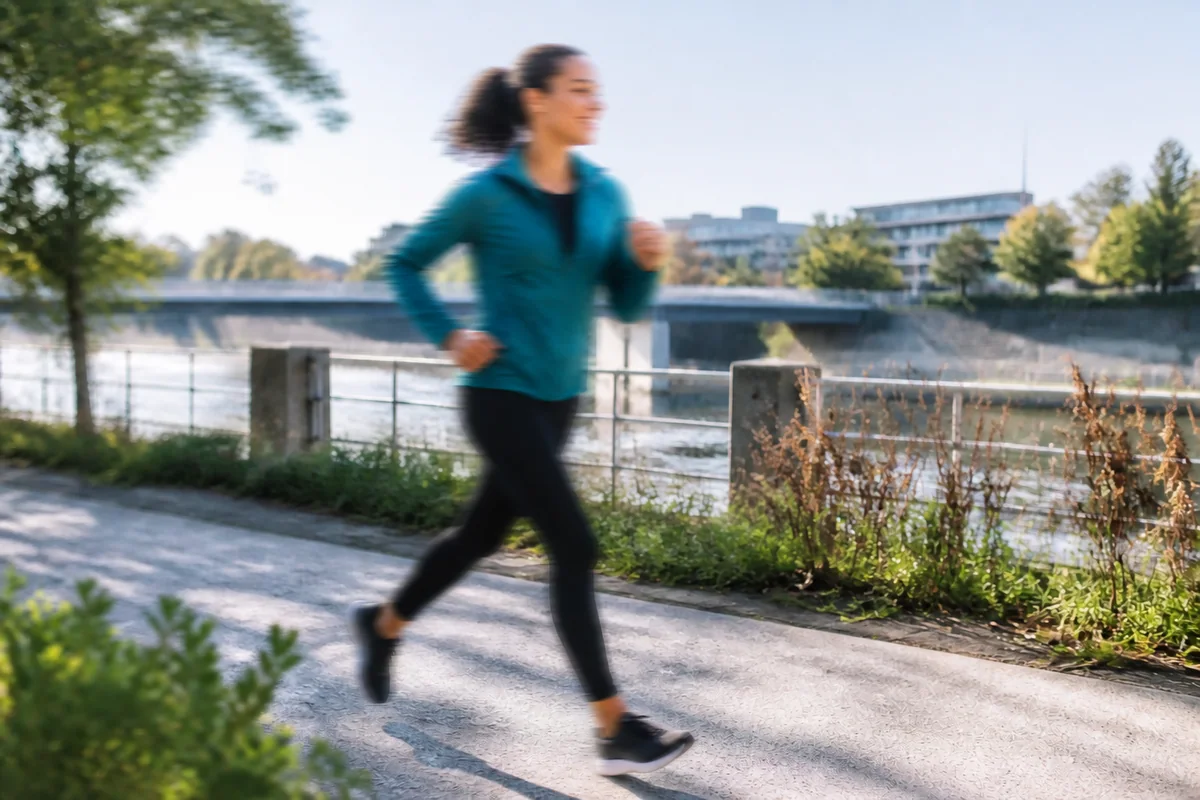
Blurred
Clear
Motion blur
Reduce directional streaks around moving people, pets, or vehicles while keeping the scene believable.

Enhance photo quality and clarity

Restore old photos and recover details

Upscale images to 4K resolution

Remove blur and restore sharpness

Enhance image clarity with AI super resolution

Sharpen blurry text in images and screenshots

Edit and enhance photos with advanced tools

Remove backgrounds and replace with custom colors

Remove unwanted objects and distractions

Replace selected image areas with a text prompt

Remove glare and enhance contrast in images

Transform black & white photos into vibrant color images

Colorize photos, manga, sketches, and artwork with guided colors

Apply artistic styles and filters to your photos
Upload a blurry image to reduce motion blur, camera shake, or soft focus. Preview a clearer, natural-looking photo online and start free with no software to install. Best results come from photos that still contain recognizable edges and facial detail.
 SharpBlurry
Drag & drop or click to browse
Output Format
Output Format
Compare three common causes of soft photos and see where an unblur image workflow can help.
Reduce directional streaks around moving people, pets, or vehicles while keeping the scene believable.
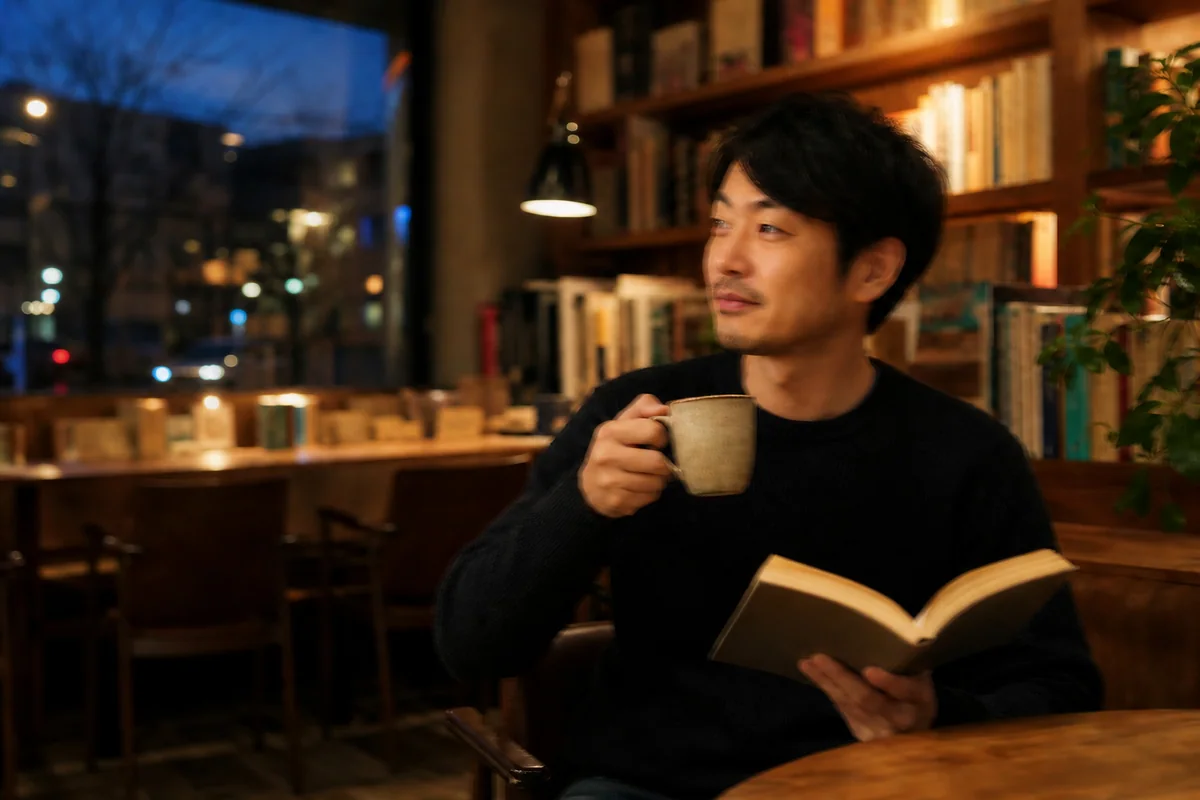
Correct mild whole-frame softness caused by handheld movement or slower shutter speeds.


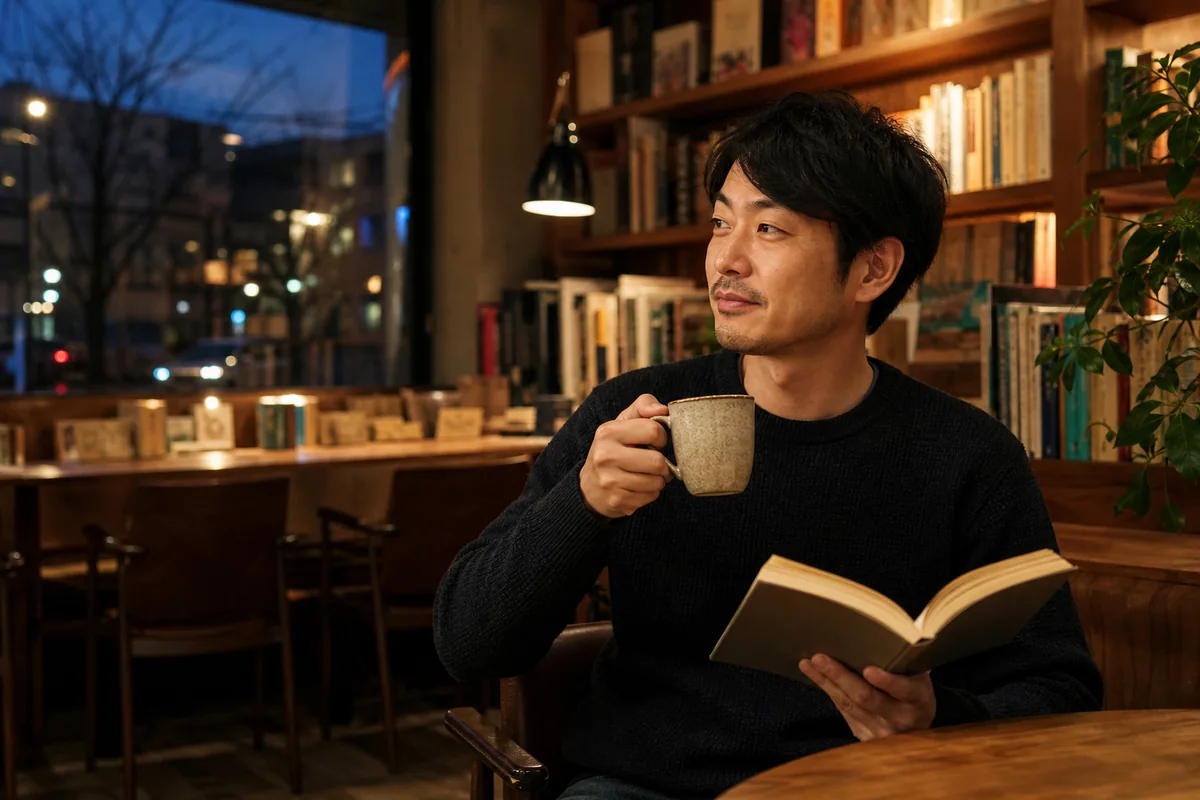
Improve soft portraits and objects when the camera focused just in front of or behind the subject.
Review unblur image examples for camera shake, motion blur, and soft focus. Results vary with blur strength and the amount of visible detail in the source.
Before-and-after examples for common blur types
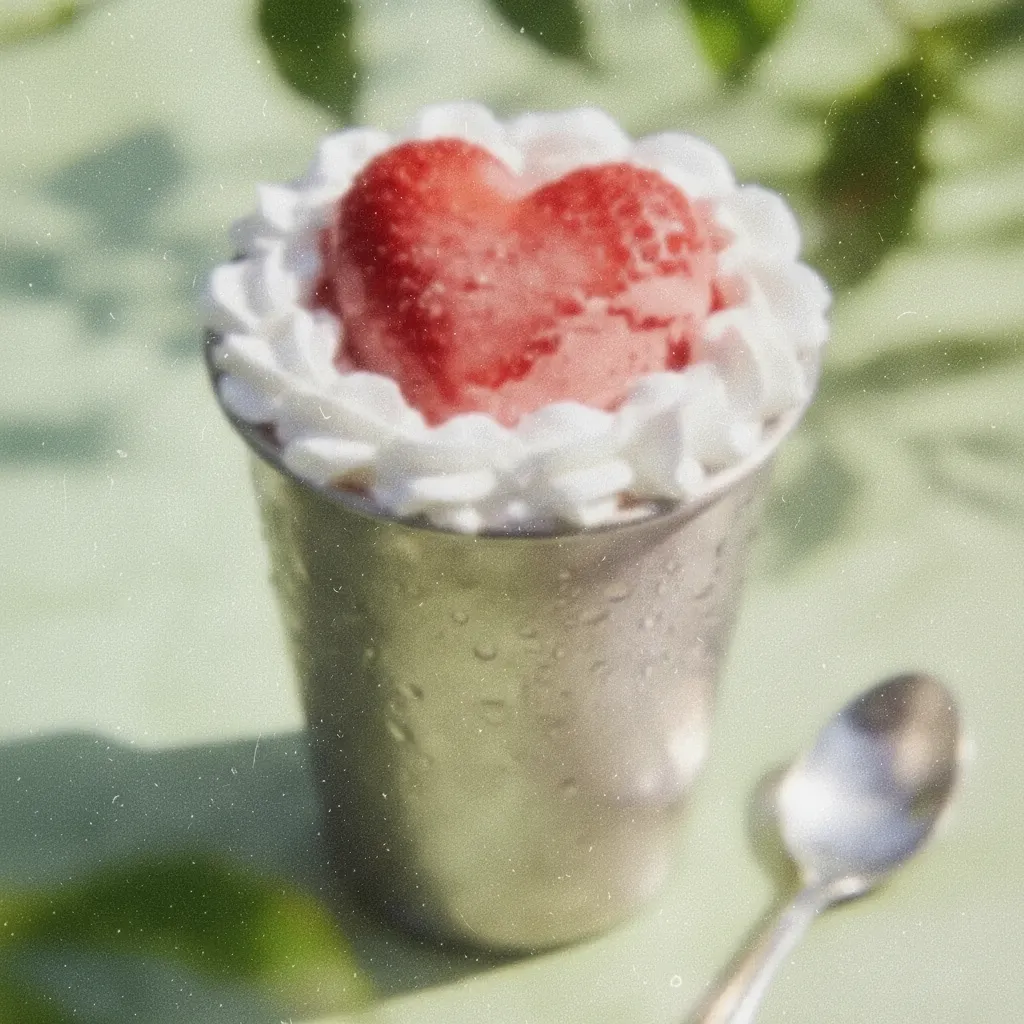
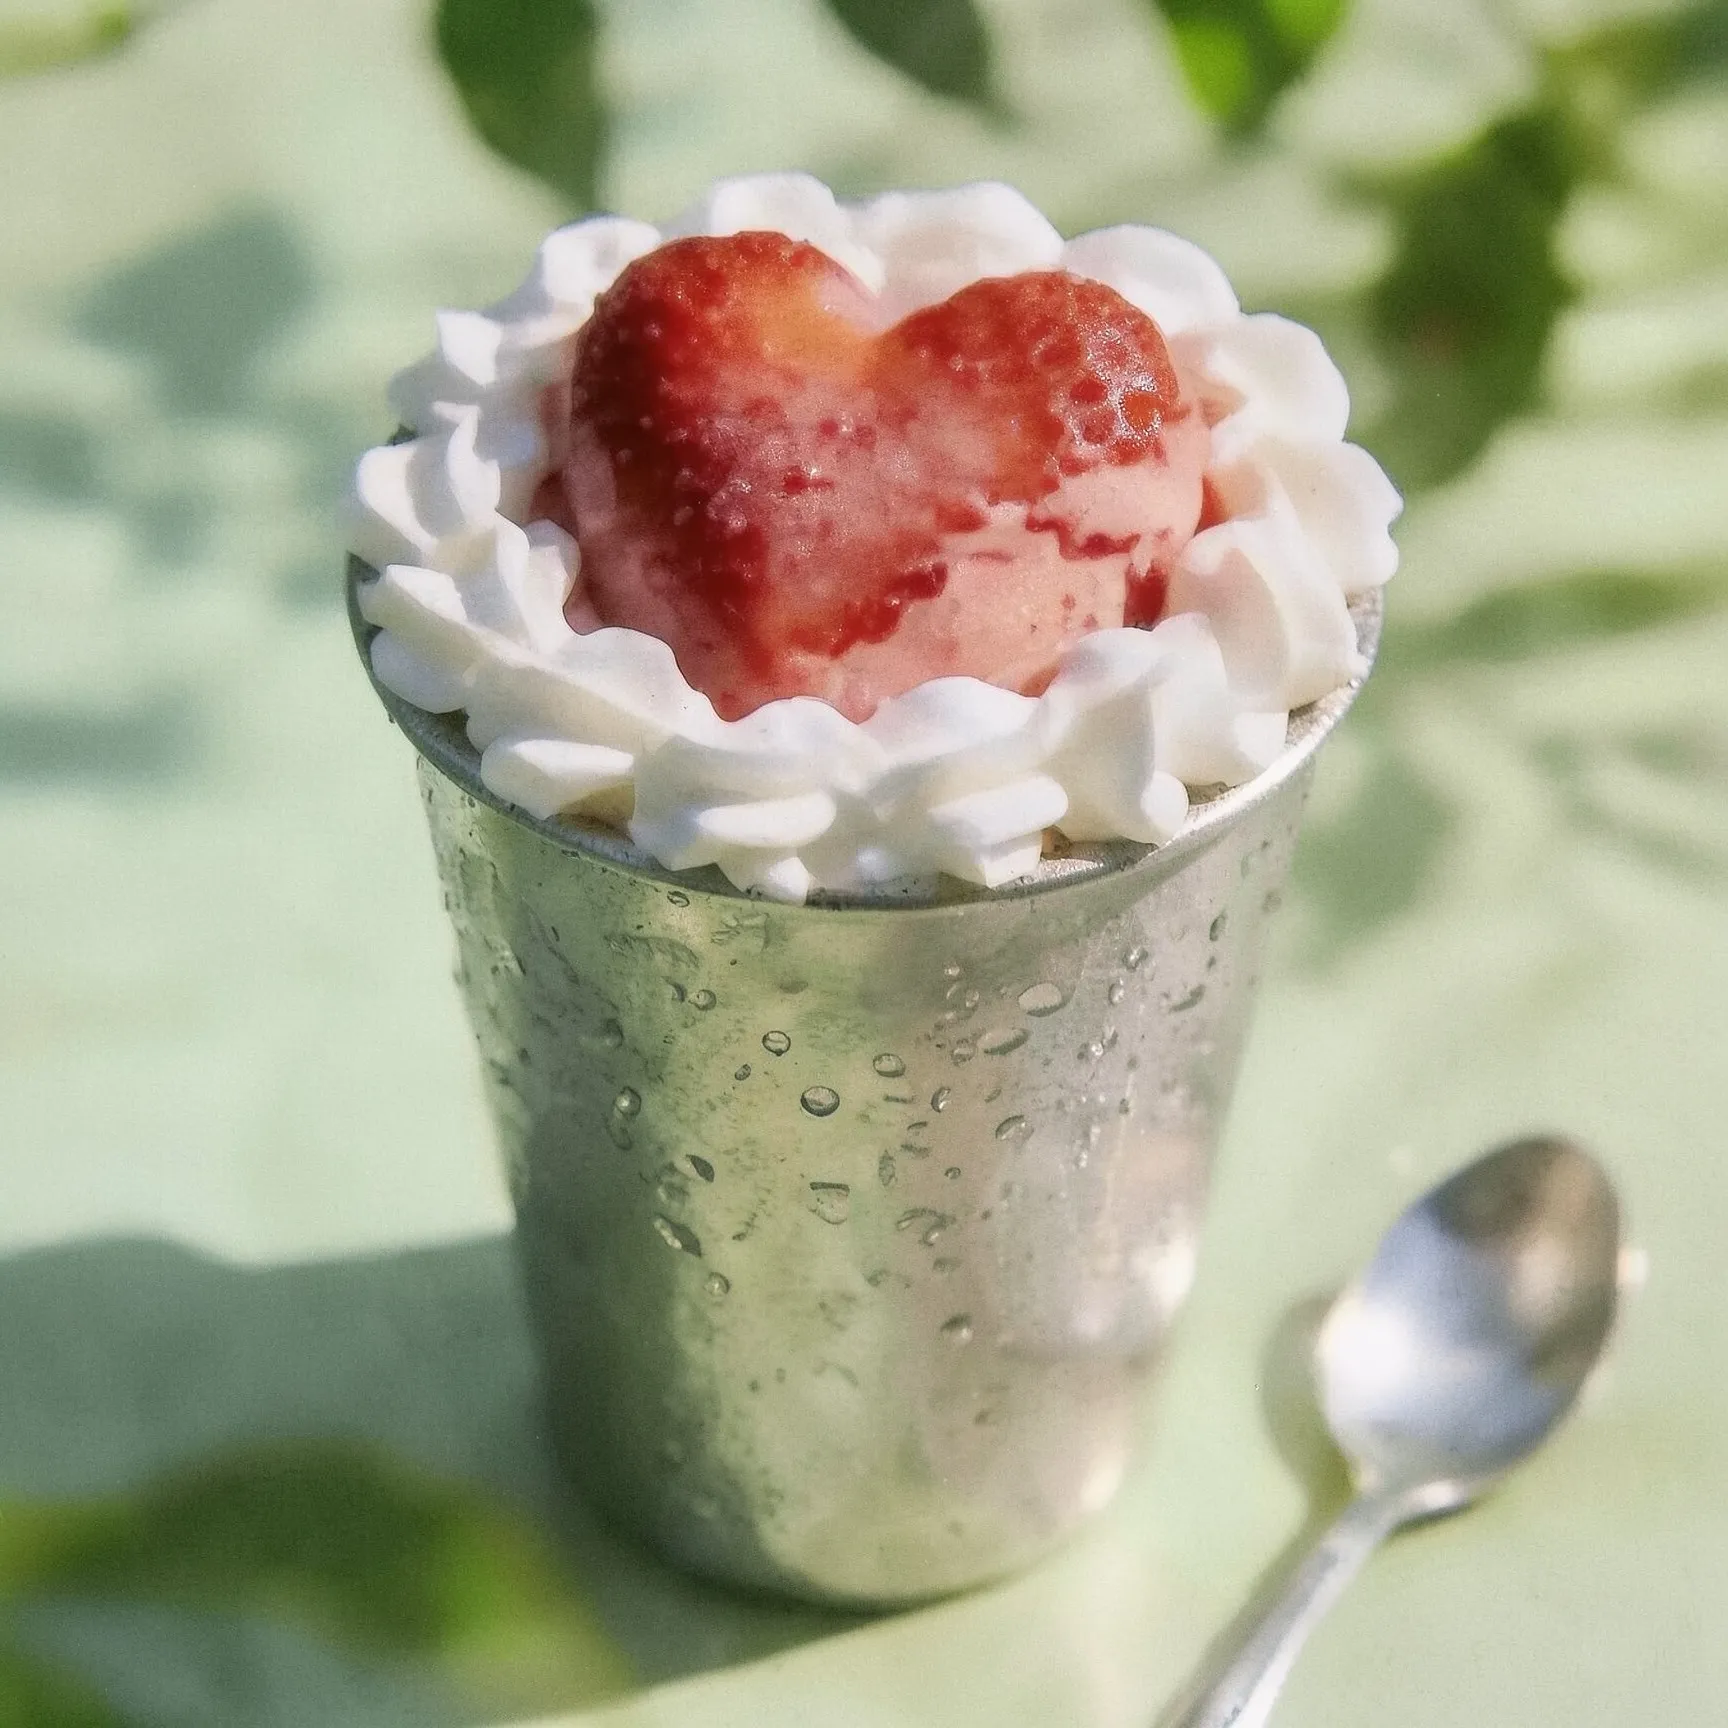
Reduce mild whole-frame softness caused by handheld movement or slower shutter speeds while keeping edges and textures natural.
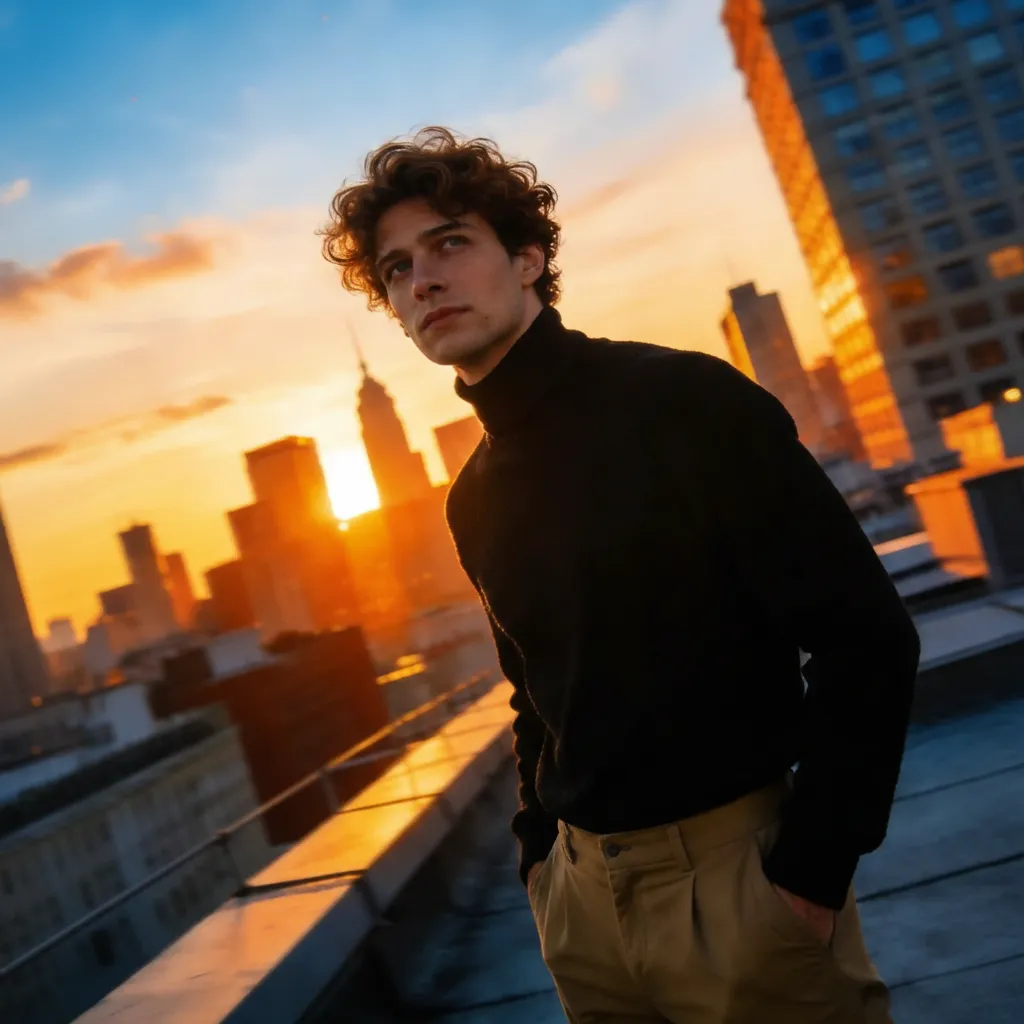
Improve a soft phone photo before sharing, especially when faces and important edges are still recognizable in the source.
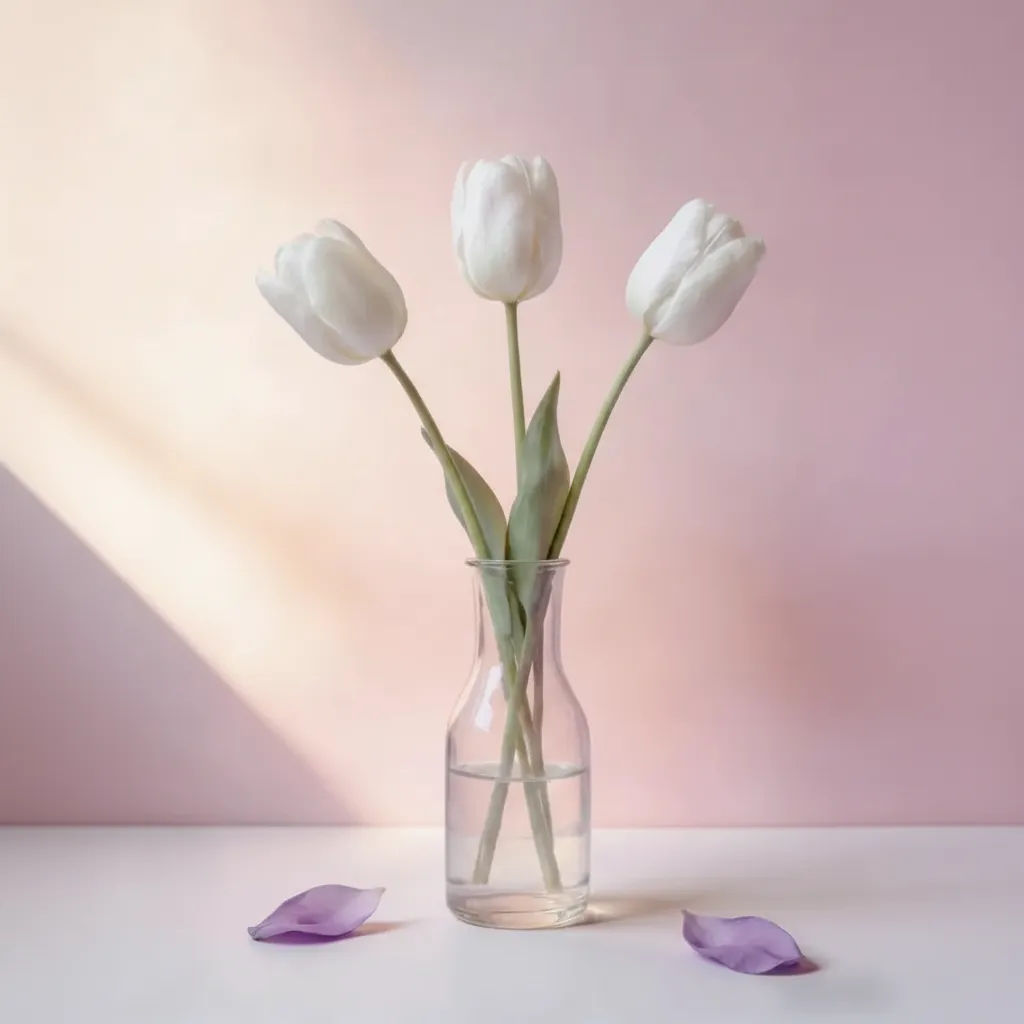
Improve light missed focus around portraits or objects. Strong defocus may remain because AI cannot recover detail that was never captured.


Refine visible facial features in selfies, group shots, and portraits without replacing the people or changing the original moment.
Match the visible problem to a realistic outcome before you use an unblur image tool. Source quality and blur strength matter more than file size alone.
Whole-frame softness with recognizable edges often gives an AI unblur image model enough information to improve clarity naturally.
Short directional trails around a moving subject can often be reduced, although fast movement may leave some softness.
An unblur photo pass can refine faces and object edges when the subject remains recognizable, but it cannot restore detail the camera never captured.
Large featureless blur areas contain too little source detail for reliable reconstruction and may develop artificial texture.
Start with deblurring if edges are visibly smeared, then increase pixel dimensions only after the clearer result has been checked.
For receipts, screenshots, signs, and scanned documents, unblur text online with the dedicated document workflow instead of general photo enhancement.
Recover useful clarity before sharing, printing, selling, or preserving an important shot.
Refine moving subjects when motion made an otherwise strong frame look soft.
Improve facial detail in selfies, family photos, and event pictures without changing the moment.
Make product edges, labels, and textures easier to inspect in online listings.
Clarify a soft scan before restoration, enlargement, or color work.
Better input, better output
A cleaner source helps the model distinguish real edges from compression noise, so a few choices before upload can improve an unblur image result.
Choose the full-resolution JPG, PNG, or WebP whenever possible. An original usually retains more recoverable edge and texture information than a saved preview.
Repeated compression can turn fine detail into blocks or ringing. Locate the earliest available file before using an unblur photo tool.
Complete the unblur image step for camera shake, motion blur, or soft focus first. Enlarging a blurry source also enlarges blur and compression artifacts.
Compare the result with the original at normal zoom. If only mild edge softness remains, sharpen the image online rather than running repeated deblur passes.
Upload the original JPG, PNG, or WebP when possible. A larger source with recognizable edges usually gives AI more useful detail than a compressed screenshot.
AI analyzes motion blur, camera shake, and soft focus, then improves visible edges and textures. Processing time and recovery vary with image size and blur strength.
Compare the preview with the original at normal zoom. Download the result if it looks natural, or retry with the original file before applying restoration or upscaling.
Not every blurry photo needs the same correction. Compare the best AI unblur image tools for different blur types, then use this order to avoid enlarging blur or overprocessing details.
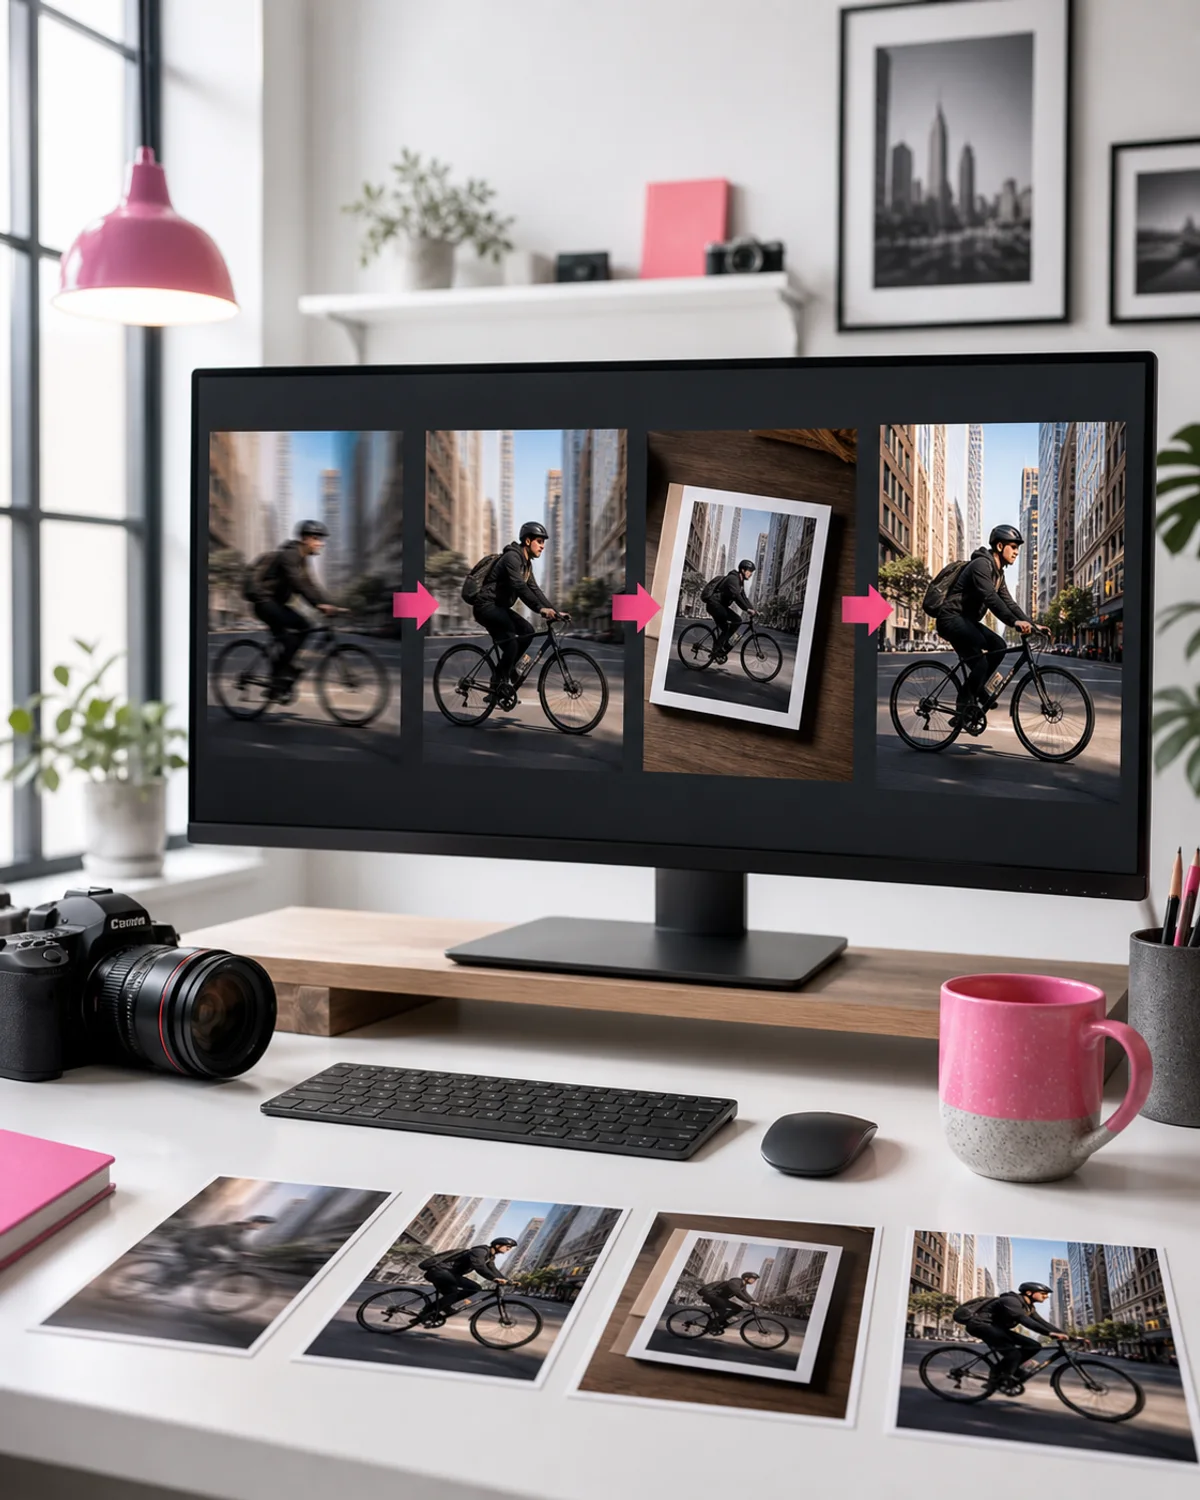
Start with the original file. Correct motion blur, camera shake, or missed focus first so later edits work with cleaner edges and more reliable detail.
If lighting, texture, or color still feels weak, enhance overall photo quality online without repeating aggressive sharpening.
For scans with blur, scratches, fading, or tears, continue with AI old photo restoration after deblurring the source.
Once the result looks naturally sharp, use an AI image upscaler for print to increase pixel dimensions for posters, albums, product pages, or larger screens.
Choose a focused tool only when the clearer image still needs better lighting, repaired damage, a clean background, or added color.
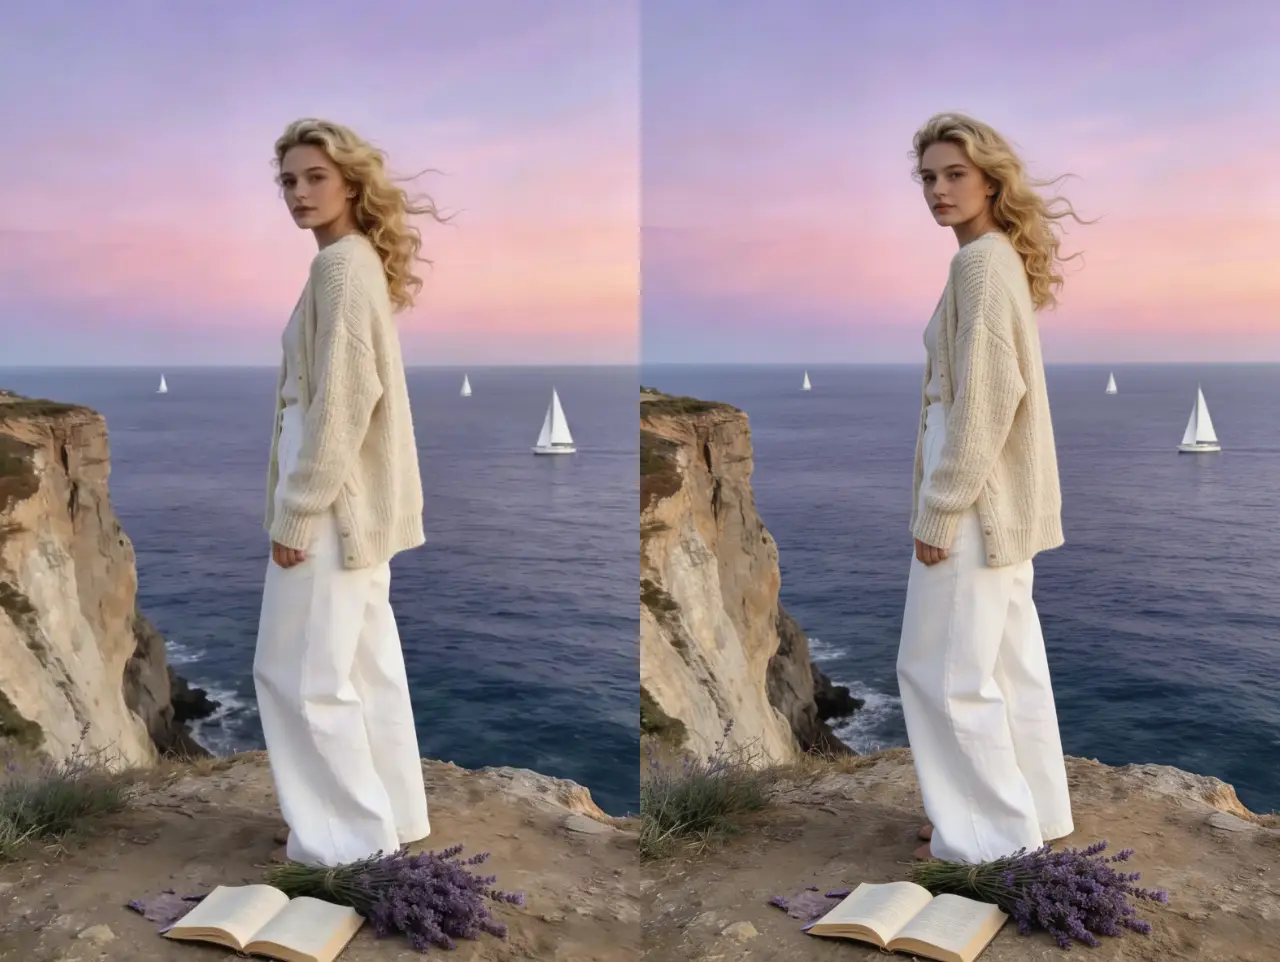
Improve lighting, color, noise, and overall clarity after deblurring without repeating aggressive sharpening.
Enhance Photos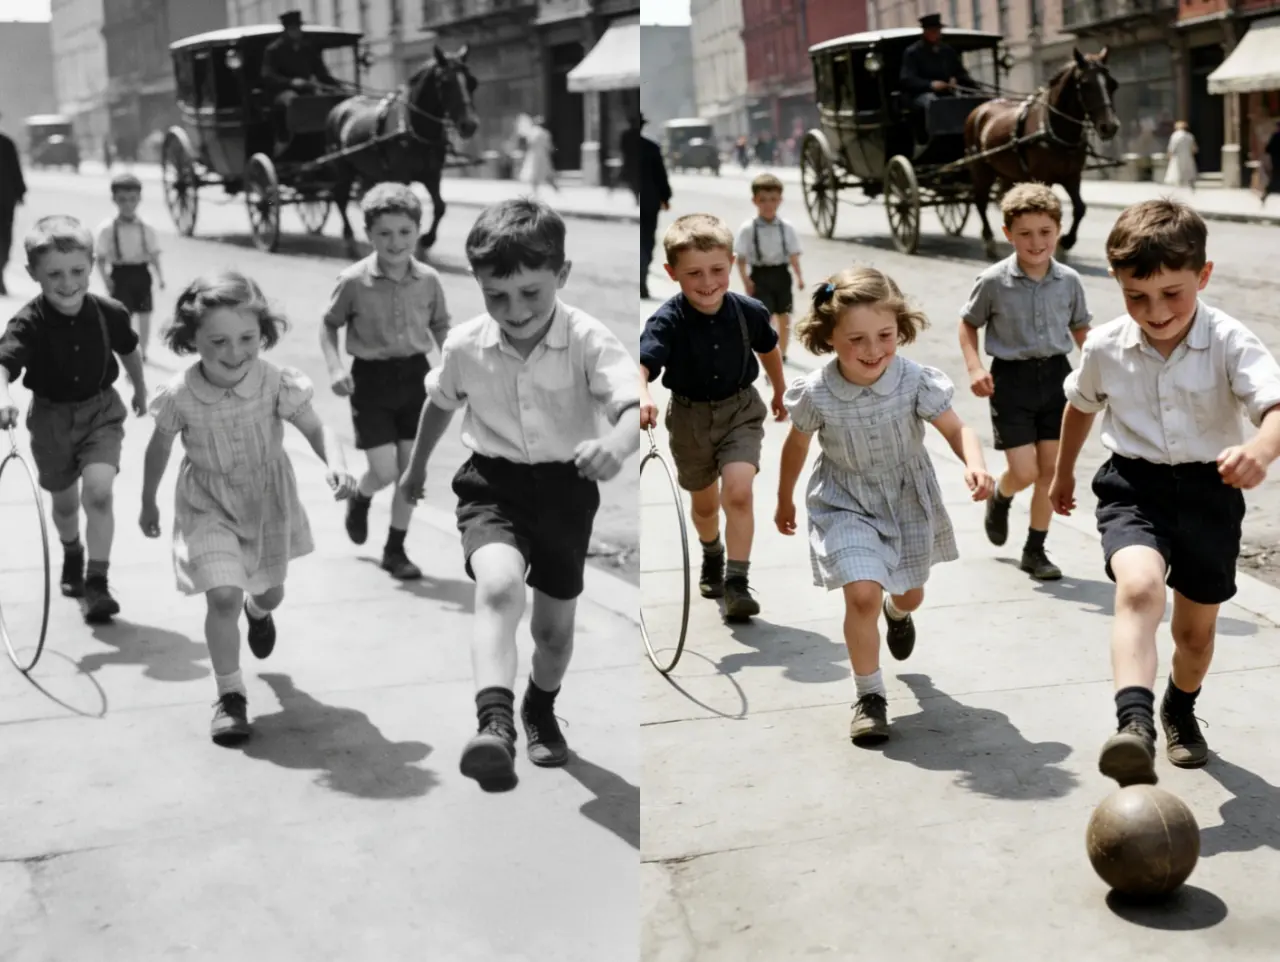
Repair scratches, fading, stains, or tears in an older scan after its soft focus or camera blur has been addressed.
Restore Photos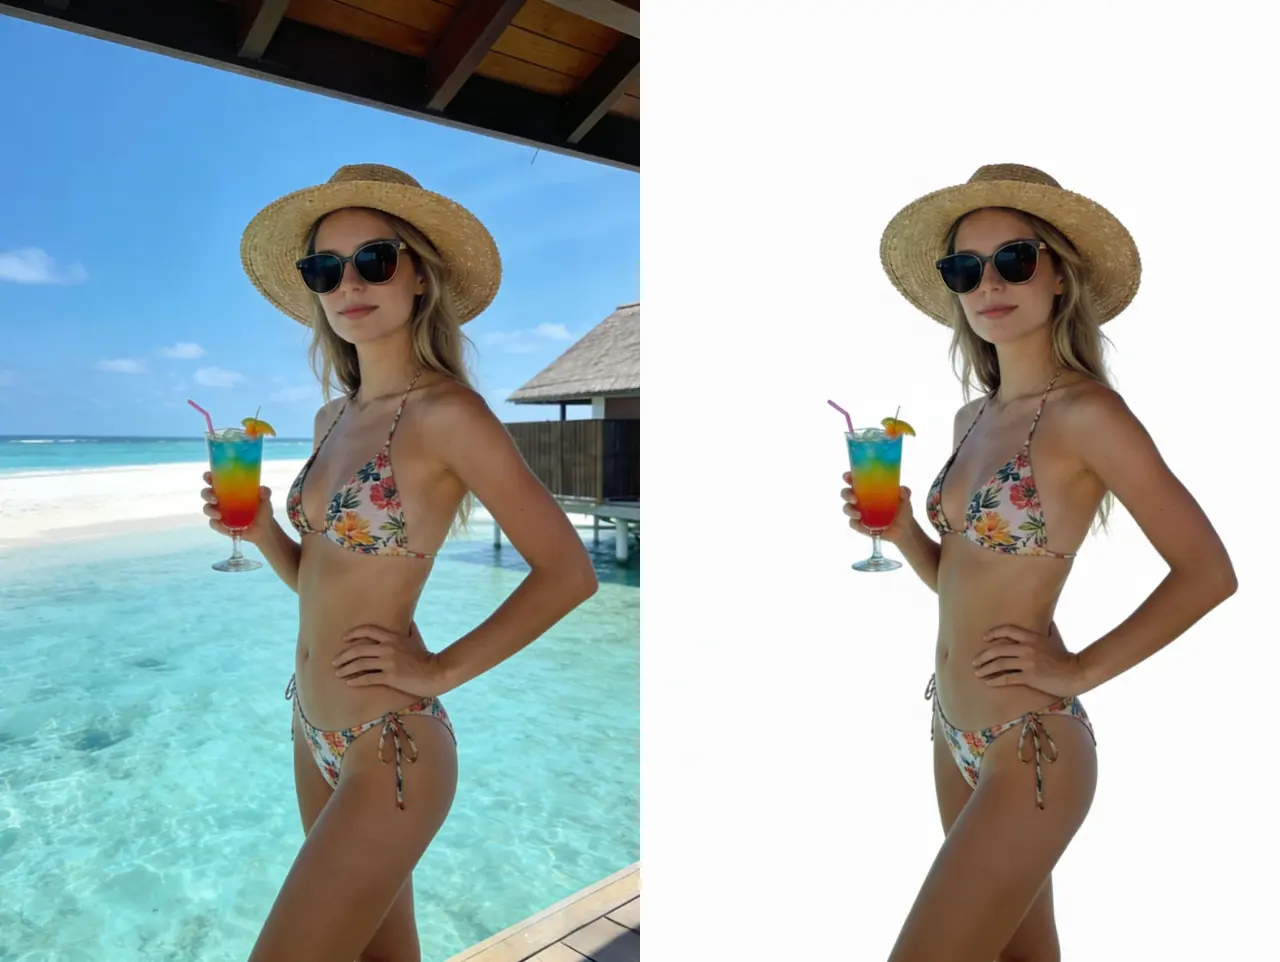
Isolate a clearer subject for product listings, profile images, or designs that need a transparent background.
Remove Background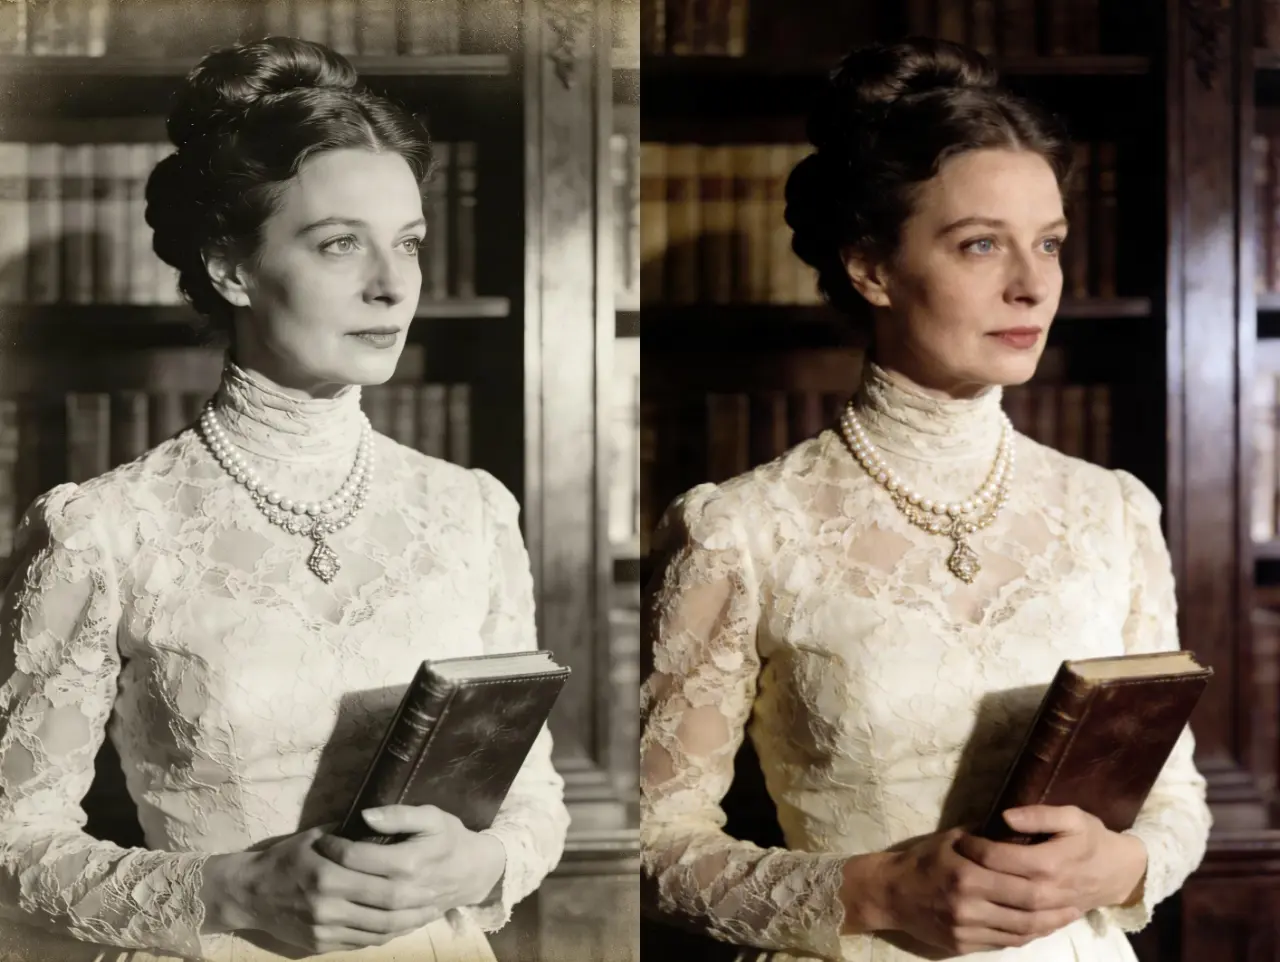
Add color to a black-and-white photo after improving blur and repairing visible damage in the source.
Colorize Photo