













How to Colorize Black and White Photos Online for Free
Quick answer: To colorize black and white photos online for free, upload a black-and-white image to an AI photo colorizer, let the tool add realistic colors, review skin tones and background details, then download the final image. With EzEnhancer, you can also repair scratches, fading, blur, and other old-photo damage before adding color.
Black-and-white photos have a special mood, but sometimes you want to see an old family portrait, wedding photo, street scene, or historical image in natural color. You no longer need Photoshop layers, manual brushes, or advanced editing skills to do it.
With an online AI photo colorizer, you can turn a black-and-white photo to color in a few steps. The important part is not only adding color, but checking whether the result still looks natural. EzEnhancer is especially useful for old photos because it can combine repair and colorization: restore damaged details first, then create a more believable color version.
What You Need Before Colorizing a Photo
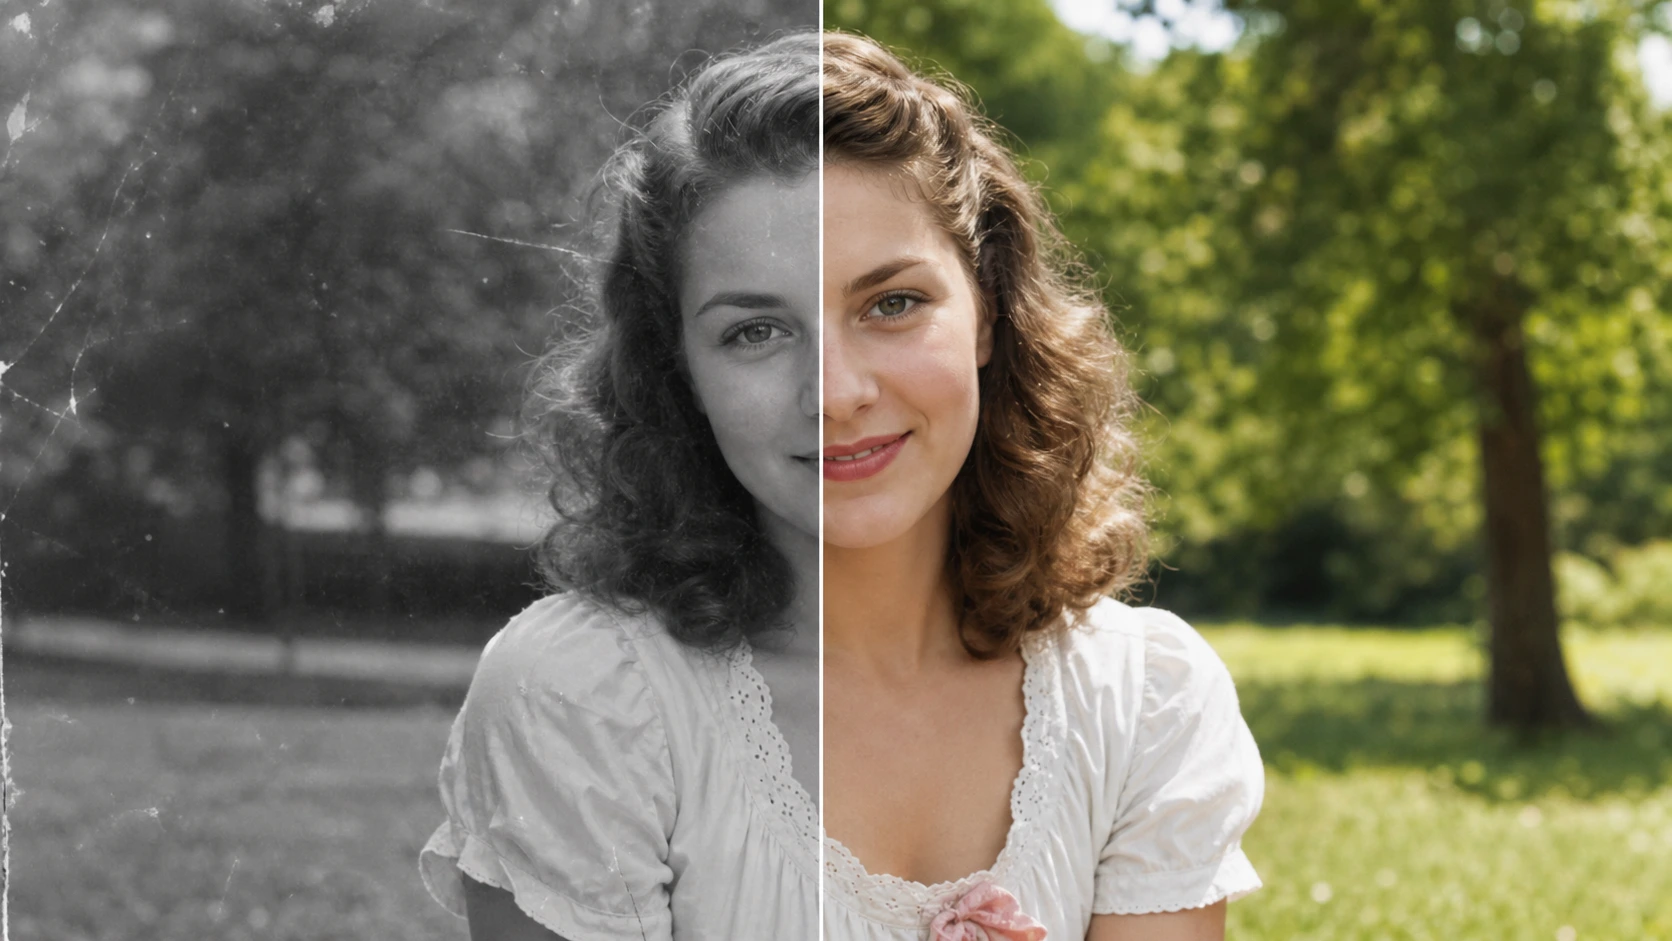
Before you colorize black and white photos online free, start with the best source image you have. AI colorization works by reading visual clues from the original image, so clearer photos usually produce better color.
Use this quick checklist:
| Source photo factor | Why it matters |
|---|---|
| Clear face details | Helps AI create more natural skin tones |
| Visible clothing texture | Helps separate fabric, buttons, collars, and accessories |
| Good contrast | Helps the colorizer understand edges and shadows |
| Minimal scratches | Reduces color bleeding around damaged areas |
| High-resolution scan | Gives the AI more detail to preserve |
If your photo is very blurry, torn, stained, or scratched, you may get better results by repairing it first. EzEnhancer supports this repair-plus-color workflow, so you do not have to treat restoration and colorization as separate projects. Colorization should enhance the memory, not paint over damage.
For fragile family prints, handle the original carefully and keep it after scanning. The U.S. National Archives' guide to digitizing family papers and photographs notes that digitization helps people view and share items without repeated handling, but digital files should not replace the original.
How to Colorize Black and White Photos Online for Free
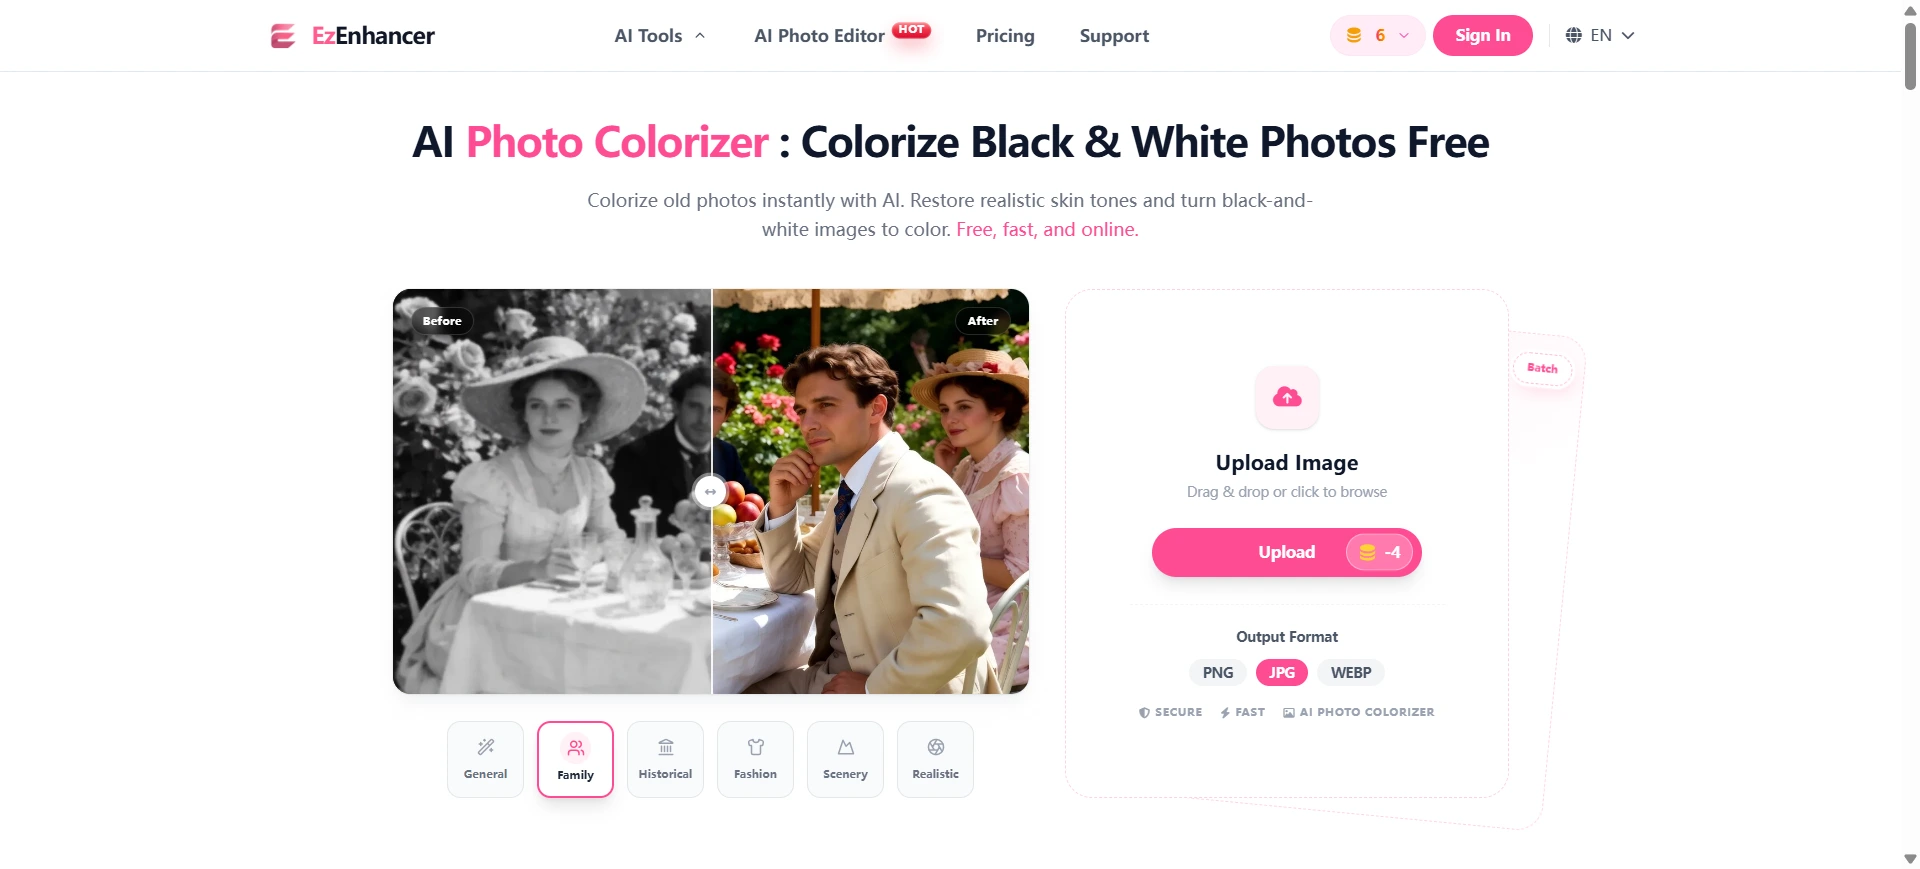
The easiest workflow is simple: upload, colorize, review, and download. Here is how to do it with EzEnhancer.
Step 1: Upload a Clear Black-and-White Photo
Open EzEnhancer's AI Photo Colorizer in your browser and upload the photo you want to colorize. You can use a scanned family photo, a black-and-white portrait, a vintage fashion image, a historical scene, or a grayscale landscape.
If the photo has obvious scratches, fading, soft focus, stains, or torn areas, start with EzEnhancer's Photo Restoration first. A cleaner restored image gives the colorizer better edges, faces, and textures to work with.
For best results:
- Crop away empty borders if they are distracting.
- Use the highest-quality scan or photo available.
- Avoid screenshots of already-compressed images when possible.
- Keep the original file safe before editing.
If you are scanning a physical print, make sure the photo is flat, evenly lit, and free from loose dust. A clean source gives the AI more reliable information.
Step 2: Let AI Add Natural Color
After upload, the AI photo colorizer analyzes the image and adds color automatically. It looks at faces, hair, clothing, objects, backgrounds, lighting, and texture patterns to create a realistic color version.
This is different from a simple color filter. A good photo colorizer does not just place one tint over the whole image. It tries to separate skin, fabric, sky, trees, wood, metal, and shadows so each area receives a more believable color.
When the source image has already been repaired, the colorization step usually looks more controlled. Scratches are less likely to catch random colors, faces have more usable detail, and clothing edges are easier for AI to separate.
The goal is not maximum saturation. The goal is a colorized image that still feels like the original photo.
Step 3: Check Skin, Clothing, and Background Colors
Do not download the result without reviewing it first. AI colorization is fast, but old photos can be tricky. A few seconds of checking can help you avoid fake-looking results.
Look closely at:
- Skin tones: They should look warm and natural, not orange, gray, or waxy.
- Eyes and lips: Details should stay recognizable and not over-smoothed.
- Clothing: Colors should not bleed across collars, sleeves, or buttons.
- Backgrounds: Sky, trees, walls, and furniture should feel balanced.
- Shadows: Dark areas should stay realistic, not muddy or oversaturated.
If the colorized result looks strange, the issue may come from the original image. Heavy blur, scratches, stains, and low contrast can confuse the AI.
Step 4: Download the Final Image
Once the result looks right, download the colorized image. EzEnhancer supports common output formats such as PNG, JPG, and WEBP, so you can choose a format that fits your use case.
Use PNG when you want a high-quality archive copy. Use JPG for easy sharing with family or posting online. Use WEBP when you need a smaller file for web pages or blog content.
If you plan to print the photo, use the strongest sequence: restore damage first, colorize second, review the result, then use an AI Image Upscaler if the final image needs more resolution.
Which Photos Work Best with an AI Photo Colorizer?
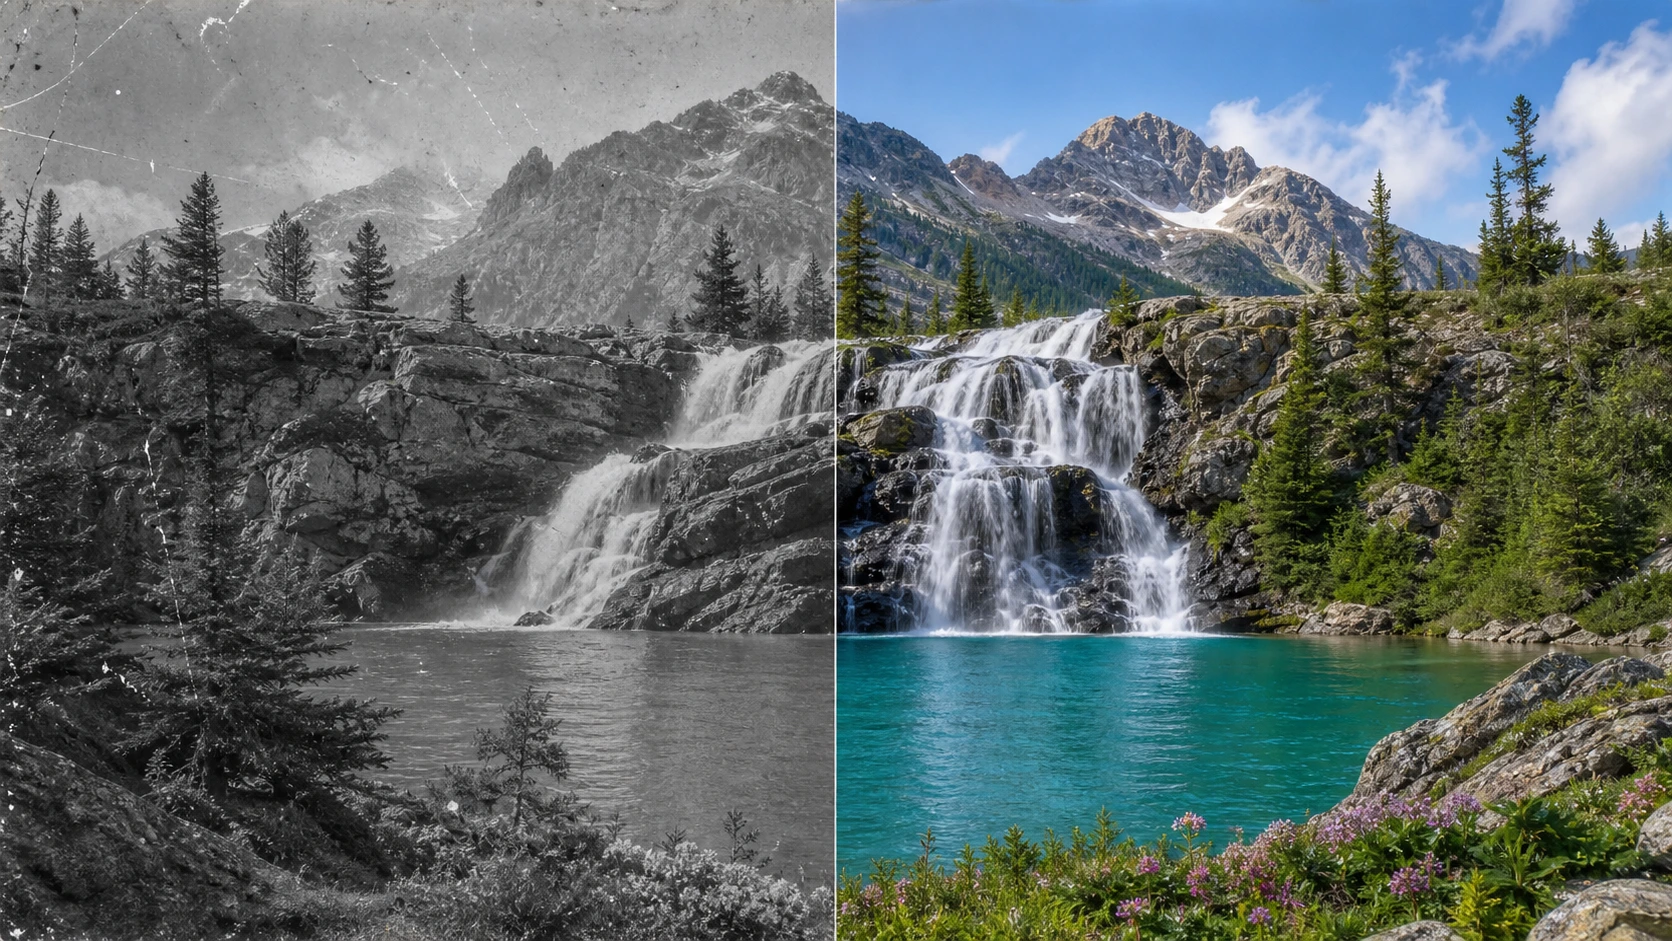
AI colorization works best when the original image is visually clear. You can still colorize old photos that are imperfect, but the quality of the source photo matters.
| Photo type | Colorization fit | Notes |
|---|---|---|
| Clear black-and-white portrait | High | Best for natural skin tone recovery |
| Old wedding photo | High | Works well when clothing and faces are visible |
| Vintage street scene | Medium to high | Background complexity can affect color accuracy |
| Historical photo | Medium | Results are plausible, not guaranteed historically exact |
| Scratched family print | Medium | Restore scratches first for cleaner color |
| Blurry face photo | Low to medium | Unblur before colorizing when possible |
| Very low-resolution screenshot | Low | Use a better scan or upscale only after cleanup |
For family memories, start with the image where people are easiest to recognize. A smaller but clearer scan often beats a larger image with heavy blur.
How to Make Colorized Photos Look More Natural
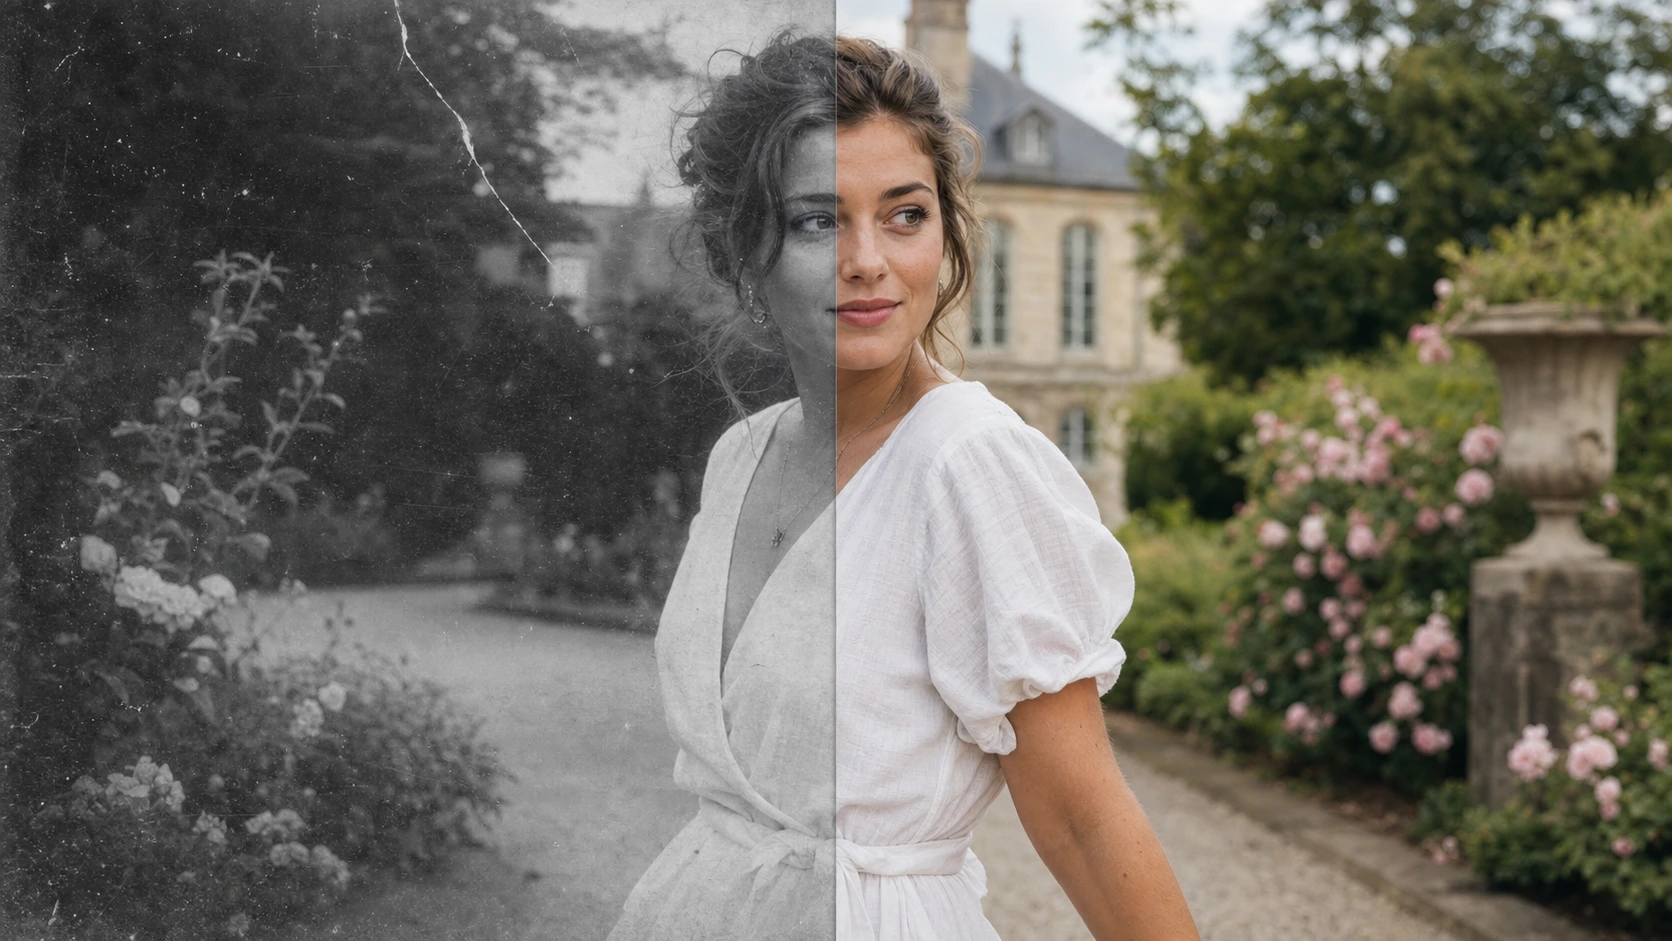
Natural colorization is about restraint. The best results usually do not look overly bright or newly painted. They keep the original lighting, contrast, and emotional tone of the black-and-white photo.
Use these tips:
- Restore damage before colorizing if scratches cover faces or clothing.
- Avoid over-enhancing skin until it looks plastic.
- Compare the colorized version with the original.
- Keep a black-and-white copy for reference.
- Use upscaling near the end, not before repairing damage.
- Reprocess a cleaner scan if the first result looks muddy.
AI colorizers estimate likely colors based on visual context. For old family photos, that is usually enough to create a meaningful, shareable version. For historical documentation, treat AI color as an interpretation unless you have reference material. Recent research on old photo colorization also discusses why degraded historical images can create color bias and structure-consistency challenges for AI systems.
When to Repair, Restore, or Unblur the Photo First
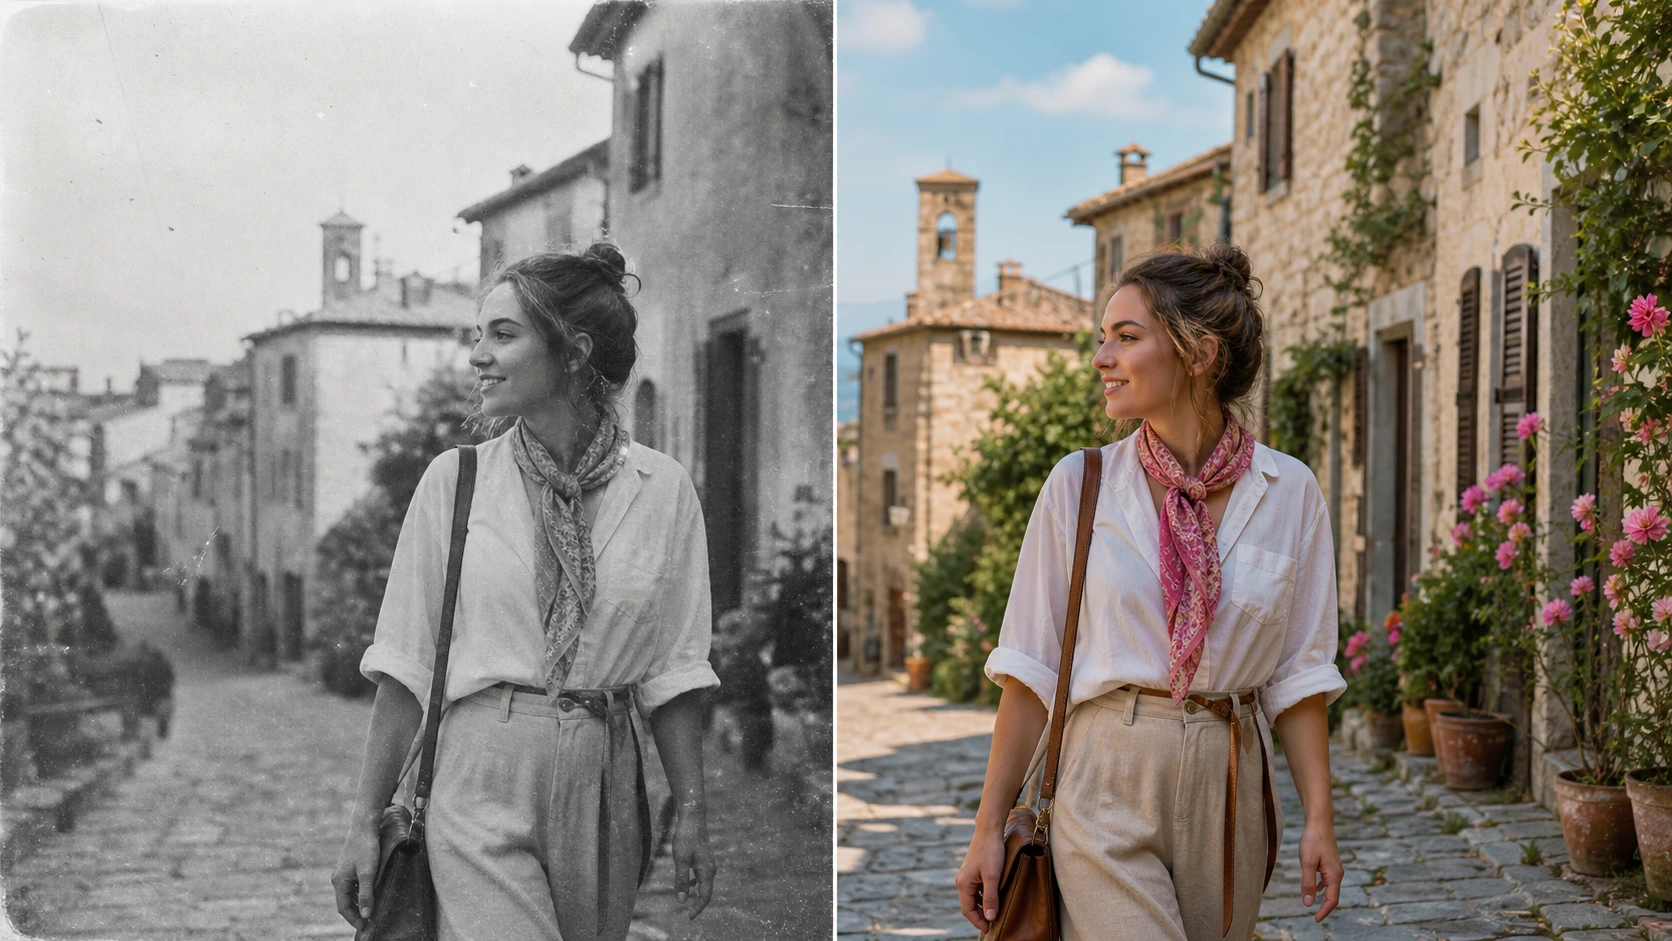
Sometimes the best way to colorize a photo is to avoid colorizing it immediately. If the image is damaged, the colorizer may add color around scratches, stains, or blurry areas, making the flaws stand out more. EzEnhancer can help here because the same old-photo workflow can include restoration, unblurring, colorization, and upscaling.
Use this decision table:
| Problem | Best first step | Why |
|---|---|---|
| Scratches, tears, or stains | Photo Restoration | Repair damage before adding color |
| Faded contrast or yellowed photo | Photo Restoration | Recover clarity before colorization |
| Blurry face or soft focus | Unblur Image | Recover details before colorization |
| Clean black-and-white photo | AI Photo Colorizer | The image is ready for color |
| Low-resolution but clean photo | Colorize first, then upscale | Upscaling after colorization preserves the final look |
| Faded color photo | Photo Restoration | It needs repair, not new colorization |
This order keeps the final result cleaner: repair the image first, add color second, upscale last if needed. That is the main EzEnhancer advantage for old photos: you can move from damaged black-and-white source to repaired, colorized, shareable image without switching to a complex desktop editor.
How EzEnhancer Repairs and Colorizes Old Photos
EzEnhancer is useful because photo colorization rarely lives alone. A black-and-white photo may only need color, but many old photos also need repair, sharper details, or higher resolution for printing. Instead of treating those as separate tasks, EzEnhancer supports a practical repair-plus-color workflow.
Use the tools this way:
| Goal | EzEnhancer tool |
|---|---|
| Add realistic color to a black-and-white photo | AI Photo Colorizer |
| Repair scratches, tears, fading, or stains | Photo Restoration |
| Make blurry faces or details clearer | Unblur Image |
| Prepare the finished image for print or HD sharing | Image Upscaler |
You do not need every tool for every photo. A clean portrait can go straight into the AI Photo Colorizer. A damaged family photo should usually be restored first, then colorized after scratches, fading, and blur are reduced. A colorized photo intended for a framed print may benefit from upscaling at the end.
For old family photos, the most reliable EzEnhancer workflow is:
- Restore damage and recover faded detail.
- Colorize the repaired black-and-white image.
- Unblur or sharpen if important details still look soft.
- Upscale the finished image for printing, archiving, or sharing.
FAQ
How can I colorize black and white photos online for free?
Upload a black-and-white image to an online AI photo colorizer, let the tool add realistic colors automatically, review the result, then download the final image. With EzEnhancer, you can also restore scratches, fading, blur, and stains before colorizing damaged old photos.
What is the best free AI photo colorizer?
The best free AI photo colorizer is the one that creates natural skin tones, keeps faces recognizable, separates clothing and background colors cleanly, and lets you download the result in a useful format. EzEnhancer is designed for browser-based colorization, with restoration tools available when the old photo also needs repair.
Can I colorize old family photos online?
Yes. Old family portraits, wedding photos, childhood snapshots, and genealogy images are some of the best use cases for AI photo colorization. Use the clearest scan available and check the final skin tones carefully before sharing or printing.
Can AI colorize blurry black-and-white photos?
AI can colorize blurry black-and-white photos, but the result may be less natural if important details are missing. If the face, clothing, or background is too soft, use an unblur or restoration tool first, then colorize the cleaner image.
How do I make colorized photos look natural?
Start with a clear photo, repair visible scratches first, avoid over-saturated results, and check skin, clothing, and background colors before downloading. Natural colorized photos should keep the mood and lighting of the original image.
Should I restore old photos before colorizing them?
Restore old photos first if they have scratches, stains, tears, fading, or blur. EzEnhancer can repair those issues before colorization, giving the AI photo colorizer cleaner visual detail and usually more realistic color.
Can I download colorized photos in JPG, PNG, or WEBP?
Yes. EzEnhancer.ai supports common output formats such as JPG, PNG, and WEBP. PNG is useful for quality archives, JPG is convenient for sharing, and WEBP is helpful for web pages or smaller file sizes.
Fix Flash Glare in Photos: Best AI Tools for Every User (2026 Guide)
Fix flash glare in photos using the best AI tools of 2026. Compare top glare removers for portraits, products, and selfies with pros, cons, and tips.
How to Remove Glare from Glasses in Photos(Step-by-Step Guide)
Learn how to remove glare from glasses in photos with this step-by-step guide. Discover easy methods using Photoshop, apps, and simple shooting tips.