













Best AI Photo Editor for Product Photos
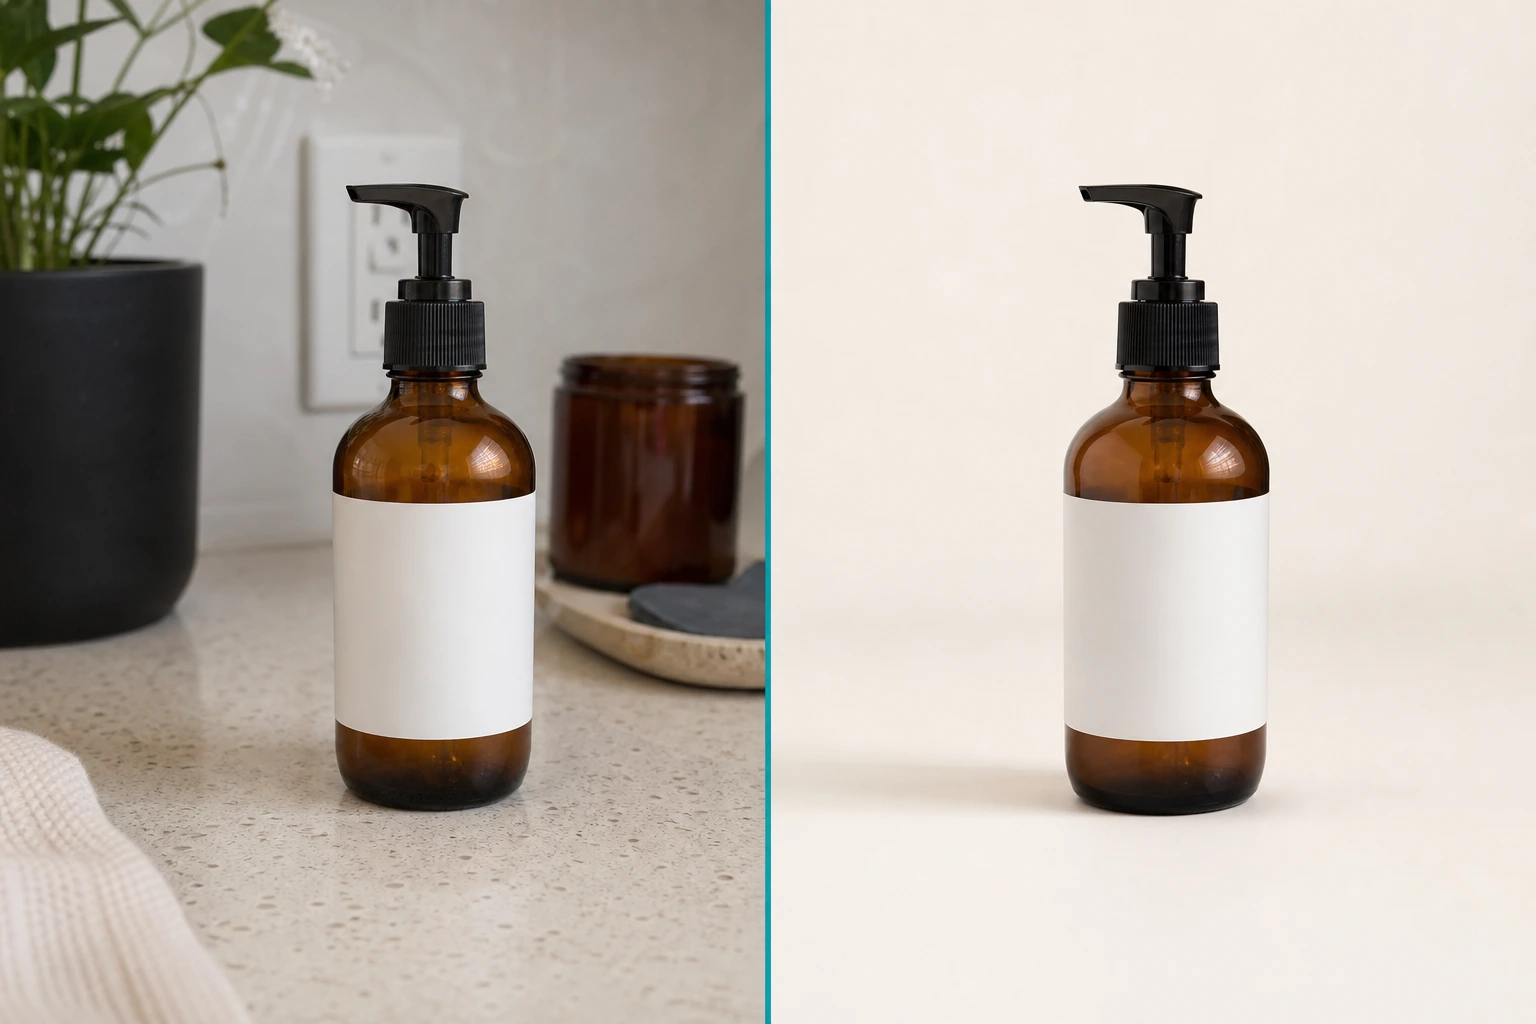
Product photos do not need to start with a large studio setup to look clear, consistent, and ready for a storefront. A strong source photo plus an AI photo editor can help a small business remove distractions, improve light, create a clean catalog background, and test a lifestyle scene without losing the product's core details.
The useful question is not whether AI can make an image look more dramatic. It is whether it can help you produce accurate, recognizable product images for the places where customers decide to buy. For a marketplace main image, that usually means showing the full product plainly. For a product page, email, or social post, it can also mean adding context, mood, and a use case.
Quick answer
The best AI photo editor for product photos is one that lets you specify both the change and the details that must stay the same. Start with a clean source image, protect the label, shape, color, and material in your prompt, then make one focused edit at a time.
What an AI photo editor should do for product photos
An AI photo editor is most useful when it removes repetitive production work while keeping the item recognizable. Look for a workflow that supports the following jobs.
| Product-image task | What to preserve | Useful AI edit |
|---|---|---|
| Main catalog image | Product edges, label, proportions | Replace a busy background with a clean neutral backdrop |
| Detail image | Texture, finish, packaging copy | Improve exposure and reduce minor distractions |
| Lifestyle image | Product scale and intended use | Place the product in a relevant, believable setting |
| Seasonal creative | Brand colors and the core product | Change props, light, or surrounding atmosphere |
| Paid-social variation | Product identity and crop safety | Create alternate scenes for different audiences or formats |
Avoid treating every image the same way. Your main listing image has a different job from a social ad. For products submitted to Google, the Merchant Center image guidelines say the image should accurately show the full product with minimal or no staging; Google also recommends images around 1500 by 1500 pixels or larger where possible. Use a plain, truthful main image first, then use additional images to show details, scale, and context.
Start with a source image that gives AI less to guess
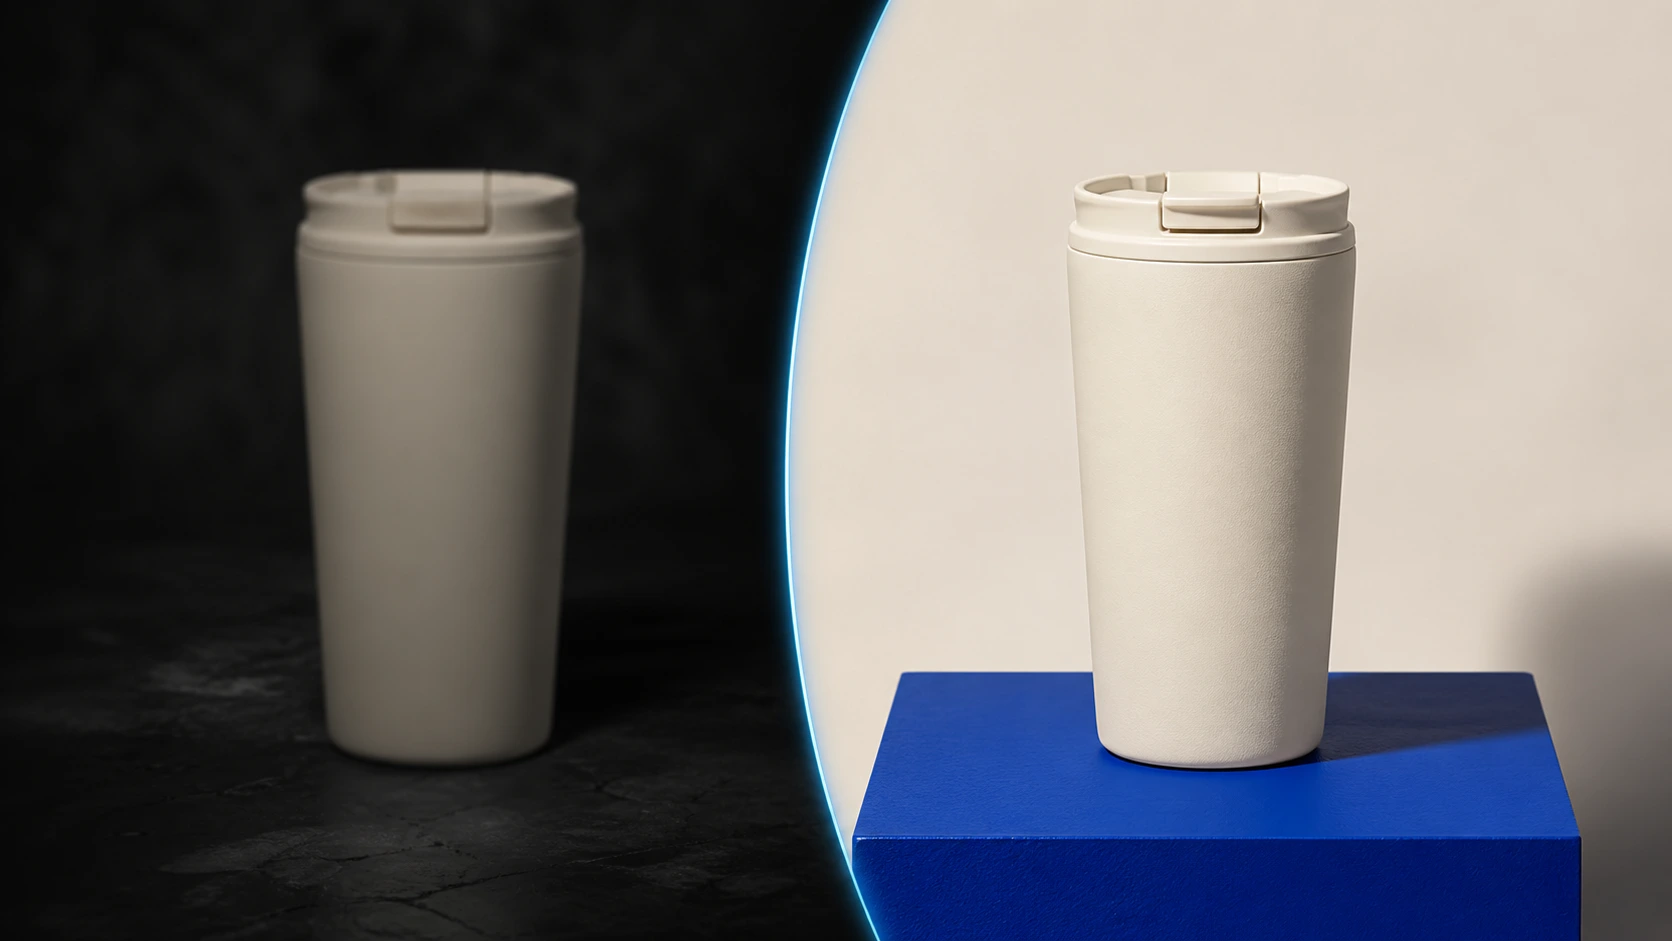
AI editing is strongest when the original image already makes the product easy to identify. Before you upload, check these basics:
- Photograph the whole product, including important edges and packaging.
- Use even light where possible so the true color and surface are visible.
- Keep the product in focus and avoid a crop that cuts off useful detail.
- Capture a few angles if customers need to understand the back, side, size, or texture.
- Save the original file before creating any new versions.
You do not need a perfect studio shot. You do need a clear one. A dim kitchen counter photo of a bottle can still be a workable starting point if the bottle, cap, label, and silhouette are visible. A tiny, heavily compressed image with glare across the label asks the editor to invent too much.
A practical product-photo workflow
1. Make the catalog version first
Create a clean, neutral image before exploring more styled options. This is your reference version for marketplaces, collection pages, and feeds that need visual consistency.
Use a prompt that states both the requested adjustment and the protected details:
Replace the home background with a clean warm-white studio backdrop. Add a soft natural shadow beneath the product. Brighten the product evenly. Keep the label, pump, proportions, matte finish, and product color unchanged.
The final clause matters. Phrases such as "keep the label unchanged," "preserve the exact product shape," and "do not alter the packaging text" make the review criteria explicit.
2. Correct light before creating a new scene
If the source image is underexposed, has a color cast, or loses fine detail, correct that before requesting a complex lifestyle composition. This reduces the number of changes happening at once and makes it easier to spot errors.
Check the edit at full size. Pay particular attention to embossed text, clear packaging, reflective surfaces, seams, stitching, and small logos that are part of the actual product. If something important changes, return to the source image and simplify the prompt rather than trying to fix several issues in one instruction.
3. Build a lifestyle variation with a real use case
Lifestyle images should explain how the product belongs in a customer's life. A coffee cup can sit on a breakfast table; a skincare bottle can appear on a bathroom shelf; a backpack can be shown in a commuting context. The setting should support the product, not compete with it.
Be specific about scale, perspective, and composition:
Place this skincare bottle on a pale stone bathroom counter near a folded white towel. Use soft morning window light and a subtle shadow. Keep the bottle upright, centered, the same size and shape, and keep all label text unchanged.
For composition ideas, Shopify's ecommerce photography guide is a useful reminder to plan shots around the product, its use, and the visual consistency of the store rather than a single isolated image.
4. Create campaign variations from the approved base
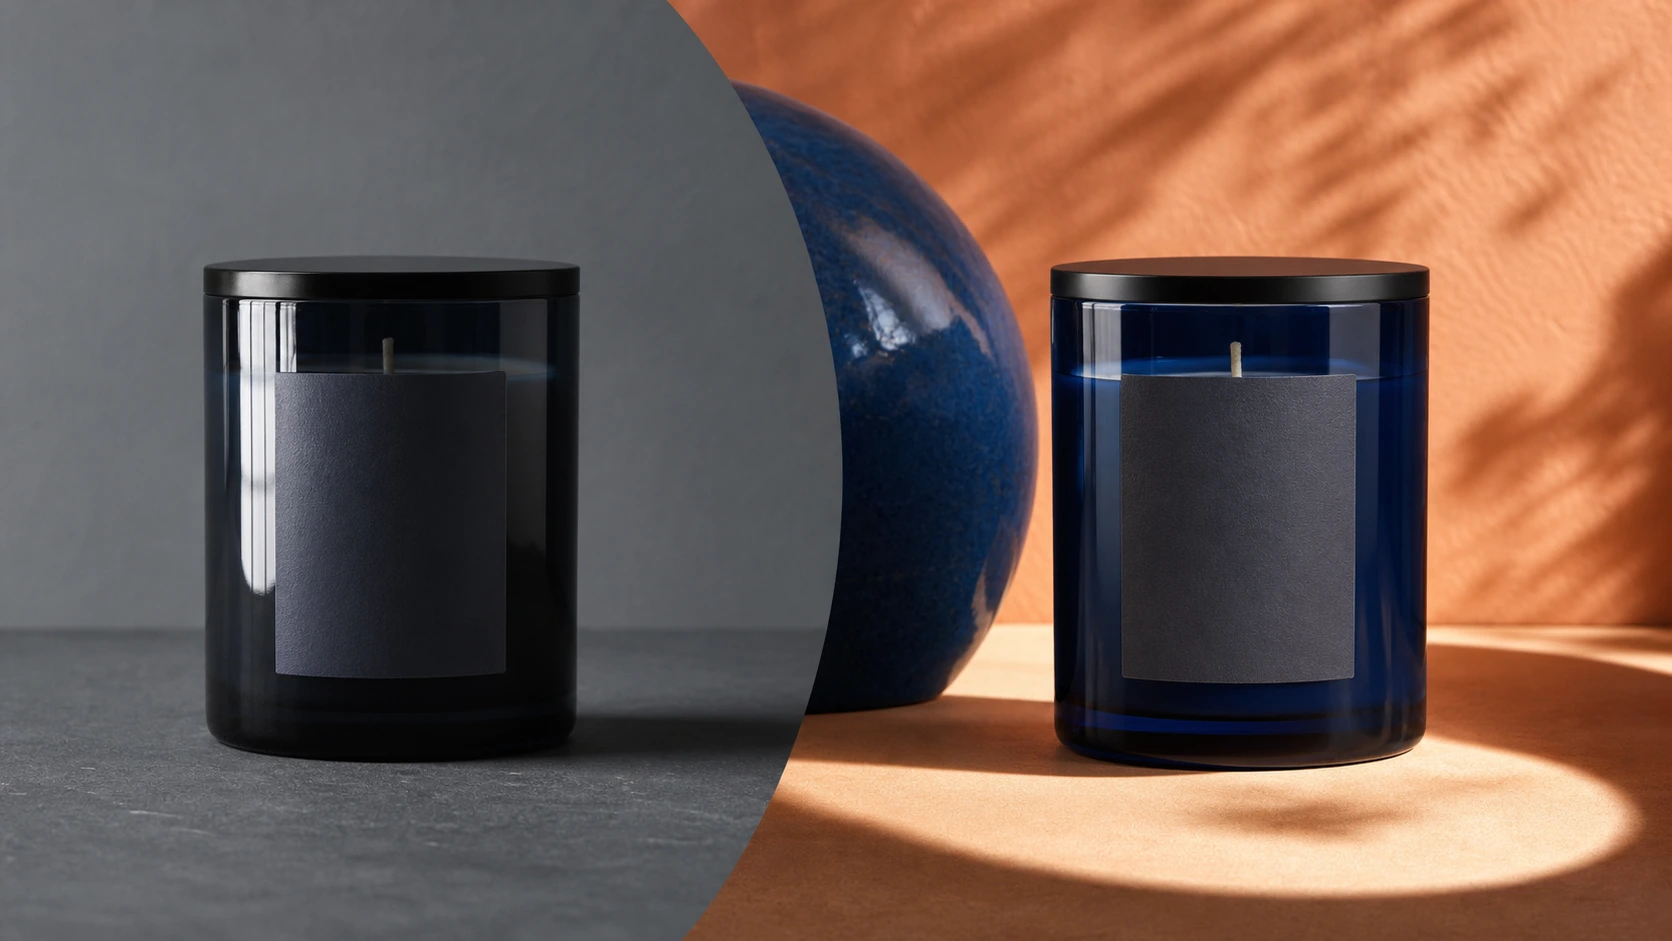
Once the catalog version is approved, use it as the basis for campaign images. This makes your seasonal or channel-specific assets more consistent because they inherit a vetted product representation.
You can ask for focused changes such as:
- "Add warm afternoon light and a small linen napkin; keep the product centered."
- "Create a winter gift-table setting with restrained evergreen accents; preserve the product and label exactly."
- "Place the product on a clean desktop with generous empty space on the left for layout use; do not add text."
For every version, ask whether the image still represents the product honestly. AI should help you stage, clean up, and adapt a photo. It should not make a material, included accessory, product size, or function look different from what a buyer will receive.
How EzEnhancer fits into the workflow
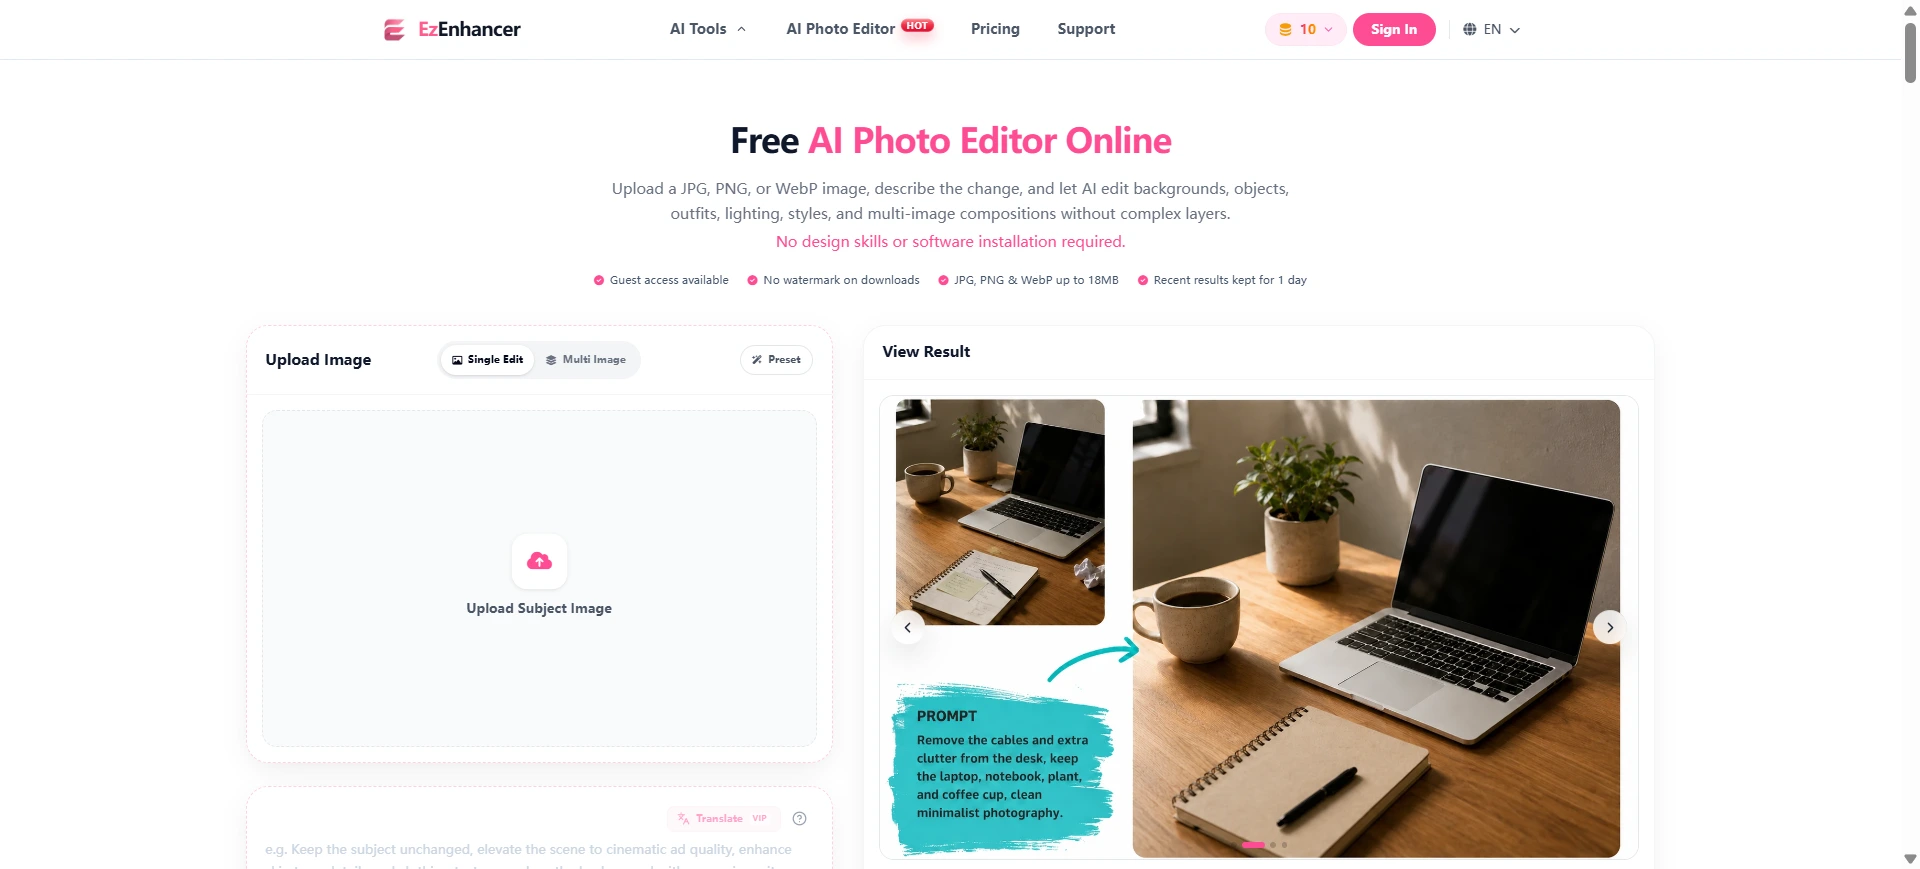
EzEnhancer's AI Photo Editor is designed for text-directed edits to backgrounds, objects, lighting, styles, and multi-image compositions. You can upload a JPG, PNG, or WebP image, describe the change, and add what must remain unchanged.
For product work, a simple sequence keeps the process controlled:
- Use the Background Remover when you need a clean cutout before placing the product into a new scene.
- Use AI Photo Editor to replace the setting, remove clutter, adjust light, or combine a product image with a reference background.
- Use the Image Enhancer to refine clarity and exposure after the creative edit.
- Use the Image Upscaler when the final asset needs a larger export for a high-resolution listing or campaign placement.
The workflow is browser-based, so it works well for teams that need to make and review a set of small, targeted changes without rebuilding every image from scratch. Keep your original source file and download approved results promptly; the photo editor's recent generated images are kept temporarily.
Prompts that keep the product accurate
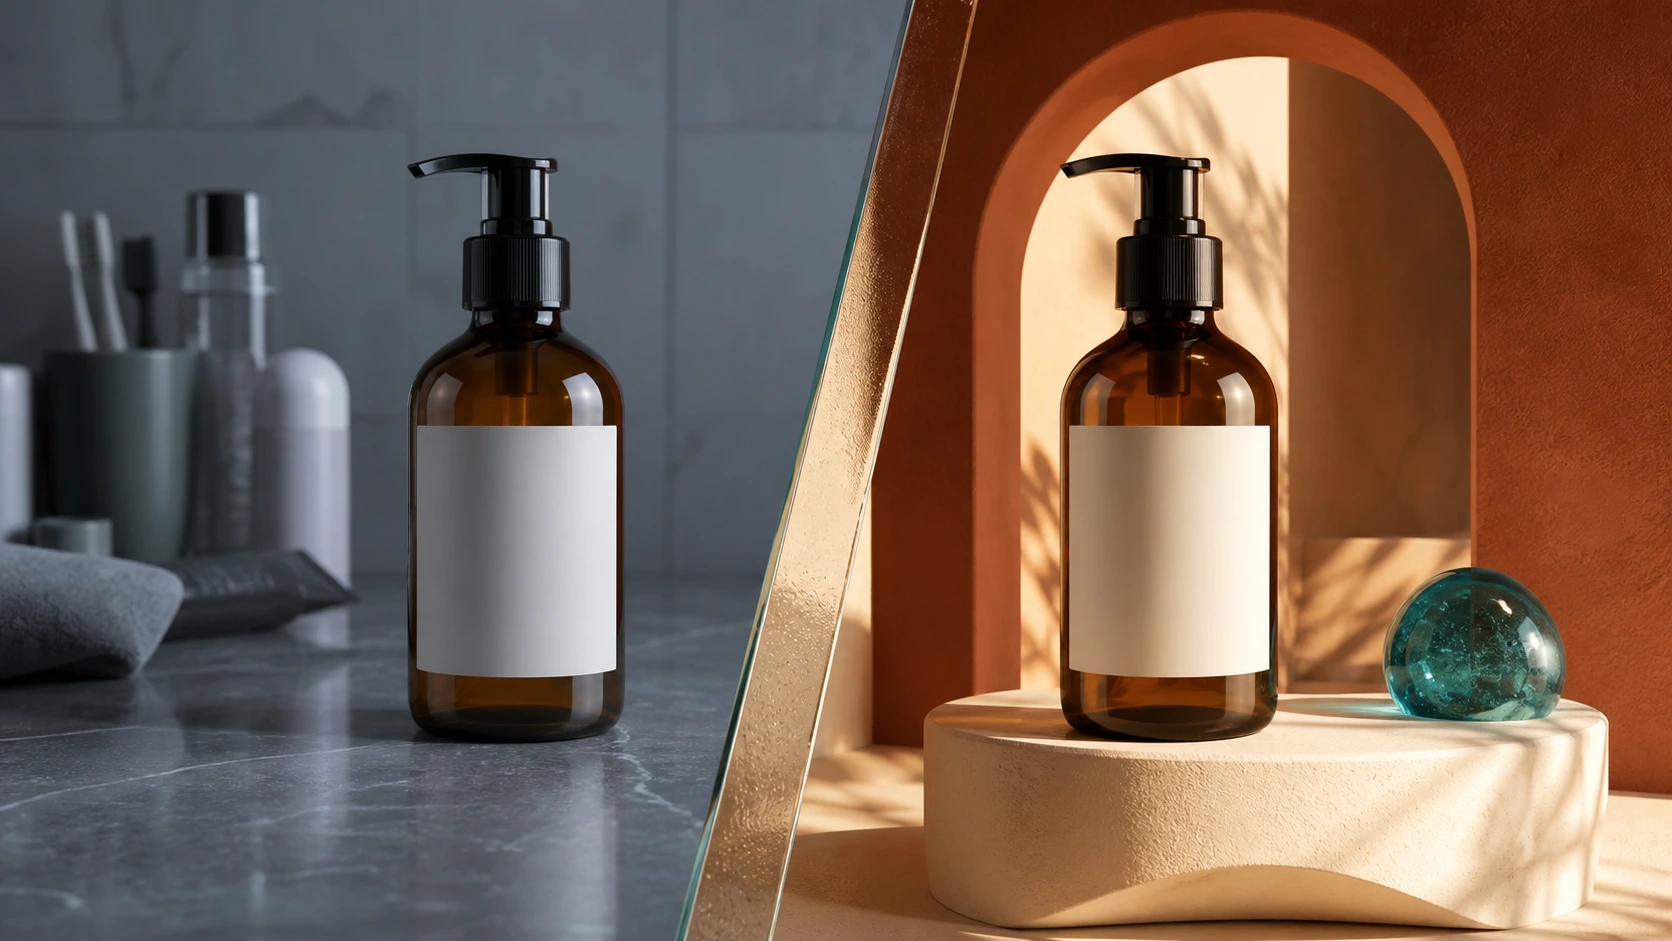
The fastest way to improve AI product-photo results is to separate the prompt into four parts:
| Prompt element | Example |
|---|---|
| Product | "This amber glass candle in its existing jar" |
| Change | "Replace the background with a light gray studio sweep" |
| Look | "Use soft side lighting and a short natural shadow" |
| Protections | "Keep the label, jar shape, wax color, scale, and camera angle unchanged" |
Here are three ready-to-adapt prompts:
Clean listing image
Create a clean off-white studio background with a subtle grounded shadow. Keep the entire product visible. Preserve the exact label, product color, packaging shape, texture, and camera angle. Do not add props, text, or logos.
Lifestyle product image
Place the product in a bright, minimal home setting that fits its intended use. Use natural window light and a believable scale. Keep the product in sharp focus and preserve its exact label, shape, color, material, and proportions.
Seasonal campaign version
Keep the product centered on a neutral surface. Add a restrained seasonal setting with warm directional light and two small supporting props. Preserve the product exactly and leave clear negative space around it. Do not add promotional text.
Common mistakes to avoid
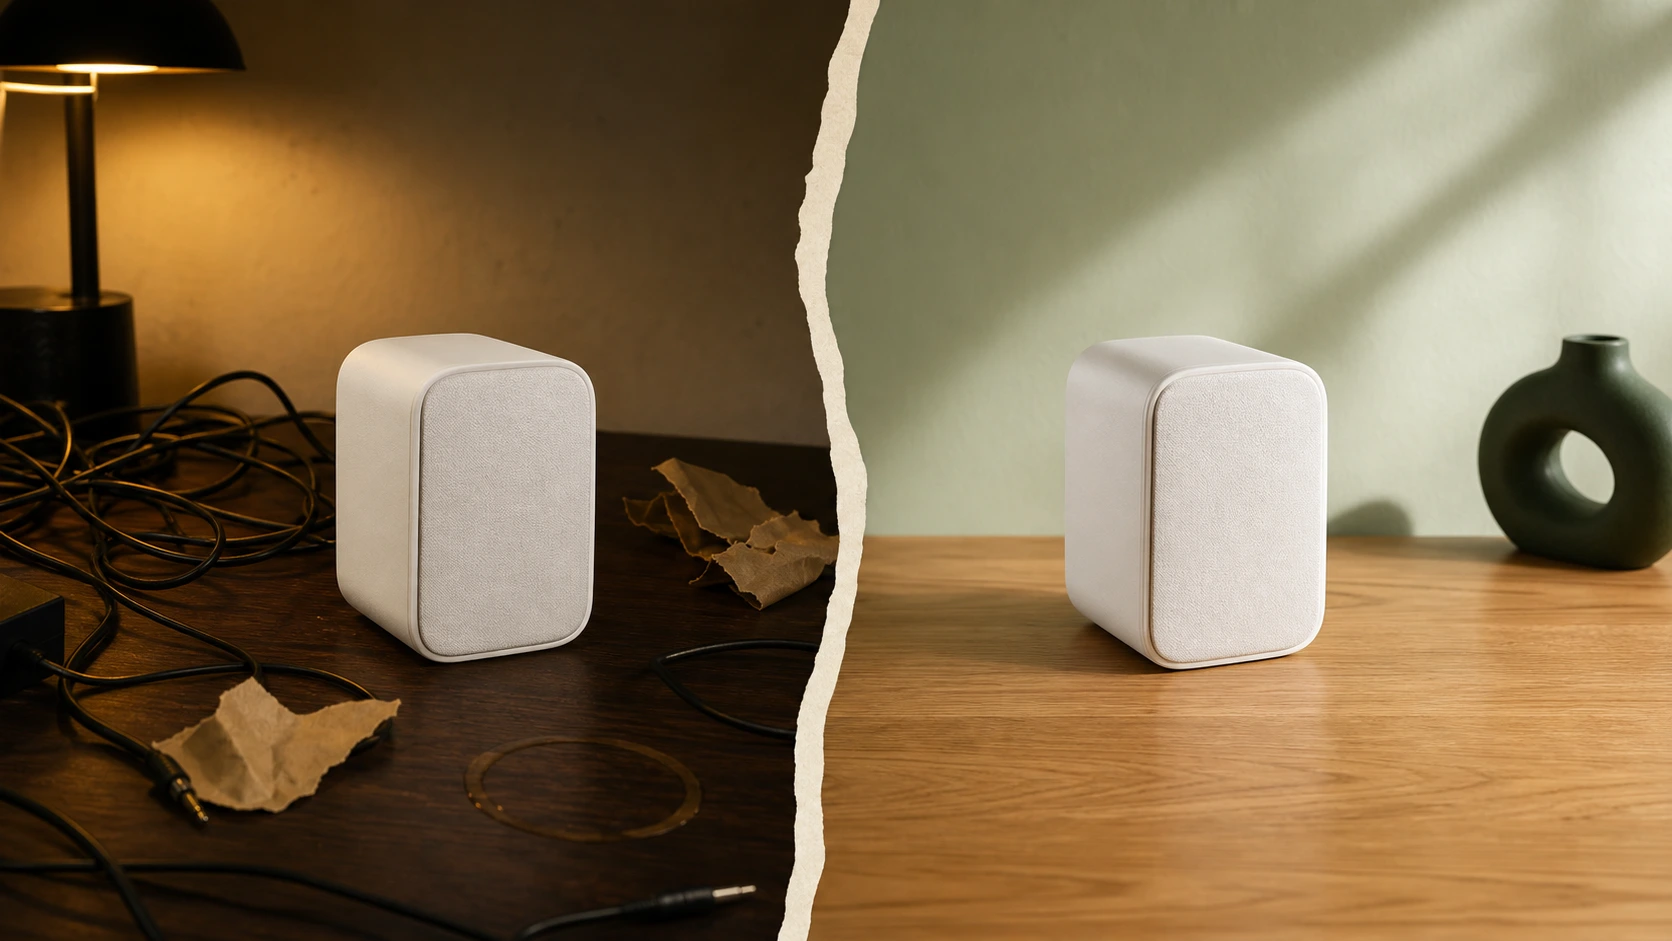
Asking for too many changes at once
Changing the background, product angle, materials, lighting, crop, and props in one request increases the chance of an inaccurate result. Build from a clean catalog edit, then add one creative decision at a time.
Forgetting to protect labels and product geometry
Labels, dimensions, finishes, and packaging are often the details buyers use to recognize the item. State them explicitly in every prompt, especially for bottles, electronics, food packaging, fashion accessories, and products with printed copy.
Using a lifestyle image as the only listing image
Context can be persuasive, but it can also obscure the product. Keep a plain main image and use lifestyle images as supporting assets. This also aligns better with marketplace rules that prioritize an accurate view of the product.
Treating image generation as proof of a product claim
Do not use AI edits to imply an accessory is included, a product is larger than it is, or a cosmetic effect is guaranteed. Review every image against the actual item and your product-page claims before publishing.
A simple review checklist before publishing
- Is the full product visible where the channel requires it?
- Does the image show the correct color, material, label, and included components?
- Is the background serving the product rather than distracting from it?
- Are there any warped edges, altered text, implausible reflections, or inconsistent shadows?
- Does the crop leave room for each intended placement without hiding the product?
- Is the image correctly named, sized, and saved alongside the original?
Final takeaway
The best AI photo editor for product photos helps you create more useful versions of a real product image, not replace product accuracy with visual novelty. Begin with a clear source photo and a clean catalog image. Then use focused prompts to improve light, remove distractions, and create context-specific variations.
With a workflow such as EzEnhancer, product teams can move from a simple source image to a cleaner listing image, a lifestyle scene, and campaign-ready variations while keeping the product details under review. The most reliable result still comes from a careful final check: buyers should see the product they will actually receive.
Frequently asked questions
What is the best AI photo editor for product photos?
The best AI photo editor for product photos is one that supports precise, text-based changes while letting you protect labels, proportions, materials, and colors. Choose a tool that can handle clean backgrounds, light adjustments, object removal, and reference-based scenes, then review every output against the real product.
Can I use AI-edited images for marketplace product listings?
Yes, provided the image accurately represents the item and follows the marketplace's rules. For Google Merchant Center listings, use a clear product image with minimal staging for the main image and use additional images for contextual views. Check the current requirements for each channel before publishing.
How do I keep an AI editor from changing my product label?
Start with a sharp source photo, then explicitly write "keep all label text unchanged" and "preserve the exact packaging shape and proportions" in the prompt. Review the output at full size. If the label changes, simplify the edit and perform the background or lighting adjustment separately.
Should I use a white background for every product image?
Not necessarily. A plain neutral background is usually the safest choice for a main listing image, but supporting images can use realistic settings that show scale, use, or mood. Keep the product clear and make sure the scene does not imply features or accessories that are not included.
Can AI improve a low-quality product photo?
AI can help with exposure, noise, background cleanup, and enlargement, but it cannot reliably recover product details that are absent from the source image. Use the clearest original available, verify labels and texture after editing, and reshoot when essential details are not visible.
Best AI Photo Colorizers in 2026 (Tested for Accuracy, Detail & Realism)
Stop getting blurry results! We tested the 6 best AI photo colorizers in 2026 for realism. Discover the top tools to restore your black and white photos.
Best Photo Enhancer in 2026 | Top AI Tools Compared
Discover the best app for photo enhancing in 2026. Compare EzEnhancer AI, Remini, Photoshop, Topaz, Lightroom, and more with detailed reviews.