














Sharpen vs Unblur vs Upscale: Which Fix Do You Need?
A photo can look unclear for three very different reasons: its edges may be slightly soft, the camera may have recorded motion or missed focus, or the file may simply contain too few pixels. That is why the sharpen vs unblur decision matters. Sharpening improves visible edges, unblurring addresses recorded blur, and upscaling increases resolution.
Choosing the wrong process often makes the problem worse. Too much sharpening creates halos and noise. Upscaling a blurred photo can produce a larger blurred photo. Unblurring a clean but tiny file may invent unnecessary detail. This guide helps you diagnose the image first and apply the smallest useful correction.
Quick Answer: Sharpen, Unblur, or Upscale?
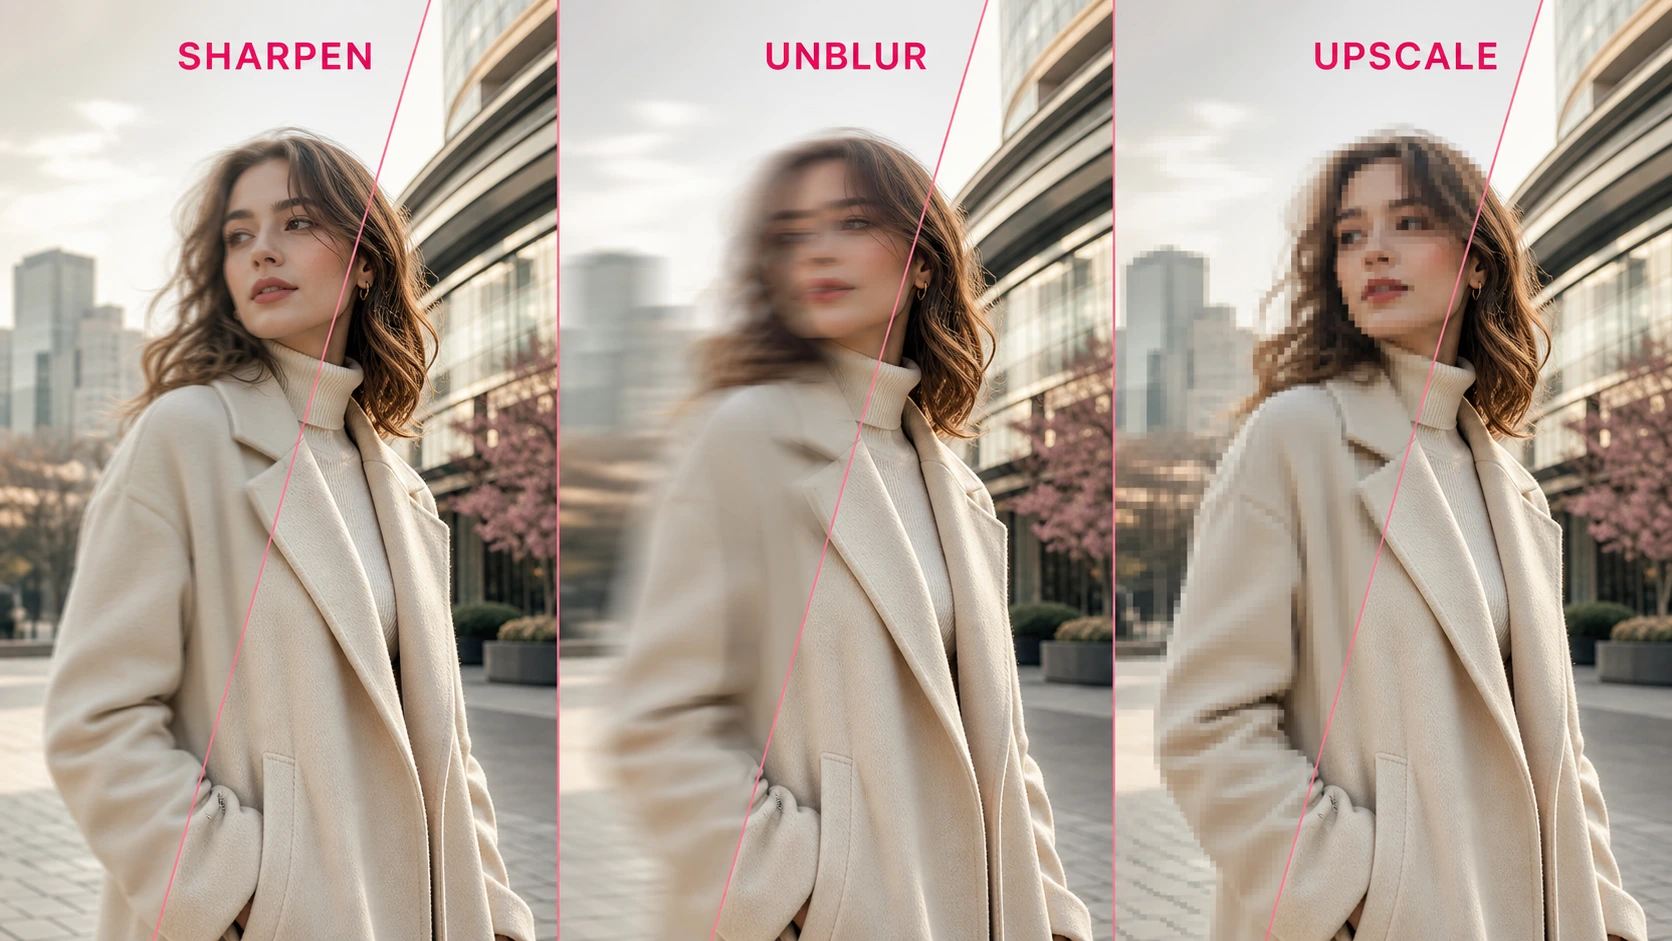
Use sharpening when the image is already in focus but lacks crisp edge definition. Use unblur when details are smeared by camera movement, subject movement, or missed focus. Use upscaling when the image looks acceptable at its original size but becomes blocky or pixelated when enlarged.
For a quick sharpen vs unblur test, look at one edge that should be clean: a weak but stable edge points to sharpening, while a stretched, doubled, or uniformly diffused edge points to unblurring.
| What you see | Likely problem | Best first tool | What the tool changes |
|---|---|---|---|
| Details are present but look slightly soft | Weak edge contrast or resizing softness | Sharpen | Increases perceived edge definition |
| Edges trail in one direction | Camera or subject motion | Unblur | Reduces the visible blur pattern |
| The entire subject is out of focus | Focus blur | Unblur | Reconstructs plausible edge and texture detail |
| Squares or stair-stepped edges appear when enlarged | Low pixel dimensions | Upscale | Adds pixels and reconstructs detail |
| A clear image is too small for a poster or large screen | Insufficient output resolution | Upscale | Increases dimensions for the target use |
| A small image is both pixelated and blurry | Mixed problem | Diagnose severity first | May require a conservative multi-step workflow |
The important distinction is that clarity and resolution are not the same thing. A 4000-pixel-wide image can still be blurred, while a sharp 500-pixel-wide image can still be too small to print.
What Does Sharpening an Image Actually Do?
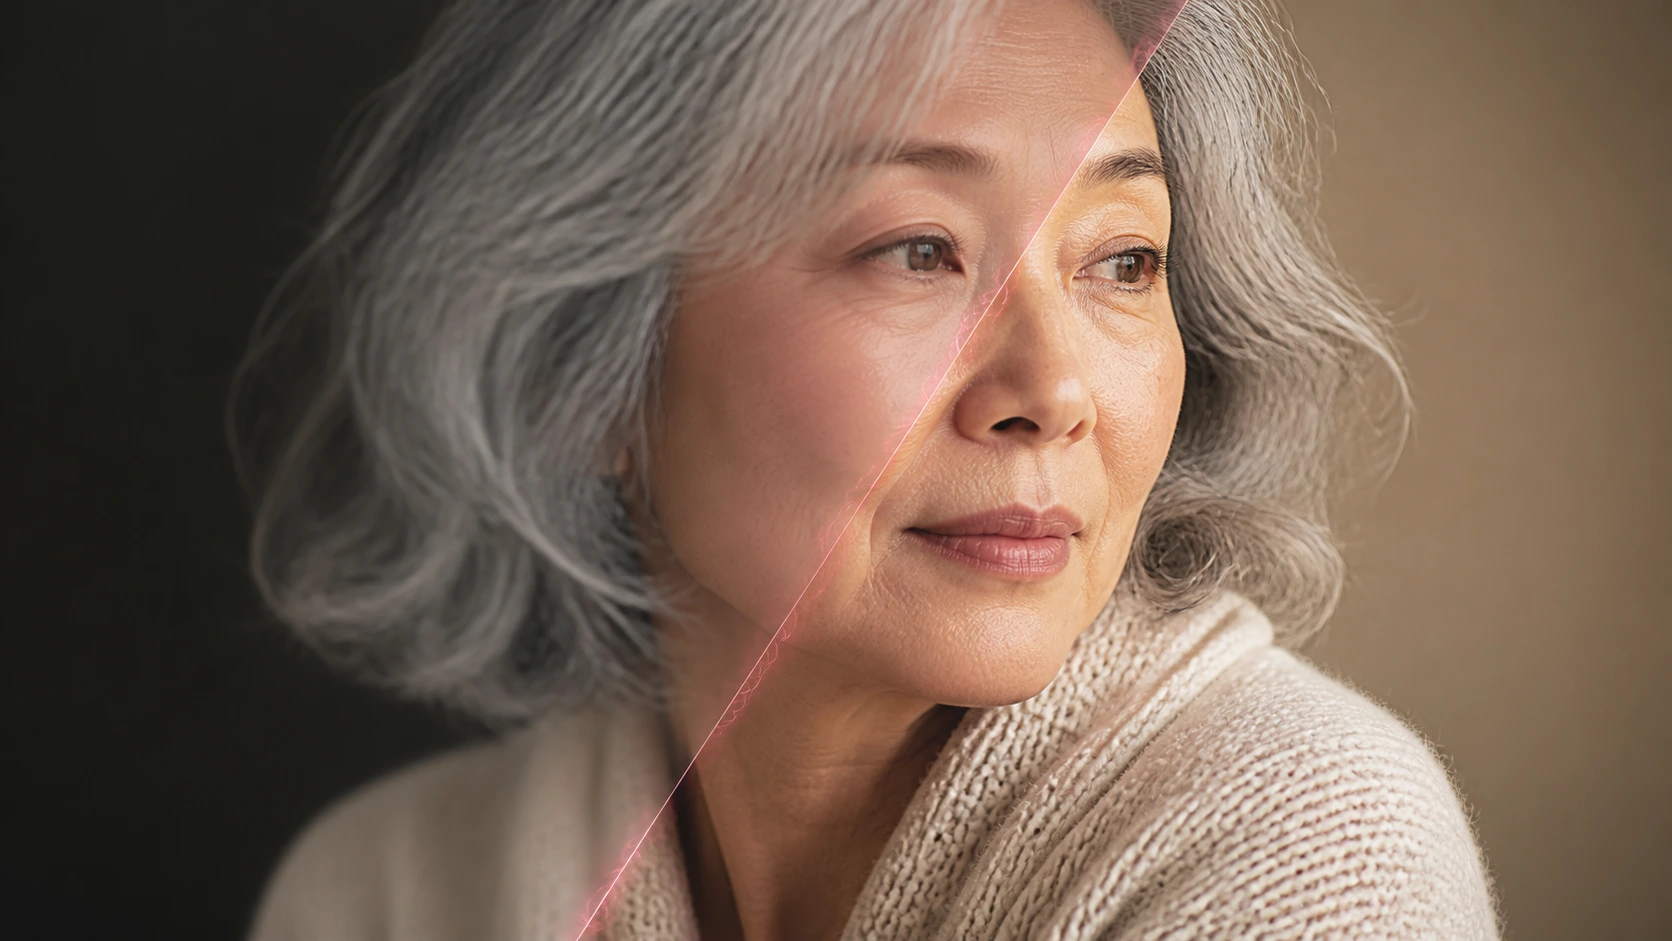
Sharpening makes existing details appear more defined by increasing contrast around edges. It is most effective when the camera captured the detail but the image feels a little flat or soft because of the lens, sensor processing, scanning, resizing, or export.
Adobe's official sharpening guidance makes an important limitation clear: sharpening cannot restore missing detail or bring an out-of-focus area back into focus. It can only make recorded boundaries appear clearer.
Good reasons to sharpen an image
- An in-focus portrait needs slightly clearer eyes and hair.
- A scanned document has readable but soft letter edges.
- A product photo lost crispness after resizing for a marketplace.
- A landscape looks clean but lacks local edge definition.
- An image needs gentle output sharpening after its final resize.
Signs that sharpening is being pushed too far
- Bright or dark outlines appear around objects.
- Skin, fabric, foliage, or hair begins to look crunchy.
- Noise becomes more obvious in skies and shadows.
- Fine text gains jagged or doubled edges.
- Smooth gradients start to look gritty.
If the original edges are visibly smeared or doubled, switch from the AI image sharpener to an unblur workflow instead of increasing sharpening strength.
What Does Unblurring an Image Do?
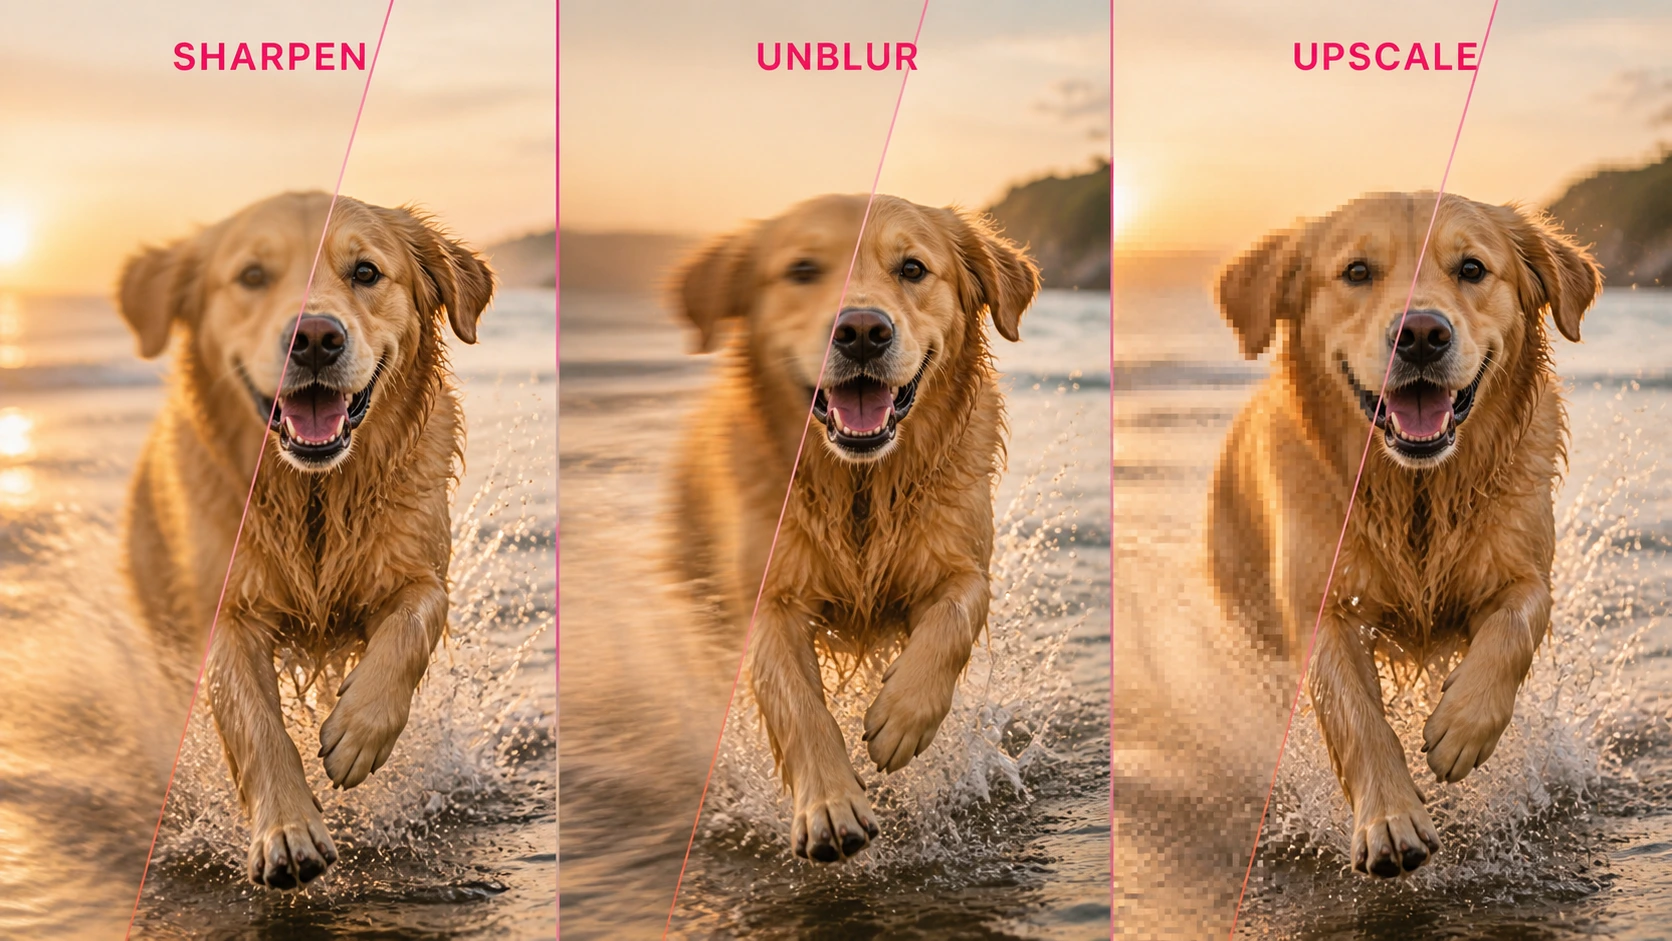
Unblurring targets damage created while the image was captured or compressed. Motion blur stretches detail along a direction. Focus blur spreads detail more evenly. Heavy compression can introduce soft blocks and ringing that resemble blur but need more conservative treatment.
Modern AI tools analyze surrounding structure and reconstruct a plausible clearer version. This can improve everyday photos dramatically, but reconstructed detail is an estimate rather than a recovery of information that was never recorded. Avoid treating an AI-unblurred result as forensic proof or an exact historical record.
In a sharpen vs unblur comparison, this reconstruction step is the key difference: sharpening emphasizes recorded structure, while unblurring estimates how distorted structure may have looked before the blur.
Use unblur for these problems
- A handheld photo has visible camera shake.
- A moving child, pet, vehicle, or athlete looks smeared.
- The camera focused behind or in front of the subject.
- A downloaded or messaged photo has soft compression blur.
- A face is recognizable but its features lack usable clarity.
Check the blur pattern before processing
Zoom to 100% and inspect high-contrast edges such as eyes, window frames, lettering, or rooflines. A directional trail usually indicates motion blur. A soft glow around every edge suggests focus blur. Block-shaped detail points to low resolution or compression rather than pure blur.
For motion or focus problems, use an AI unblur image tool before deciding whether the final output also needs enlargement.
What Does Upscaling an Image Do?
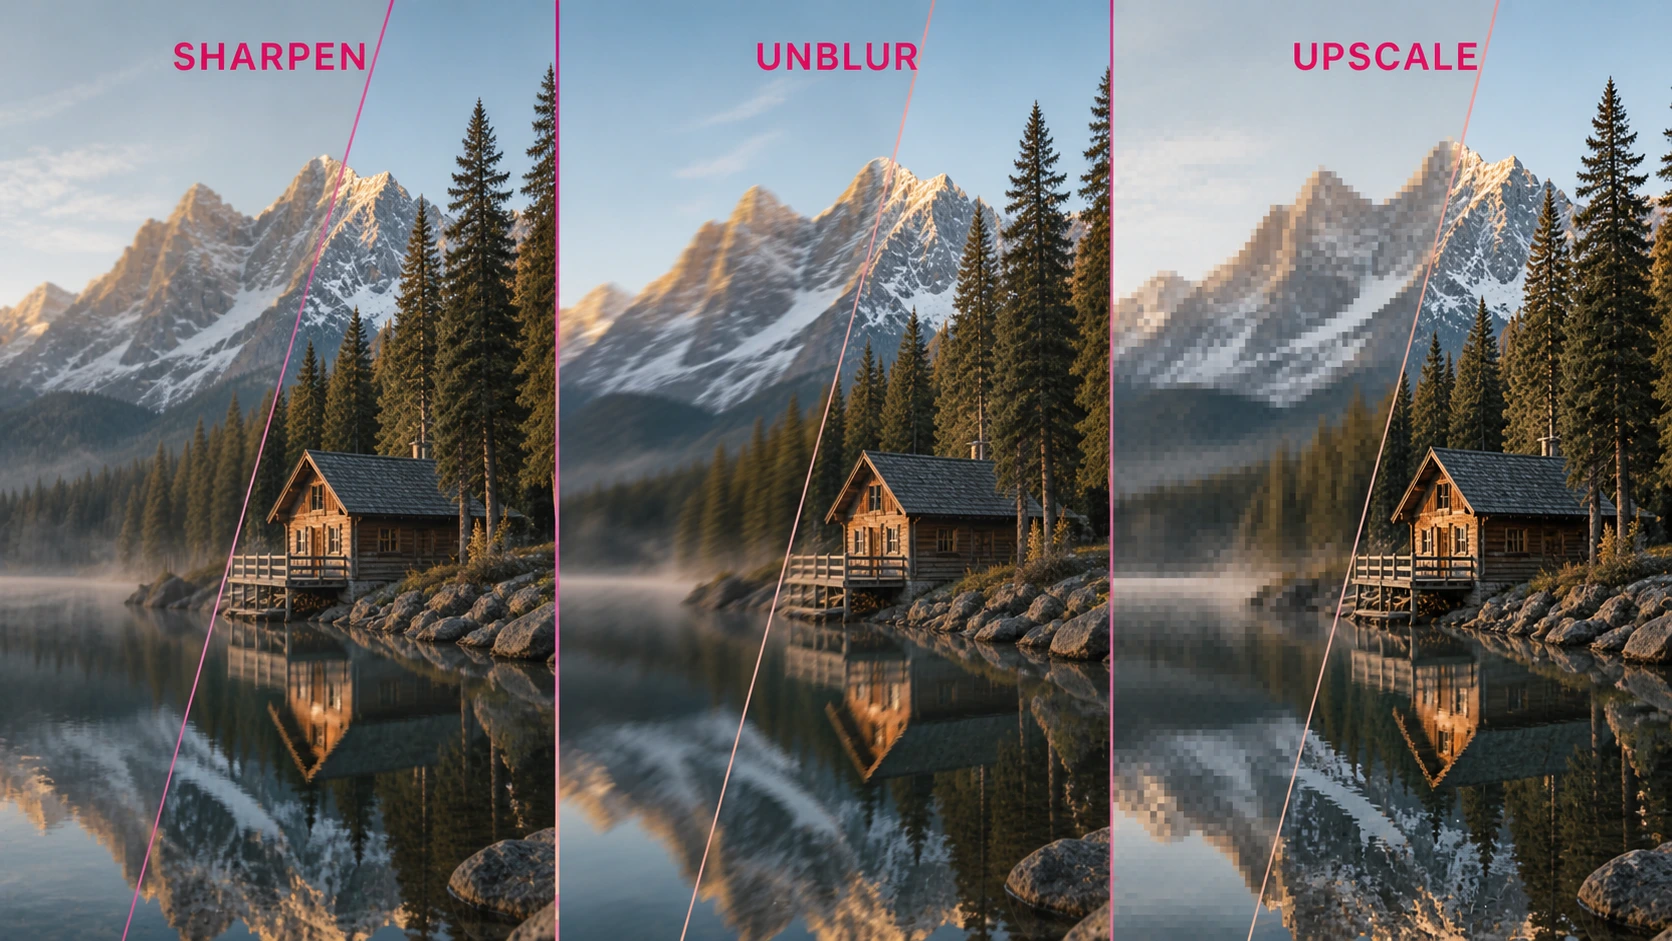
Upscaling increases the pixel dimensions of an image. Basic resizing interpolates new pixels from neighboring values. AI upscaling also attempts to reconstruct plausible edges and textures, which can make the enlarged result look more natural than conventional resizing.
Upscaling is appropriate when the source looks reasonably clear at its native size but breaks down at the size you need. Common examples include small web downloads, cropped photos, old phone images, thumbnails, AI-generated art, and images prepared for large displays or printing.
Topaz's official upscale documentation recommends working from the original image rather than a compressed copy and warns that very weak source quality can produce unwanted artifacts. That principle applies to any enhancement workflow: start with the least compressed, highest-resolution source available.
Use upscaling when
- The image becomes pixelated when enlarged.
- A tight crop no longer has enough pixels.
- A small image must fill a larger web or presentation layout.
- An otherwise clear photo needs more resolution for printing.
- AI artwork needs a larger output while retaining clean edges.
An AI image upscaler cannot guarantee authentic missing detail. Inspect faces, text, logos, repeating patterns, and small objects carefully after processing because these areas are the easiest places for generated artifacts to appear.
Sharpen vs Unblur: How to Diagnose Your Image
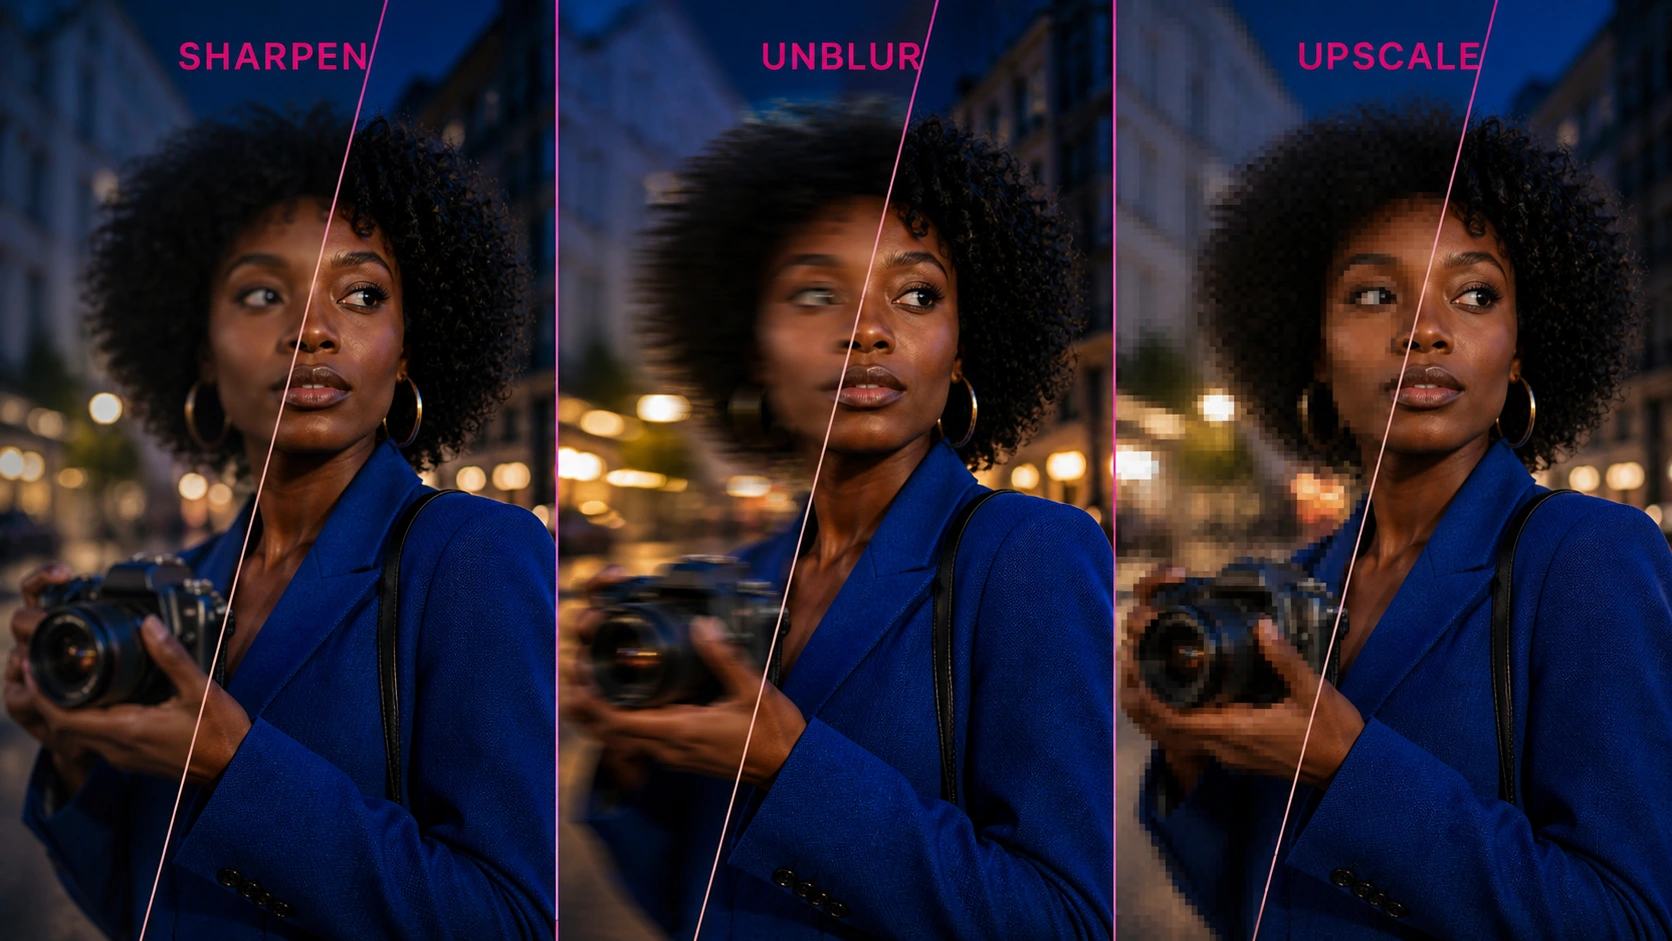
The safest workflow is diagnostic, not automatic. Use the following checks before uploading the file to any enhancement tool.
1. View the image at 100%
Fit-to-screen views hide pixelation and can exaggerate apparent sharpness. At 100%, one image pixel is represented more consistently on screen, making blur trails, halos, noise, and blockiness easier to identify.
2. Check the pixel dimensions
Do not judge resolution from file size alone. A highly compressed 4000 × 3000 JPEG may use fewer megabytes than a clean 1500 × 1000 PNG. Pixel width and height tell you whether enlargement is likely to be necessary.
3. Inspect a high-contrast edge
Choose an eye, a sign, a building edge, a strand of hair, or another area that should be defined.
- A clean but weak edge usually needs sharpening.
- A stretched or doubled edge usually needs unblurring.
- A blocky or stair-stepped edge usually needs upscaling.
4. Compare important and unimportant regions
Some images have multiple defects. A face may be slightly blurred while the background is sharp. A low-resolution screenshot may contain readable icons but damaged text. Prioritize the subject that matters rather than applying the strongest setting to the entire frame.
5. Define the final output
A photo for a mobile post needs less resolution than a poster. A family archive prioritizes identity and authenticity, while an ecommerce image prioritizes readable shape and texture. The correct tool and strength depend on where the image will be used.
What If the Image Is Both Blurry and Low Resolution?
There is no universal order for every mixed-quality file. The correct sequence depends on which defect is dominant and whether the source contains enough structure for the first model to analyze.
The sharpen vs unblur question becomes more nuanced when the file is also tiny. Correcting blur first can prevent its pattern from being enlarged, but a severely undersampled source may benefit from a conservative upscale before final detail refinement.
| Starting condition | Suggested workflow | Why |
|---|---|---|
| Adequate dimensions with obvious motion blur | Unblur → optional upscale → light sharpen | Correct the dominant capture defect before enlarging it |
| Very small image with recognizable, stable edges | Conservative upscale → reassess → light sharpen | More working pixels may help later detail refinement |
| Small portrait with a blurred face | Test both orders at low strength | Face reconstruction can change identity; compare carefully |
| Pixelated screenshot with text | Gentle upscale or text-specific enhancement | Strong generative processing may alter characters |
| Noisy low-light image | Denoise carefully before final sharpening | Sharpening can amplify existing noise |
Save each intermediate result as a separate file. Do not repeatedly overwrite and recompress the same JPEG. Comparing versions at the same zoom level makes it easier to see whether a later step adds real value or simply adds artifacts.
Common Sharpen vs Unblur Mistakes
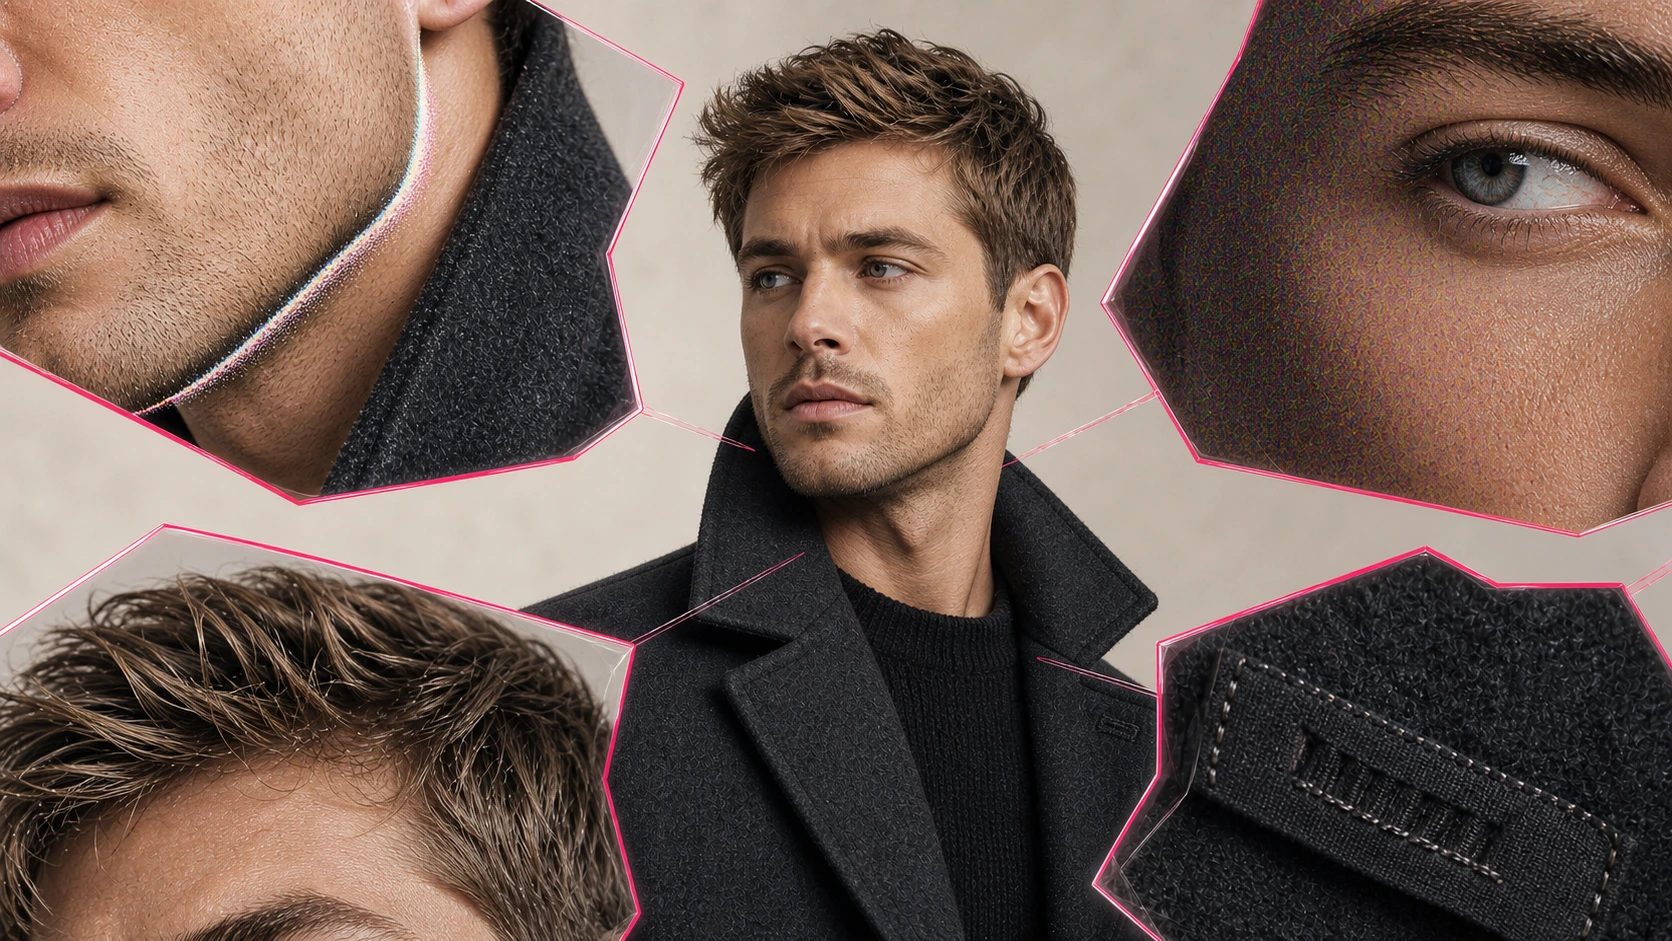
Mistake 1: Trying to sharpen heavy motion blur
Sharpening increases contrast around the smeared edges but does not reverse the smear. The result often contains harsh streaks and doubled outlines. Start with unblur.
Mistake 2: Upscaling before checking focus
Upscaling can make a blur pattern larger and more visible. If the source has enough resolution to analyze, address obvious motion or focus blur first.
Mistake 3: Assuming a larger file is automatically clearer
Pixel dimensions can increase without genuine clarity improving. Always inspect important details after upscaling rather than judging the result from its resolution label.
Mistake 4: Applying every enhancement at maximum strength
Strong unblur, aggressive upscaling, and heavy sharpening can compound invented textures, halos, noise, and unnatural faces. Use the fewest steps and the lowest strength that solves the visible problem.
Mistake 5: Ignoring text and identity accuracy
Generative enhancement can change letters, facial features, jewelry, product markings, and architectural details. For documents, family archives, catalog products, and evidence-sensitive images, compare the output closely with the source.
How EzEnhancer Fits the Workflow
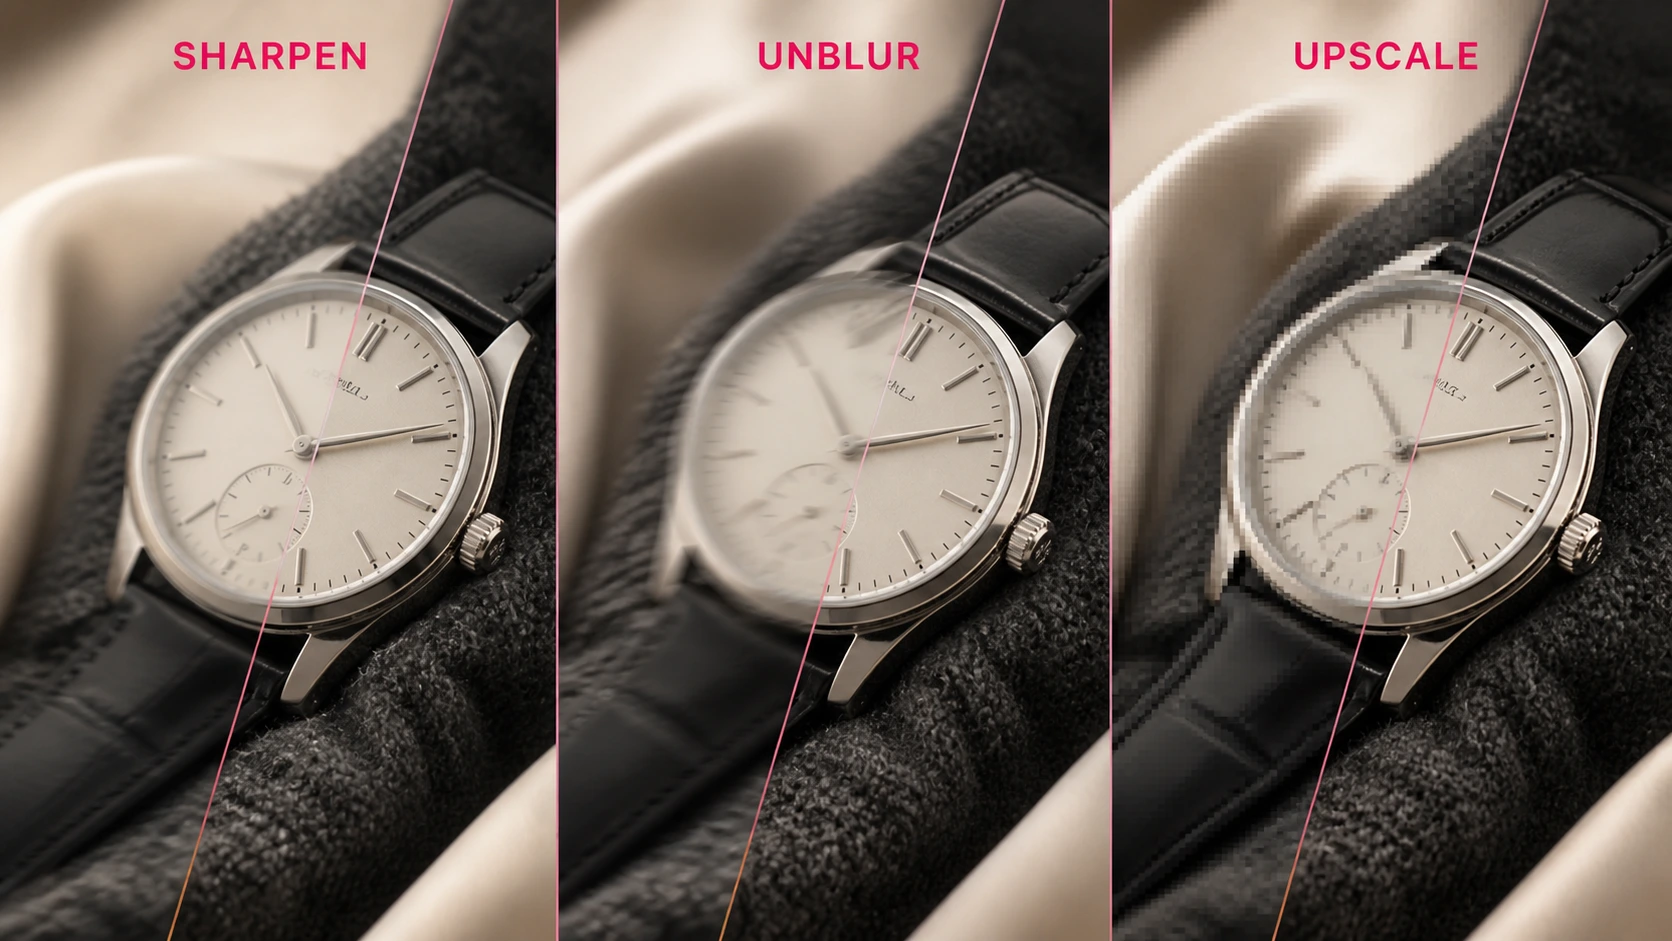
EzEnhancer separates common clarity problems into dedicated browser-based tools. This makes it possible to start with the defect you actually see instead of applying one aggressive all-purpose filter.
| Your goal | EzEnhancer resource | Practical use |
|---|---|---|
| Improve weak edge definition | Sharpen Image | Add controlled clarity to details already present |
| Reduce motion or focus blur | Unblur Image | Reconstruct clearer structure from a blurred source |
| Increase pixel dimensions | Image Upscaler | Prepare a small but usable image for larger output |
| Improve general photo quality | AI Photo Enhancer | Start with a broad enhancement when the defect is mild or mixed |
Upload the highest-quality original you have, process one representative image first, and inspect the result at 100%. If a second tool is necessary, keep the next adjustment conservative.
Final Decision: Which Image Fix Do You Need?
The sharpen vs unblur choice comes down to whether useful detail is present but soft or whether the recorded structure is genuinely blurred. Sharpening improves the appearance of existing edges. Unblurring attempts to reduce motion or focus blur. Upscaling solves a different problem by increasing dimensions and reconstructing detail for a larger output.
Begin with diagnosis, not processing. Check the image at 100%, identify the dominant defect, define the final use, and apply the lightest suitable correction. A believable result with a little softness is usually better than a technically sharp image filled with invented detail and artifacts.
Frequently Asked Questions
Is sharpening the same as unblurring?
No. Sharpening increases contrast around details that already exist. Unblurring attempts to reduce a blur pattern caused by motion, missed focus, or related capture problems. Sharpening alone cannot reliably restore missing focus.
Should I unblur or upscale first?
If the image has adequate dimensions and obvious motion or focus blur, unblur first. If the image is extremely small but its edges remain stable, a conservative upscale may provide a better starting point. For difficult portraits, test both orders and compare identity carefully.
Does upscaling make a blurry image clear?
Not automatically. Upscaling increases pixel dimensions and may reconstruct plausible texture, but it does not guarantee removal of motion or focus blur. A dedicated unblur step may still be necessary.
Can sharpening improve a low-resolution image?
Sharpening can improve perceived edge definition, but it does not add enough pixels for a genuinely larger output. If the image becomes blocky when enlarged, upscale it before applying light final sharpening.
Why does my sharpened image have white outlines?
Those outlines are sharpening halos, usually caused by excessive amount or radius. Reduce the sharpening strength, evaluate at 100%, and avoid sharpening areas that are already noisy or strongly contrasted.
Can AI enhancement change faces or text?
Yes. AI enhancement can reconstruct plausible details that were not clearly present in the source. Check facial identity, letters, numbers, logos, and repeating patterns before publishing or archiving the result.
Restore, Colorize, or Upscale Old Photos First?
Learn the best AI workflow for old family photos: when to restore damage, colorize black-and-white images, unblur faces, or upscale for printing.
Top 10 AI Image Upscalers for Midjourney Creations
Discover the 10 best AI image upscalers for Midjourney, AI art, photography, and poster printing. Compare features, quality, pricing, and restoration tools.