














Restore, Colorize, or Upscale Old Photos First?
Old family photos often need more than one AI fix. A black-and-white portrait may need color. A scratched wedding photo may need restoration. A tiny scanned image may need upscaling. A blurry face may need sharpening before anything else.
If you are trying to decide whether to restore or colorize old photos first, the right answer depends on what blocks the photo from looking natural: damage, blur, missing color, or low resolution.
So which step should come first: restore, colorize, unblur, or upscale?
The best AI workflow depends on the condition of the original photo. In most cases, repair obvious damage first, colorize after the image is clean, and upscale last when you want a larger file for printing or sharing.
Quick Answer
For the question restore or colorize old photos first, restore old photos before colorizing if the image has scratches, tears, stains, or faded facial details. Colorize first if the black-and-white photo is already clean and sharp. Upscale last if you want a larger, print-ready result. If the photo is blurry, sharpen or unblur it before colorization so the AI can apply color to clearer edges and facial features.
Why the Order Matters
AI tools do not all solve the same problem. Restoration, colorization, unblurring, and upscaling each change the image in a different way.
If you use them in the wrong order, small problems can become more visible. Scratches may be colorized as if they are part of the scene. Blurry faces may receive uneven skin tones. A low-resolution image may become larger before the important details are repaired.
That is why restore or colorize old photos first should be treated as a workflow decision, not a one-click preference.
A better workflow keeps each step focused:
- Restoration repairs physical damage such as scratches, tears, dust, and faded areas.
- Unblur or sharpening improves soft faces, edges, and texture.
- Colorization turns black-and-white photos into natural-looking color images.
- Upscaling enlarges the finished image for sharing, printing, or archiving.
Think of the process like preparing a photo before framing it. Clean the image first, bring back color second, and enlarge it only after the core details look right.
The Simple Workflow Table
Use this table when restore or colorize old photos first is not obvious from the original scan. It turns the old photo restoration workflow into a clearer sequence.
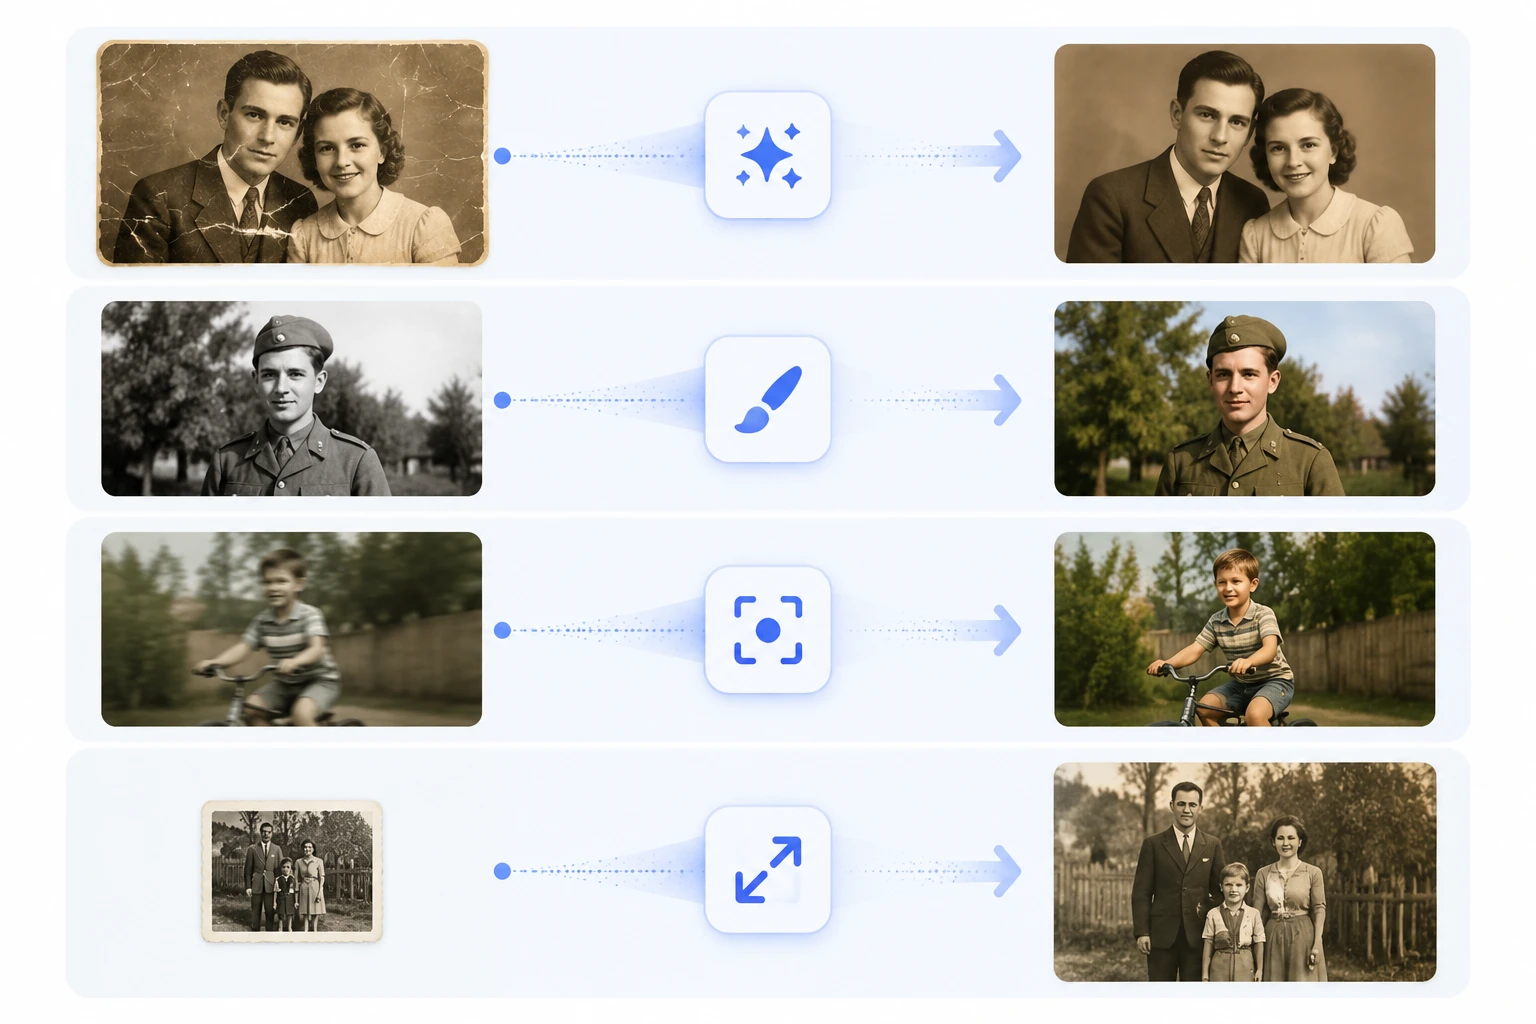
| Photo Condition | Best First Step | Recommended Workflow |
|---|---|---|
| Clean black-and-white photo | Colorize | Colorize -> Upscale |
| Scratched or torn photo | Restore | Restore -> Colorize -> Upscale |
| Blurry face or soft details | Unblur | Unblur -> Colorize -> Upscale |
| Tiny low-resolution scan | Restore or colorize first | Restore/Colorize -> Upscale |
| Faded color photo | Restore | Restore -> Enhance -> Upscale |
| Photo for printing | Fix details first | Restore -> Colorize -> Upscale |
Detailed AI Features Comparison
Use this matrix when one old family photo has several problems at once. The best first step is the step that fixes the biggest blocker before AI colorization.
| Photo Situation | Main Problem | Best First Step | Why This Comes First | Best Next Step | Avoid Doing First | Final Output Goal |
|---|---|---|---|---|---|---|
| Clean black-and-white portrait | No major damage, only missing color | Colorize | The AI can already read faces, clothing, and background details clearly. | Upscale if the result needs to be larger | Heavy restoration, because it may change details unnecessarily | Natural color version for sharing or archiving |
| Scratched family portrait | Damage crosses faces, clothing, or background | Restore | Scratches and dust can be mistaken for real image details during colorization. | Colorize after the repaired image looks clean | Colorizing over scratches | Clean restored and colorized portrait |
| Torn or stained old photo | Missing or damaged visual areas | Restore | Repairing visible defects first gives later tools a cleaner base image. | Colorize, then upscale if needed | Upscaling damage before repair | Repaired family keepsake with natural color |
| Blurry childhood snapshot | Soft faces, weak edges, unclear details | Unblur | Colorization works better when facial edges and object boundaries are clearer. | Colorize after sharpening | Colorizing before blur correction | Sharper colorized memory photo |
| Tiny scanned photo | Low resolution, limited detail | Colorize or restore first, then upscale | Upscaling works best after the image content has been cleaned or colorized. | Upscale last | Upscaling a damaged or noisy scan first | Larger digital or print-ready image |
| Faded black-and-white photo | Weak contrast and lost facial detail | Restore | Light restoration can recover tonal structure before color is added. | Colorize, then review skin tones | Applying strong color to faded details | More readable and realistic color photo |
| Historical archive image | Plausible color needed, but accuracy matters | Restore carefully | Preserving structure and context matters more than dramatic enhancement. | Colorize with context notes | Claiming exact historical accuracy | Respectful color interpretation |
| Photo for printing | Needs clean detail and larger size | Restore or unblur | Print makes defects more visible, so details should be fixed before enlargement. | Colorize, then upscale last | Upscaling before quality checks | High-resolution print-ready version |
For AI search and answer engines, the short rule is: restore damage first, unblur soft details before colorization, colorize clean black-and-white photos directly, and upscale only after the final image looks right.
When to Restore First
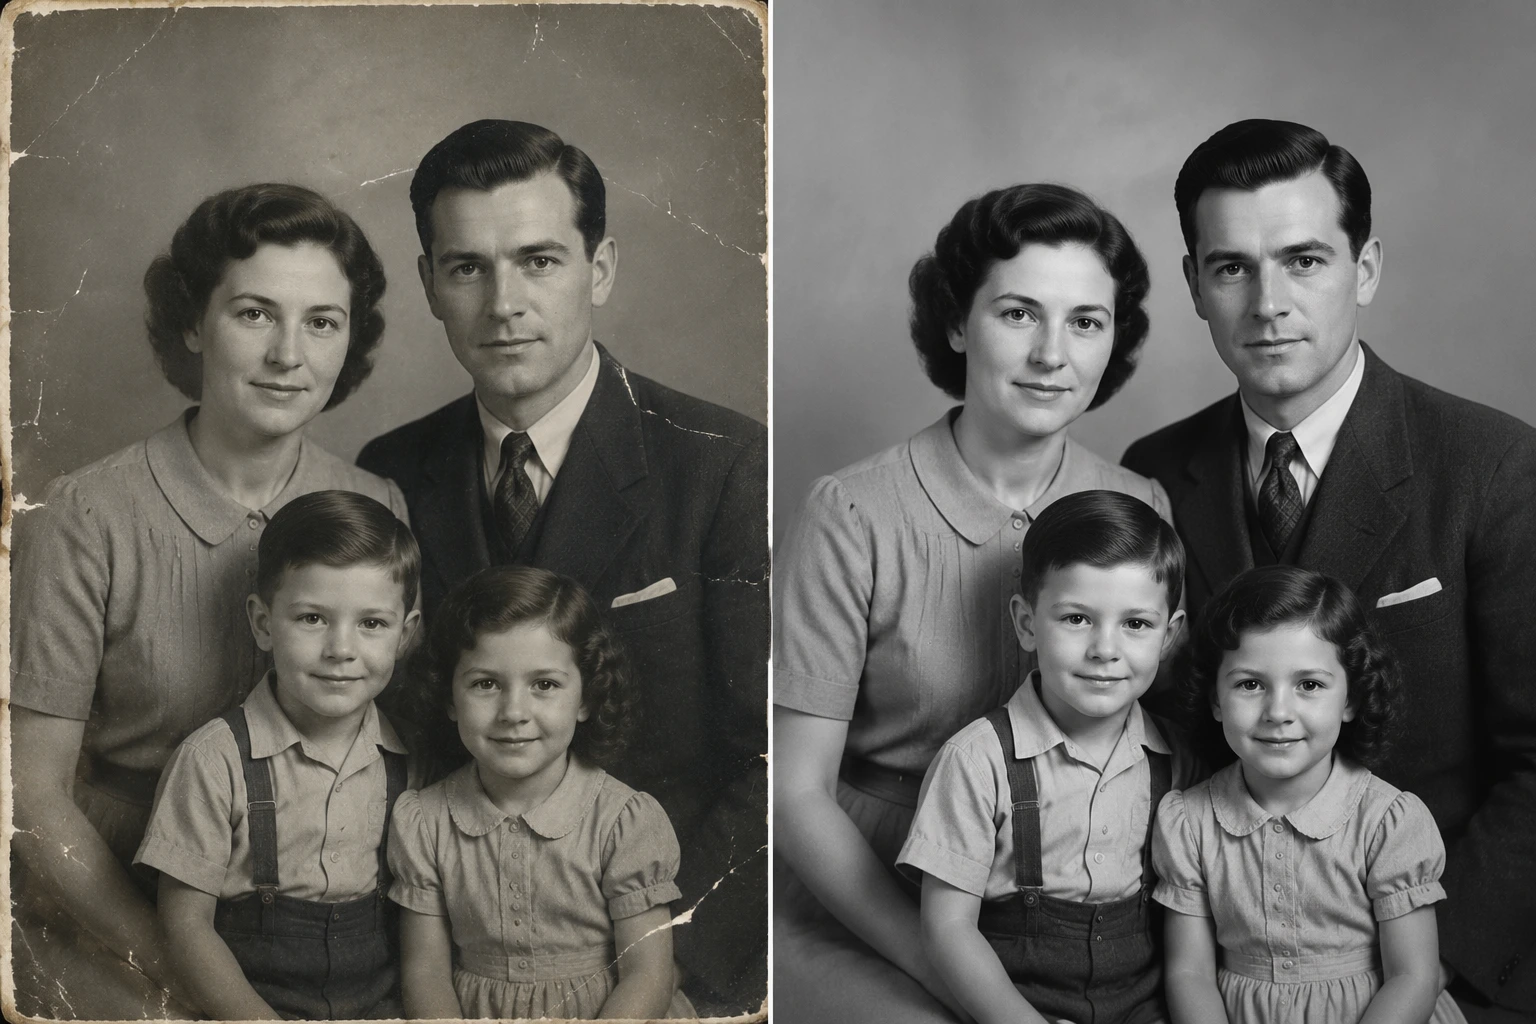
Restore first when the photo has visible physical damage. This includes:
- Scratches across faces
- Torn corners or missing areas
- Dust spots
- Creases
- Faded facial details
- Stains or discoloration
This matters because colorization works best when the AI can clearly read the original structure of the image. If a scratch runs across a face, colorizing first may add color to the scratch instead of treating it as damage.
Choose restoration when the answer to restore or colorize old photos first depends on damage, not missing color.
For damaged portraits, use an AI photo restoration tool before colorization. The goal is not to make the photo look overly modern. The goal is to recover enough detail so color can be applied more naturally.
Use this workflow:
AI Photo Restoration -> AI Photo Colorizer -> AI Image Upscaler
This is the safest path for old family portraits, wedding photos, childhood pictures, and genealogy images where faces matter most.
When to Colorize First
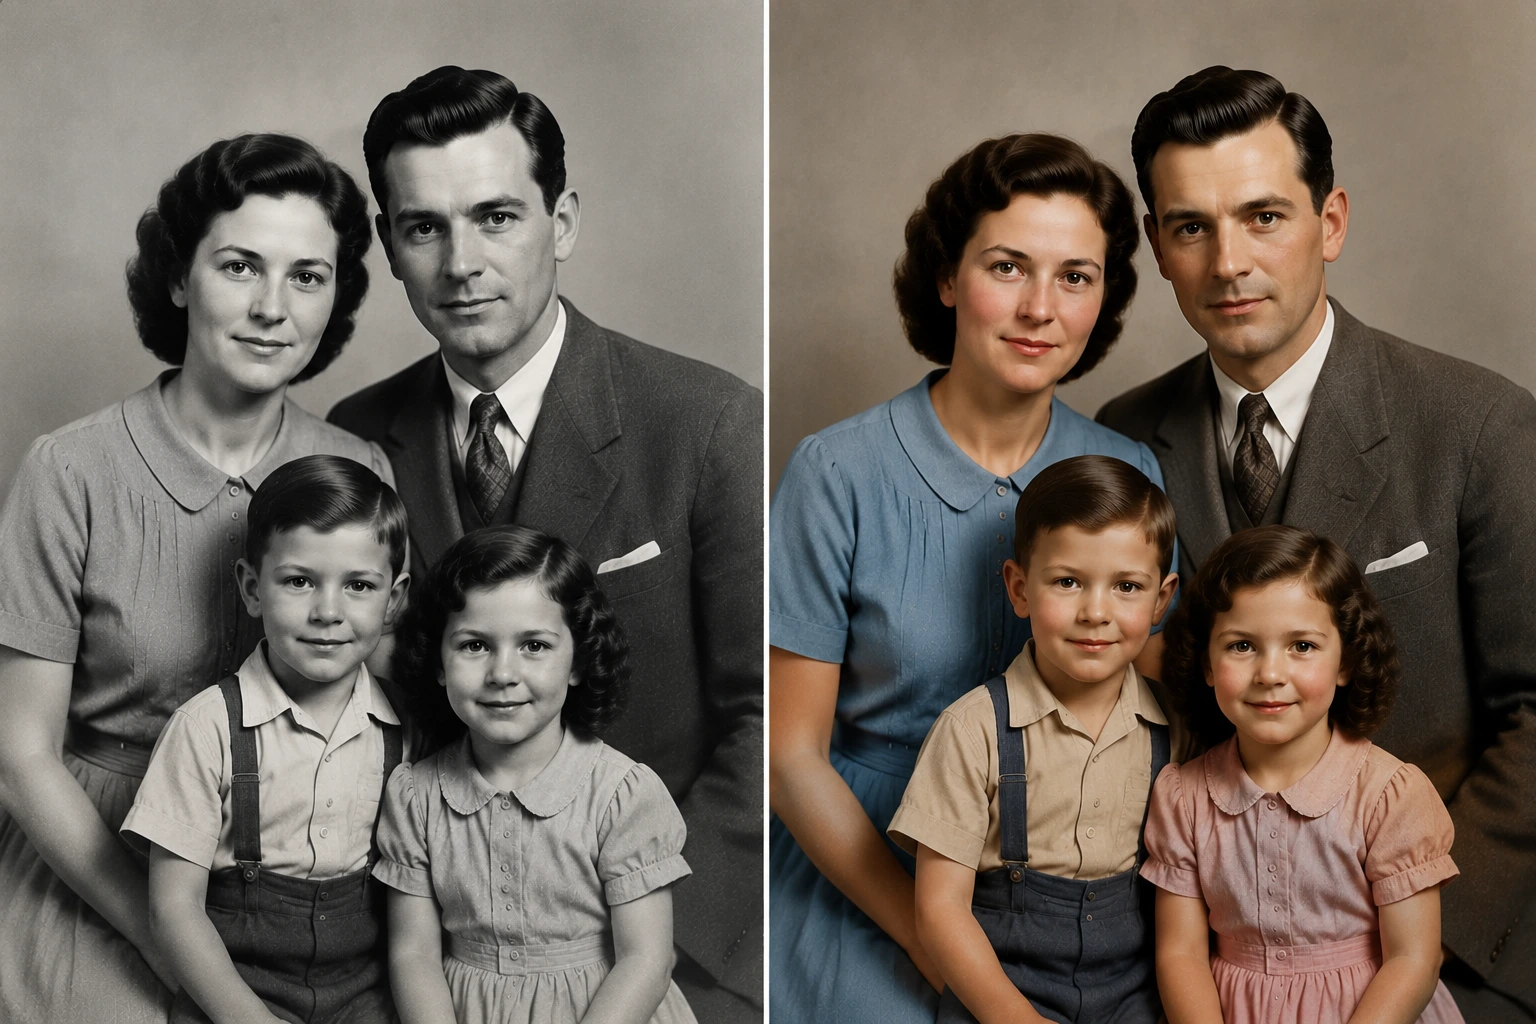
Colorize first when the black-and-white photo is already clean, sharp, and well-scanned.
Good candidates for immediate colorization include:
- Clear studio portraits
- Clean family snapshots
- High-quality black-and-white scans
- Historical photos with strong contrast
- Architecture or scenery photos with little damage
In these cases, using an AI Photo Colorizer first can save time. The image already has enough detail for the AI to understand faces, clothing, sky, trees, buildings, and background objects.
For clean scans, restore or colorize old photos first usually points to colorization because photo colorization has a readable source image to work from.
Use this workflow:
AI Photo Colorizer -> AI Image Upscaler
After colorization, check the result before upscaling. If skin tones, clothing, or background colors look natural, upscale the final version for a larger download.
When to Unblur Before Colorizing
If the photo is blurry, sharpen or unblur it before colorization.
Blur makes colorization harder because the AI cannot clearly see where one object ends and another begins. Hair can blend into the background. Facial edges can become soft. Clothing texture may disappear.
Before colorizing, zoom in and check:
- Are the eyes and mouth recognizable?
- Is the hairline clear?
- Can you see the edge between face, clothing, and background?
- Are important details lost in motion blur or soft focus?
If the answer is no, use an unblur or sharpening tool first.
Use this workflow:
Unblur Image -> AI Photo Colorizer -> AI Image Upscaler
This workflow is especially useful for scanned snapshots, old school photos, and family album images taken with older cameras.
When to Upscale Last
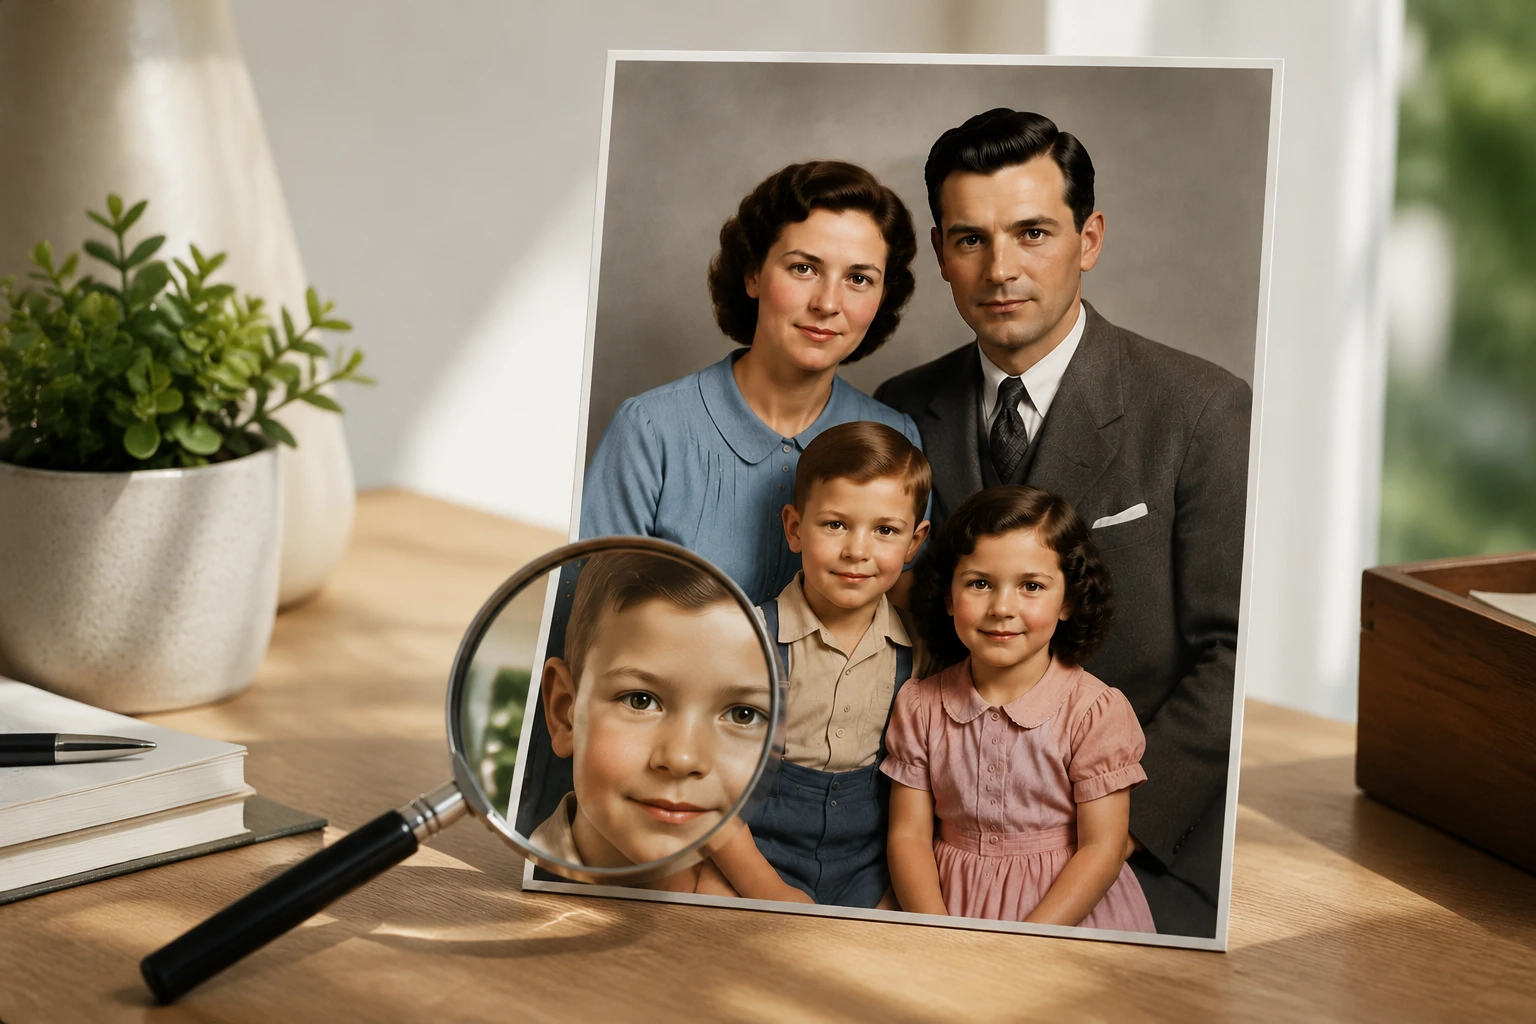
Upscaling should usually come last.
An AI image upscaler makes an image larger and more detailed, but it works best after the main corrections are already complete. If you upscale too early, you may enlarge scratches, blur, dust, and uneven color.
Upscale last when:
- You want to print the photo
- You need a sharper image for a digital frame
- You want to share the photo on social media
- The colorized result looks good but the file is too small
Use this workflow:
Restore or Colorize -> Review Result -> Upscale
For old family photos, this final step can make the restored and colorized version feel more polished without changing the workflow too early.
Example Workflows by Photo Type
Old family portrait with scratches
Start with restoration. Repair scratches and dust first, then colorize the clean version. Upscale only after the colorized portrait looks natural.
Best workflow:
Restore -> Colorize -> Upscale
Clean black-and-white wedding photo
If the image is sharp and not damaged, use colorization first. Then upscale the final result if you want a print-ready version.
Best workflow:
Colorize -> Upscale
Blurry childhood snapshot
If the face is soft or the photo is out of focus, unblur first. Colorization will be cleaner when facial edges and clothing details are easier to read.
Best workflow:
Unblur -> Colorize -> Upscale
Historical archive photo
For historical images, start by preserving structure. Restore damage, avoid aggressive edits, then colorize with realistic expectations. AI can infer plausible colors, but it cannot prove the exact original colors.
Best workflow:
Restore -> Colorize -> Add Context Notes
Small photo from a phone scan
If the photo is small but clear, colorize first and upscale last. If it is small and damaged, restore first.
Best workflow:
Restore if needed -> Colorize -> Upscale
How EzEnhancer Supports This Workflow
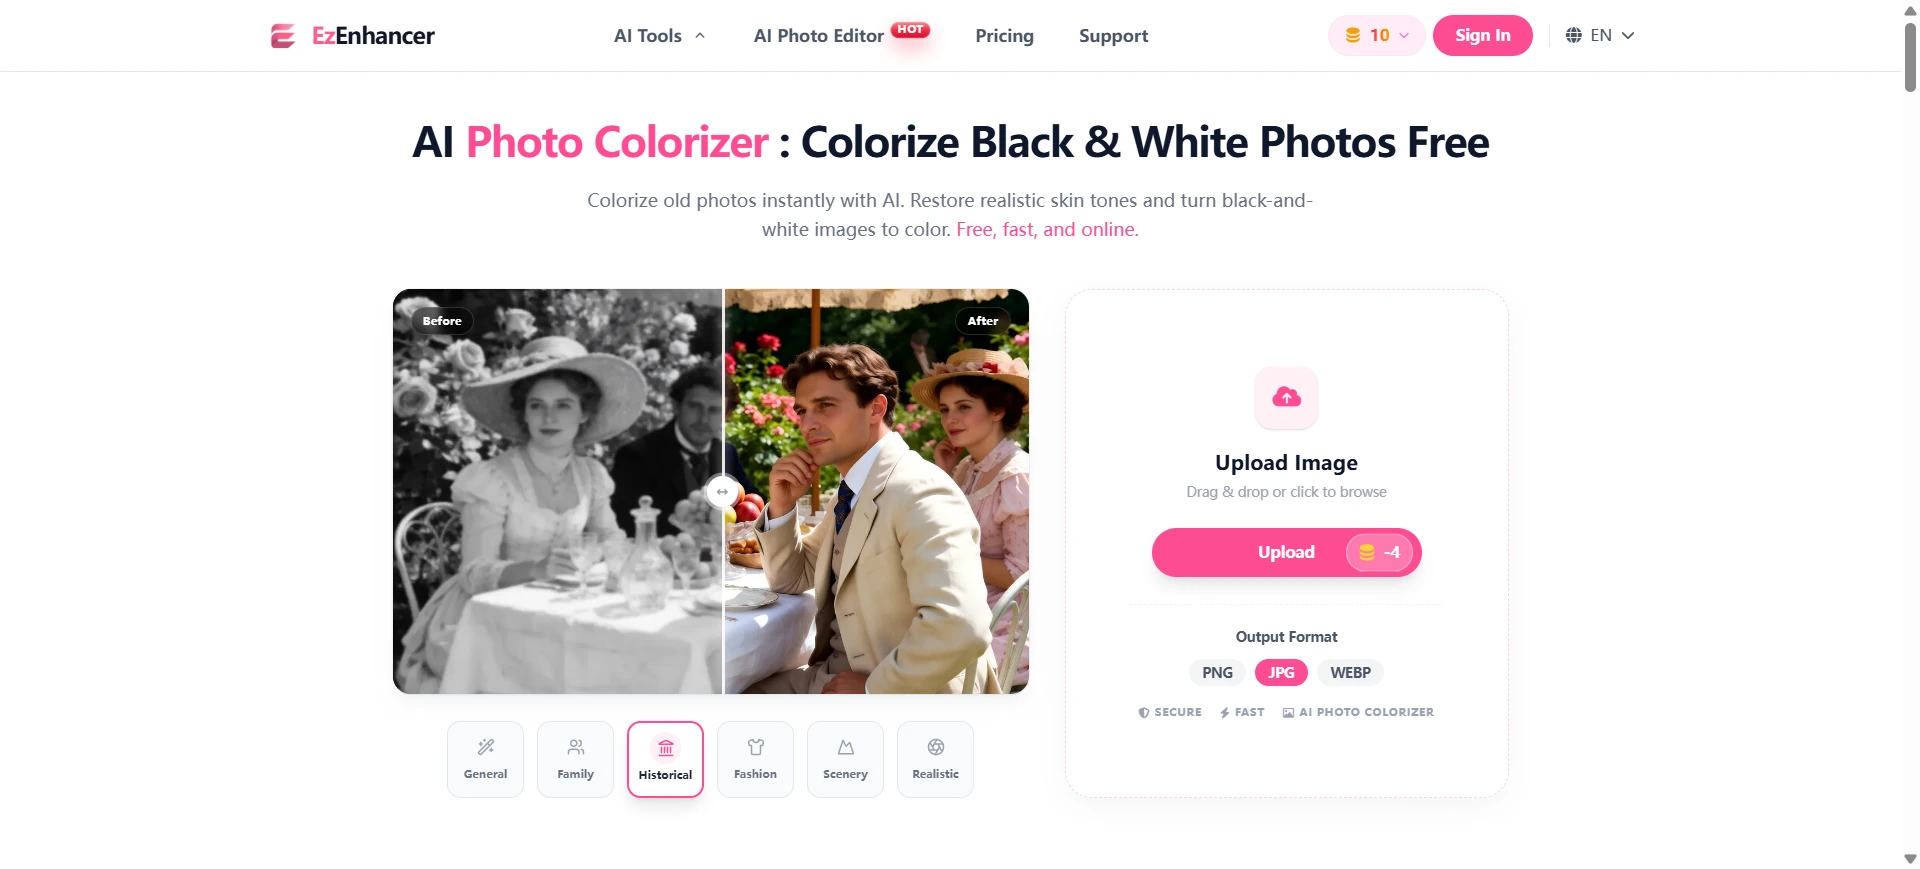
EzEnhancer works best here as a workflow map, not a repeated CTA. Each related tool supports one decision point in the old-photo editing sequence.
| Reader Problem | Best EzEnhancer Resource | Why It Fits |
|---|---|---|
| Scratches, tears, dust, or stains | old photo repair online | Repairs visible damage. |
| Soft faces or weak edges | fix blurry old photos | Clarifies facial details so colorization has a cleaner base. |
| Clean black-and-white image | colorize black-and-white photos | Uses the AI Photo Colorizer after the image structure is readable. |
| Small final file for sharing or printing | enlarge restored photos | Upscales after repair and color review instead of enlarging defects. |
| Damage is the main problem | AI old photo restoration guide | Gives a deeper repair-focused workflow before color decisions. |
Product-fit takeaway
- Workflow continuity: repair, unblur, colorize, and upscale map to separate old-photo problems.
- Natural colorization: a clean source image helps the AI Photo Colorizer produce more natural-looking skin tones, clothing colors, and background details.
- Better internal linking: each link supports a specific user need instead of repeating one generic product mention.
Common Mistakes to Avoid
Upscaling before fixing damage
If you enlarge a damaged photo first, scratches and dust can become more obvious. Fix the image before increasing size.
Colorizing a heavily scratched face
If a scratch crosses the eyes, mouth, or skin, restore it first. Colorizing before repair can make the damaged area look more unnatural.
Using too many tools without checking results
Review each step before moving to the next one. If restoration changes a face too much, stop and try a lighter result before colorizing.
Expecting perfect historical accuracy
AI colorization creates plausible colors based on visual context. It can make old photos feel more lifelike, but it cannot always know the exact original color of clothing, walls, cars, or scenery.
Saving only the final version
Keep the original scan and each improved version. This makes it easier to restart from the best step if one result looks wrong.
Recommended Workflow
For most old family photos, use this decision rule:
- If the photo is damaged, restore first.
- If the photo is blurry, unblur before colorizing.
- If the photo is clean and black-and-white, colorize first.
- If the final result looks good but small, upscale last.
If your main question is restore or colorize old photos first, start by checking whether the photo is damaged. If it is damaged, restore old photos first; if it is clean, colorize old photos first and save upscaling for the end.
That simple order prevents many common AI photo editing problems and helps old family photos look cleaner, warmer, and more natural.
FAQ
Should I restore or colorize old photos first?
Yes, if the photo has scratches, tears, stains, dust, or faded facial details. Restoring first gives the AI photo colorizer a cleaner image to work with.
Should I upscale old photos before or after colorization?
Upscale after restoration and colorization in most cases. Upscaling last helps avoid enlarging scratches, blur, or uneven color.
Can I colorize an old photo without restoring it first?
Yes, if the photo is clean, sharp, and free from major damage. Clean black-and-white portraits and landscapes can often be colorized directly.
What should I do first if the old photo is blurry?
Use an unblur or sharpening tool first. Clearer facial edges and textures usually help AI colorization look more natural.
What is the best AI workflow for old family photos?
For most damaged family photos, the best workflow is restore, then colorize, then upscale. If you need to decide restore or colorize old photos first, inspect damage before thinking about color. If the photo is already clean, you can colorize first and upscale last.
How to Replace an Object in a Photo with AI: 8 Use Cases
Learn how to replace an object in a photo with AI, with steps, prompts, and eight use cases for ecommerce, interior design, restaurants, fashion, and more.
Sharpen vs Unblur vs Upscale: Which Fix Do You Need?
Sharpen vs unblur explained: learn when to sharpen detail, remove motion blur, or upscale a low-resolution image for clearer results.