Why Your Old Photos Look Fake After Colorizing (and How to Fix It)
We’ve all been there. You find a precious black-and-white portrait of your grandparents, run it through a standard photo colorizer, and wait with excitement. But instead of a vibrant memory, you get a result that looks like a neon painting—waxy skin, bleeding colors, and a strange "AI glow" that feels anything but real.
In 2026, the trend has shifted from "perfect" images to authentic ones. Audiences now have sharp instincts for spotting "fake" AI textures. If you want to turn black and white photos to color without losing their soul, you need to understand the mechanics of colorization and choose the right workflow.
The 3 Common Pitfalls of AI Colorization
1. The "Waxy Skin" Trap

Most AI photo colorizers fail because they treat skin as a flat surface. Human skin actually involves sub-surface scattering—reds, pinks, and yellows reacting to light beneath the surface. Basic tools apply a flat "peach" overlay, making ancestors look like plastic dolls.
2. Color Bleeding and Artifacts
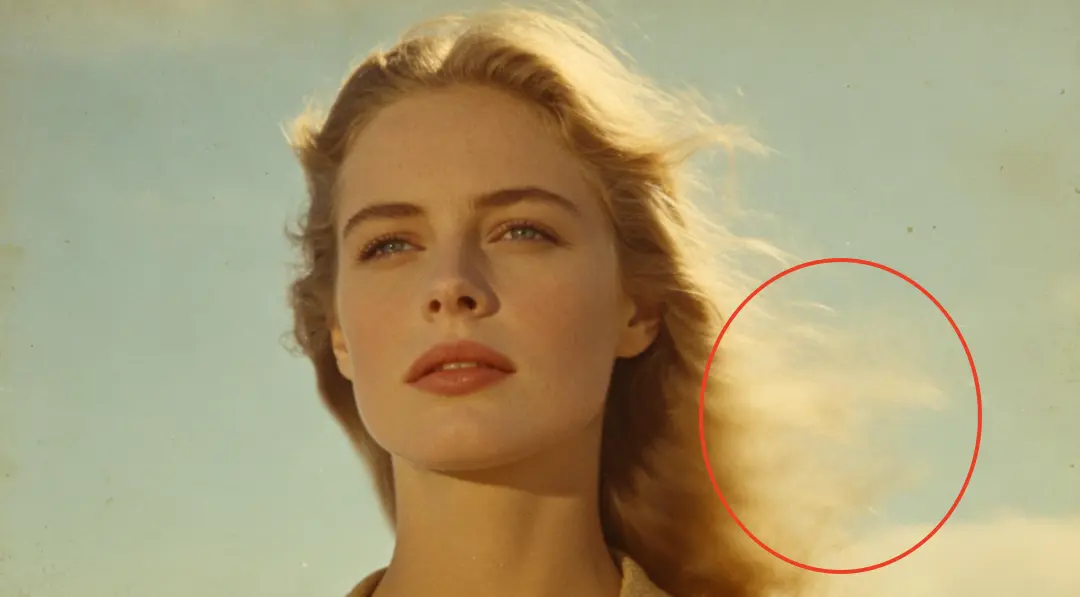
Ever noticed an auto colorize tool turning the edge of a person's hair the same color as the sky? This happens when the algorithm fails to define boundaries, causing colors to "melt" into the background.
3. The "Neon" Effect (Oversaturation)
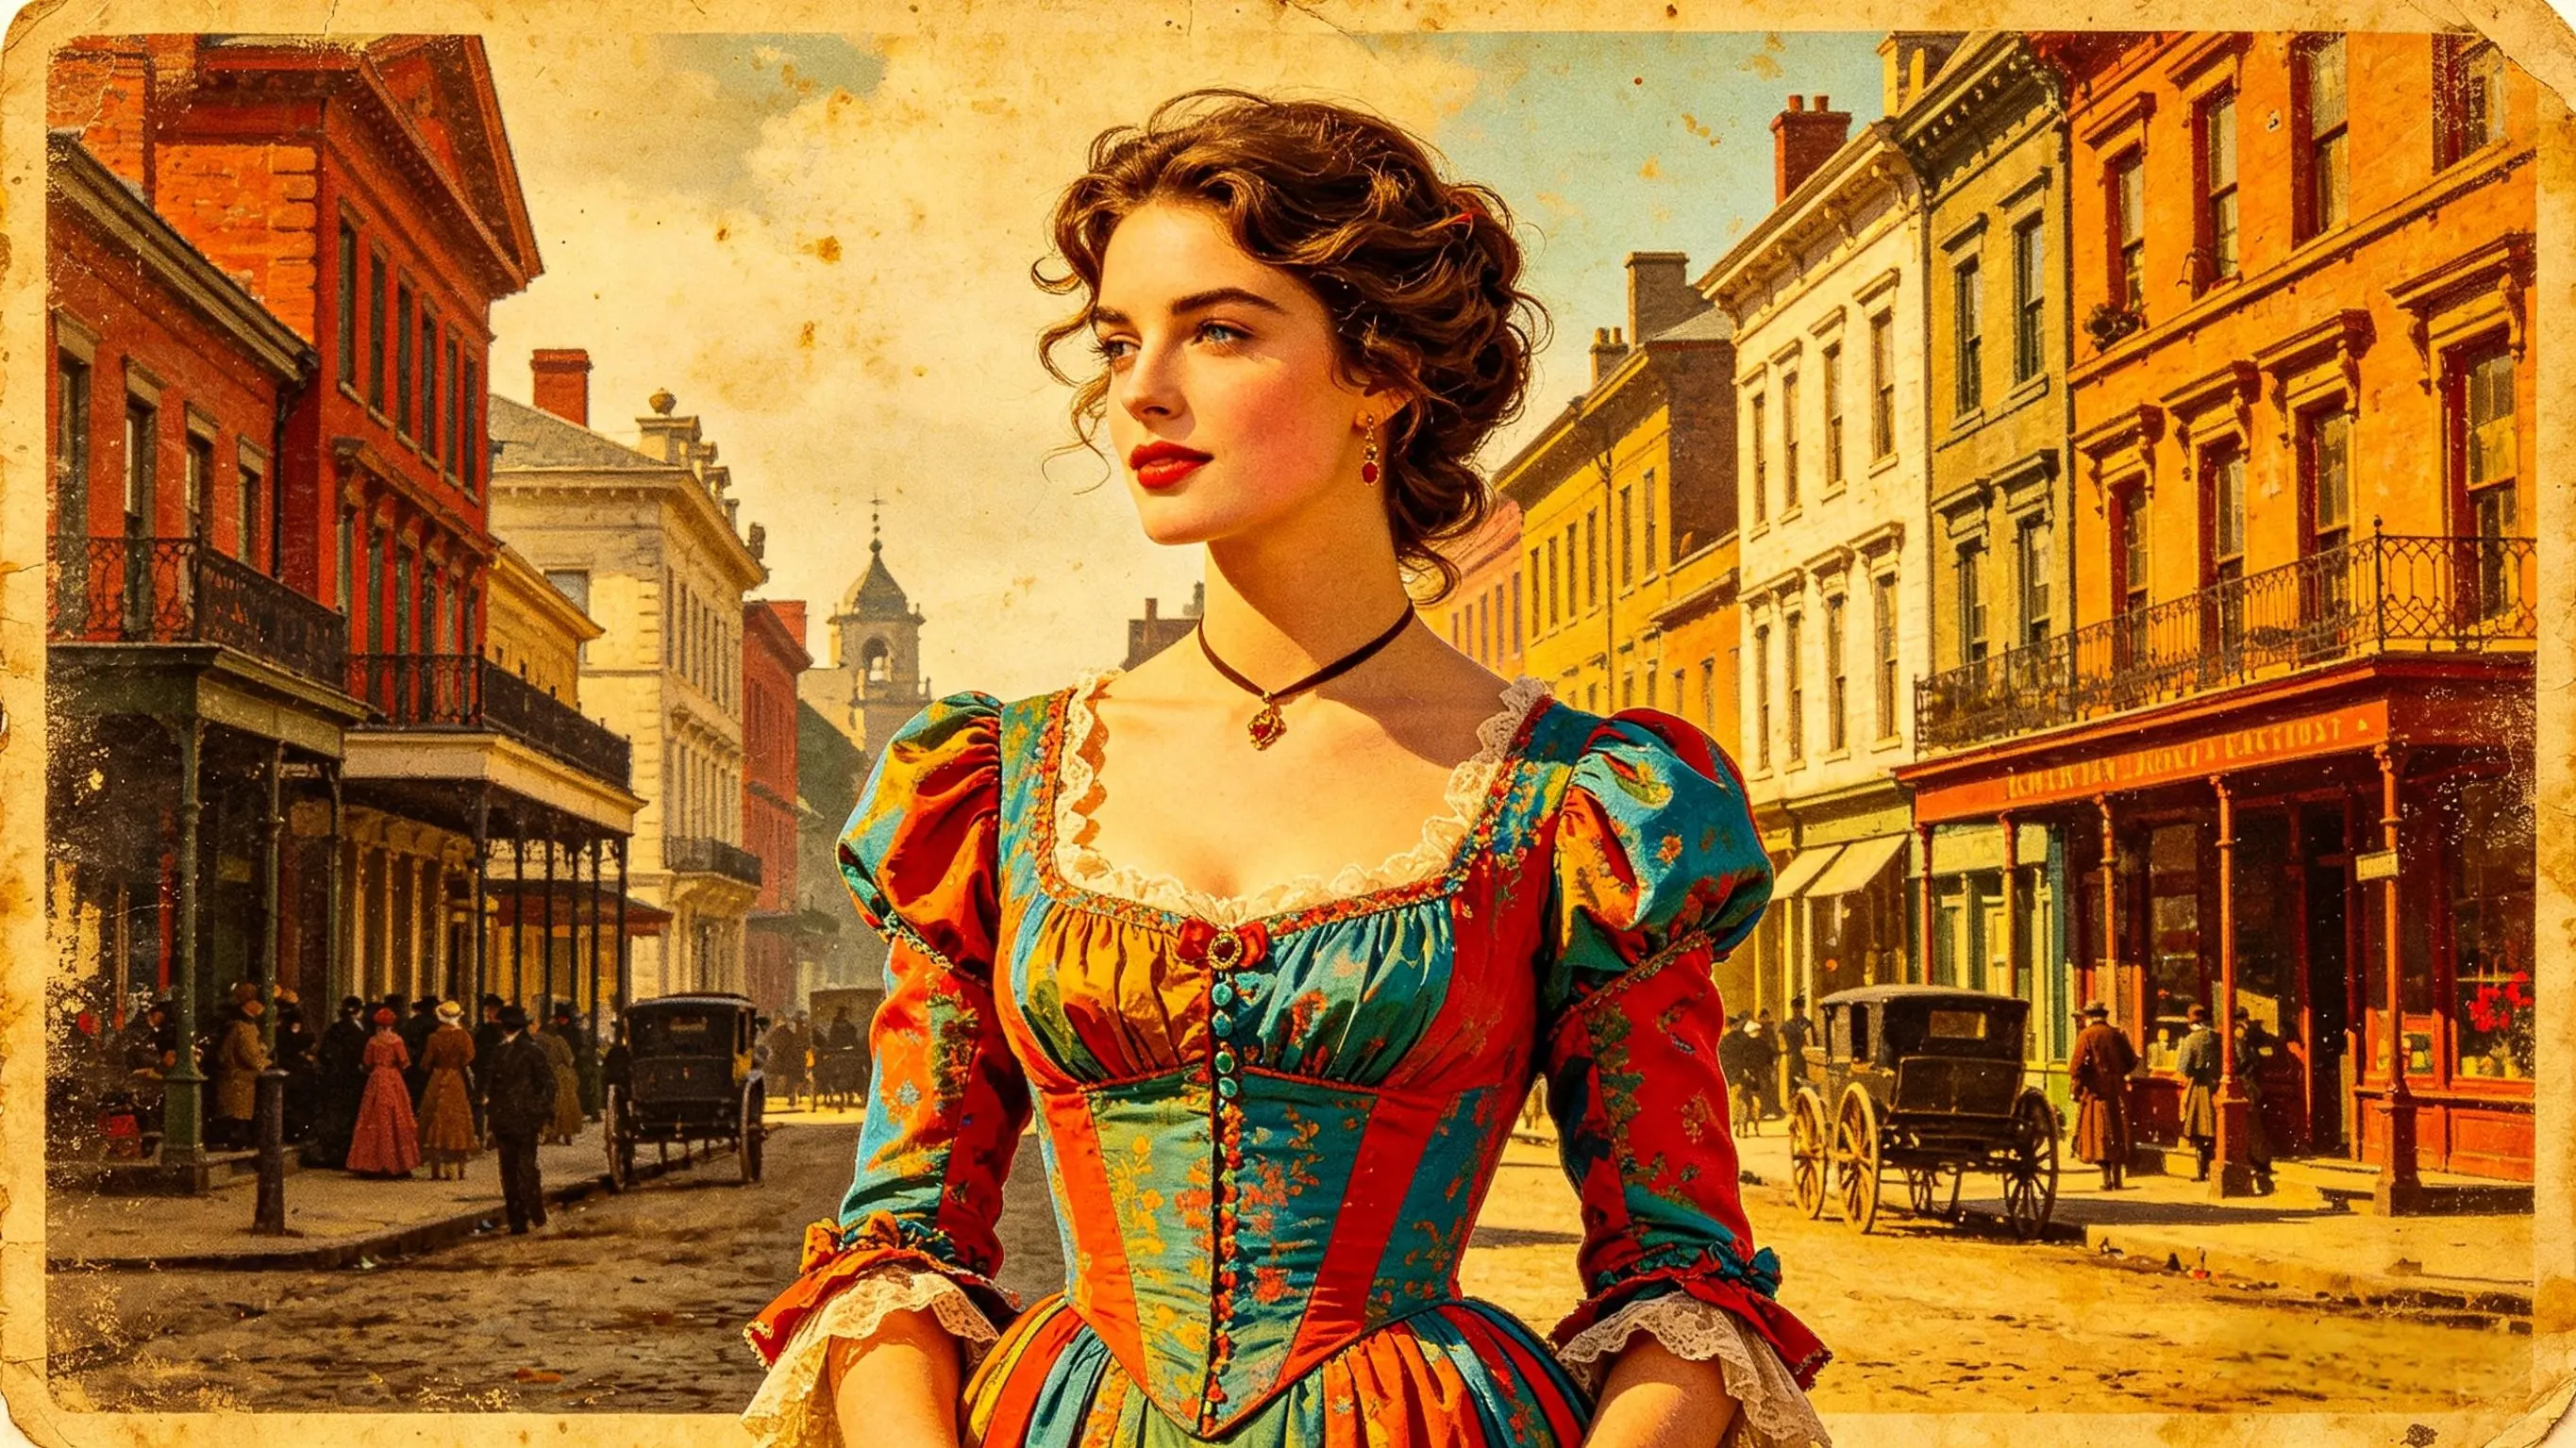
Authentic vintage photos have a softer, muted palette. Many free photo colorizers over-compensate by making colors too bright, making a 1940s scene look like a modern video game instead of a historical record.
Top Methods to Colorize Pictures in 2026: A Deep Dive
To avoid the common pitfalls of "fake-looking" AI, you need to choose the right workflow. Here is a detailed look at how the three main paths to colorize black and white photos actually function in 2026.
There is no single "best" way for everyone. The right choice depends on your budget, time, and technical skill. Here is an objective look at how the three main paths to colorize black and white photos actually function today.
| Feature | Manual Photoshop | Open Source (GANs) | EzEnhancer.ai |
|---|---|---|---|
| Processing Time | 3 - 5 Hours | 5 - 10 Minutes | Under 10 Seconds |
| Ease of Use | Professional Skill | Developer Level | 1-Click (No Skill) |
| Output Quality | Original Resolution | Mixed / Grainy | 4K High-Resolution |
| Historical Realism | High (Human Driven) | Medium (AI Guess) | Superior (Texture Reconstruction) |
Method 1: Manual Colorization (Adobe Photoshop)
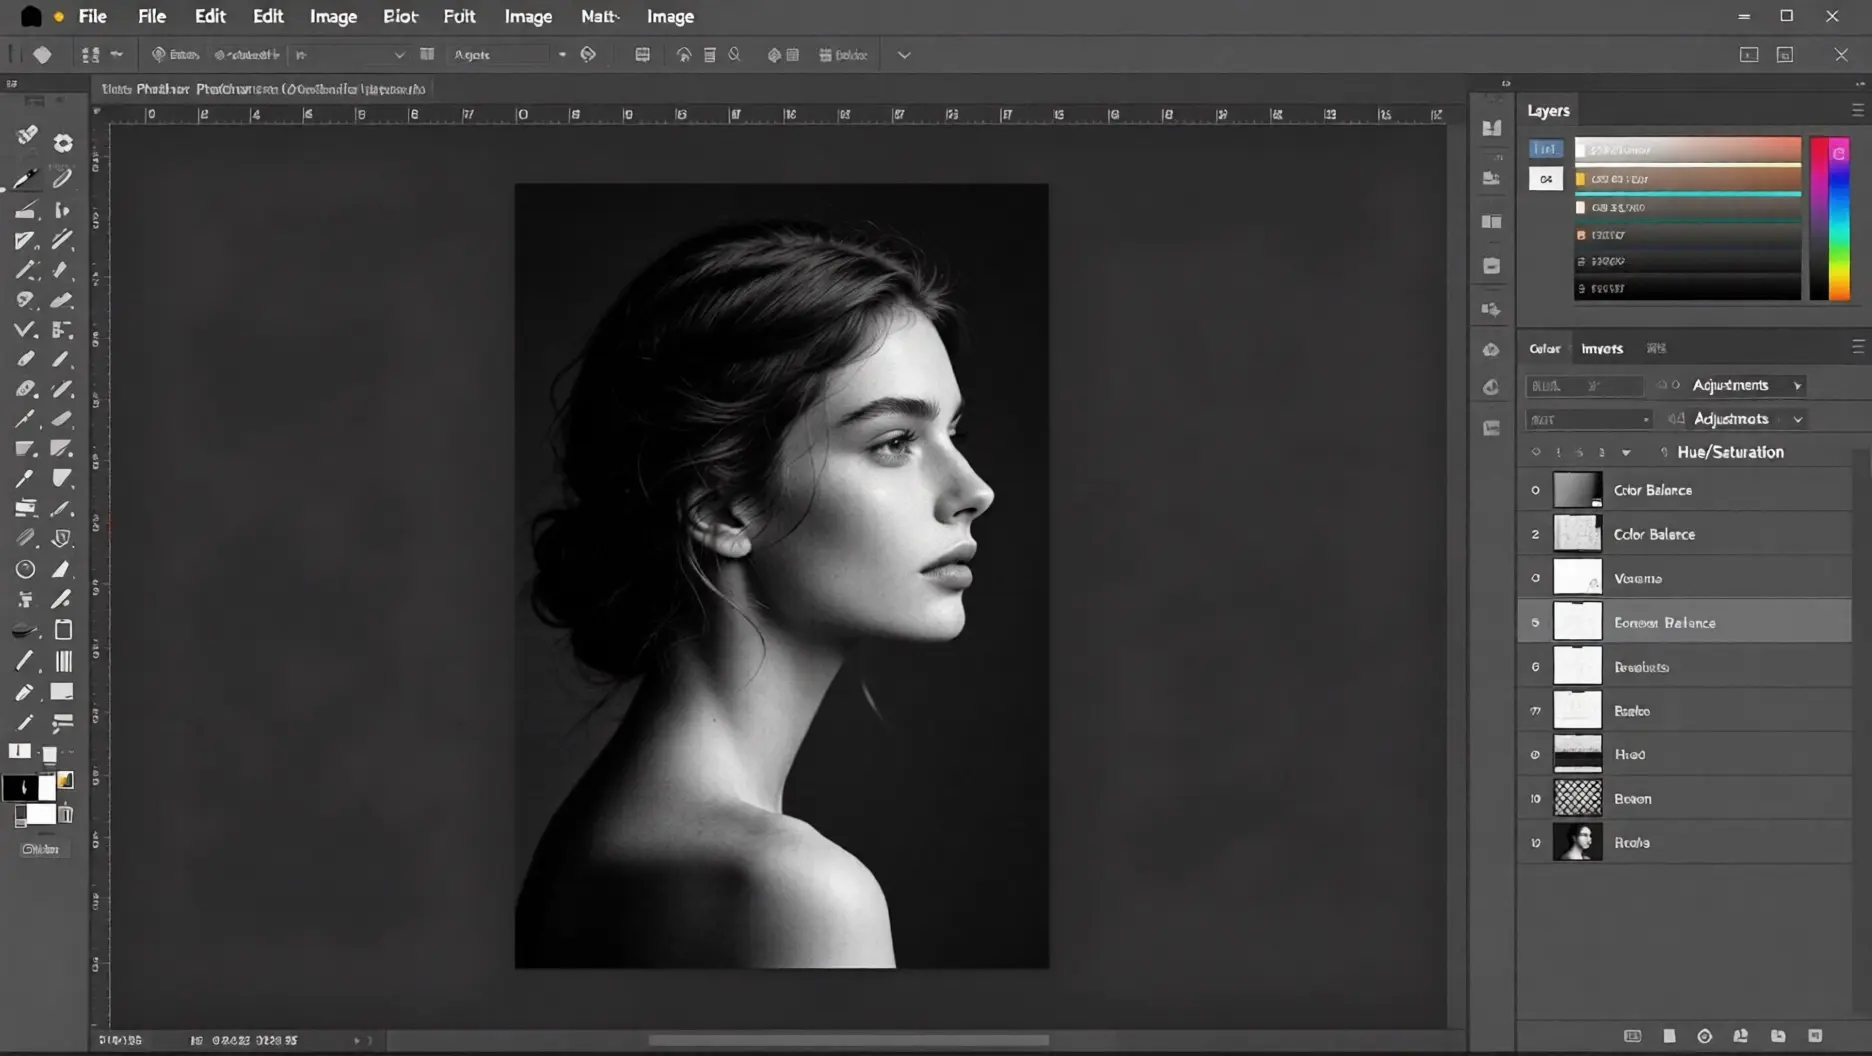
The Process: Digital Painting & Historical Research
Manual colorization is a labor of love that treats a photograph like a canvas. Instead of letting software decide the colors, a human artist makes every choice based on historical context.
The Workflow:
- Luminance Balancing: The artist first repairs the "values" of the black and white photo, ensuring blacks are deep and whites are crisp.
- Layer Masking: Every element—eyes, lips, coat buttons, background trees—is meticulously masked (outlined) into a separate layer.
- The "Color" Blend Mode: By setting layers to "Color" mode, the artist paints over the gray pixels. This allows the original texture and shading to show through while changing the hue.
- Multi-Tone Skin Grading: To avoid a "flat" look, pros paint multiple colors into the skin—reds for the cheeks, yellows for forehead highlights, and cooler blues for beard shadows.
Why it’s valuable:
It is the only way to guarantee 100% historical accuracy for specific uniforms, flags, or family-specific eye colors.
Method 2: Advanced AI Platforms (EzEnhancer.ai)
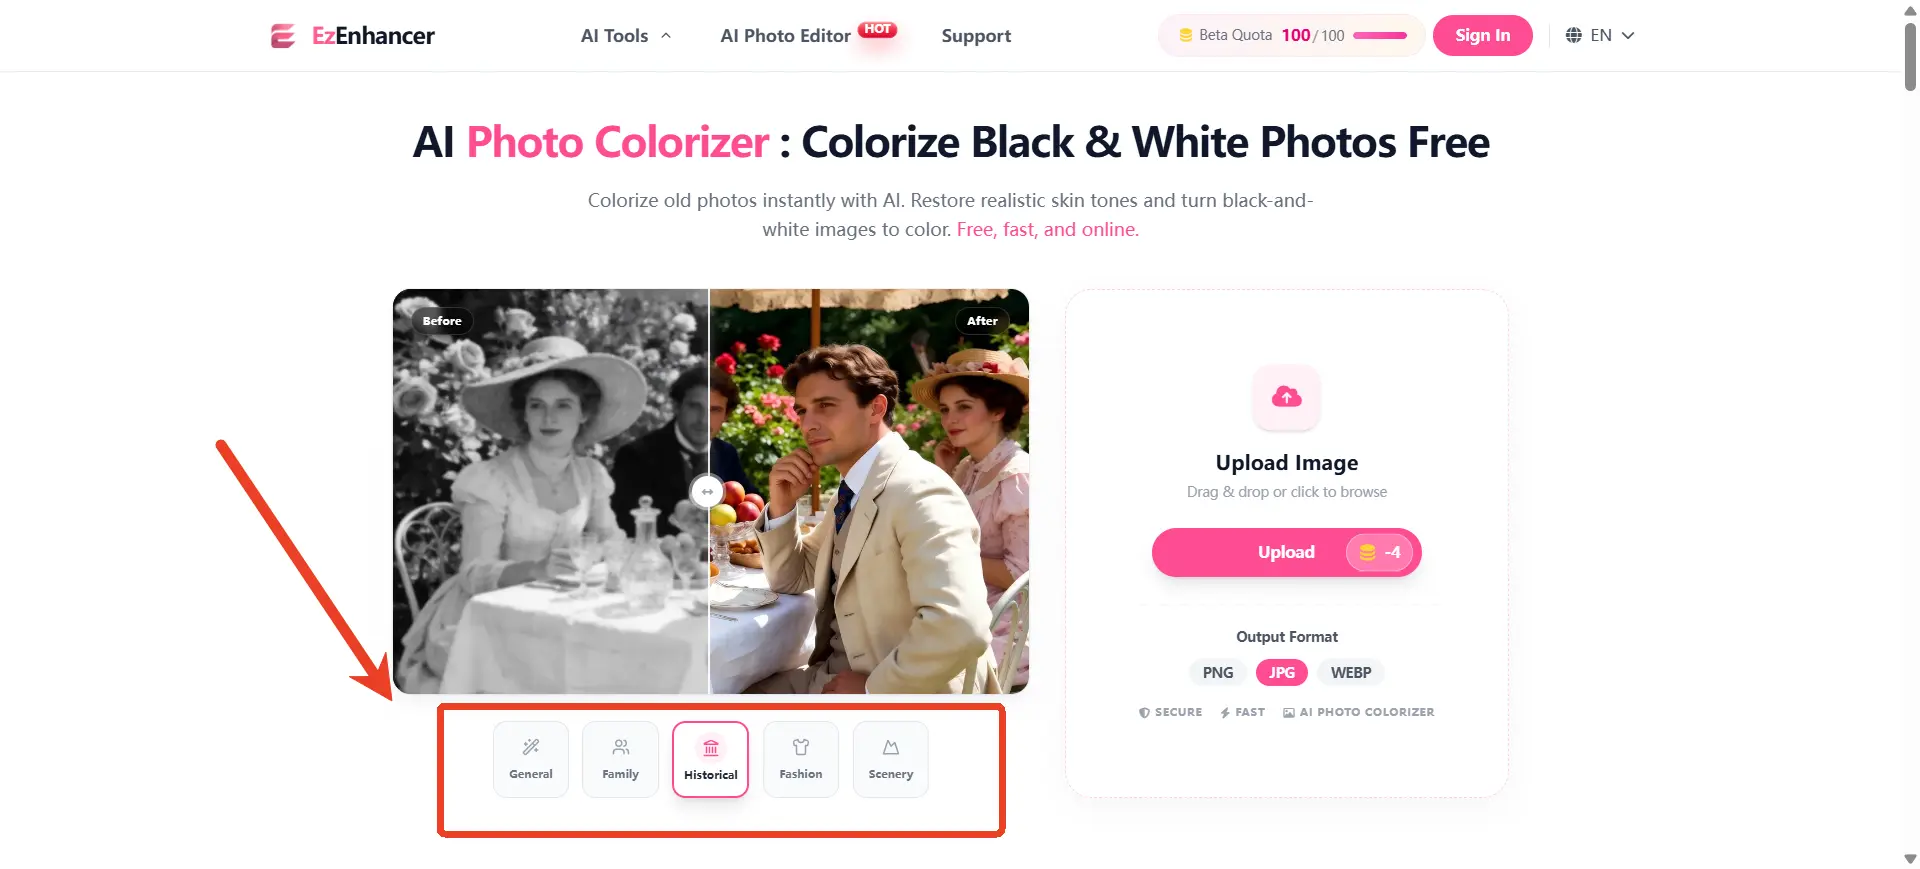
The Process: Semantic Segmentation & Texture Reconstruction
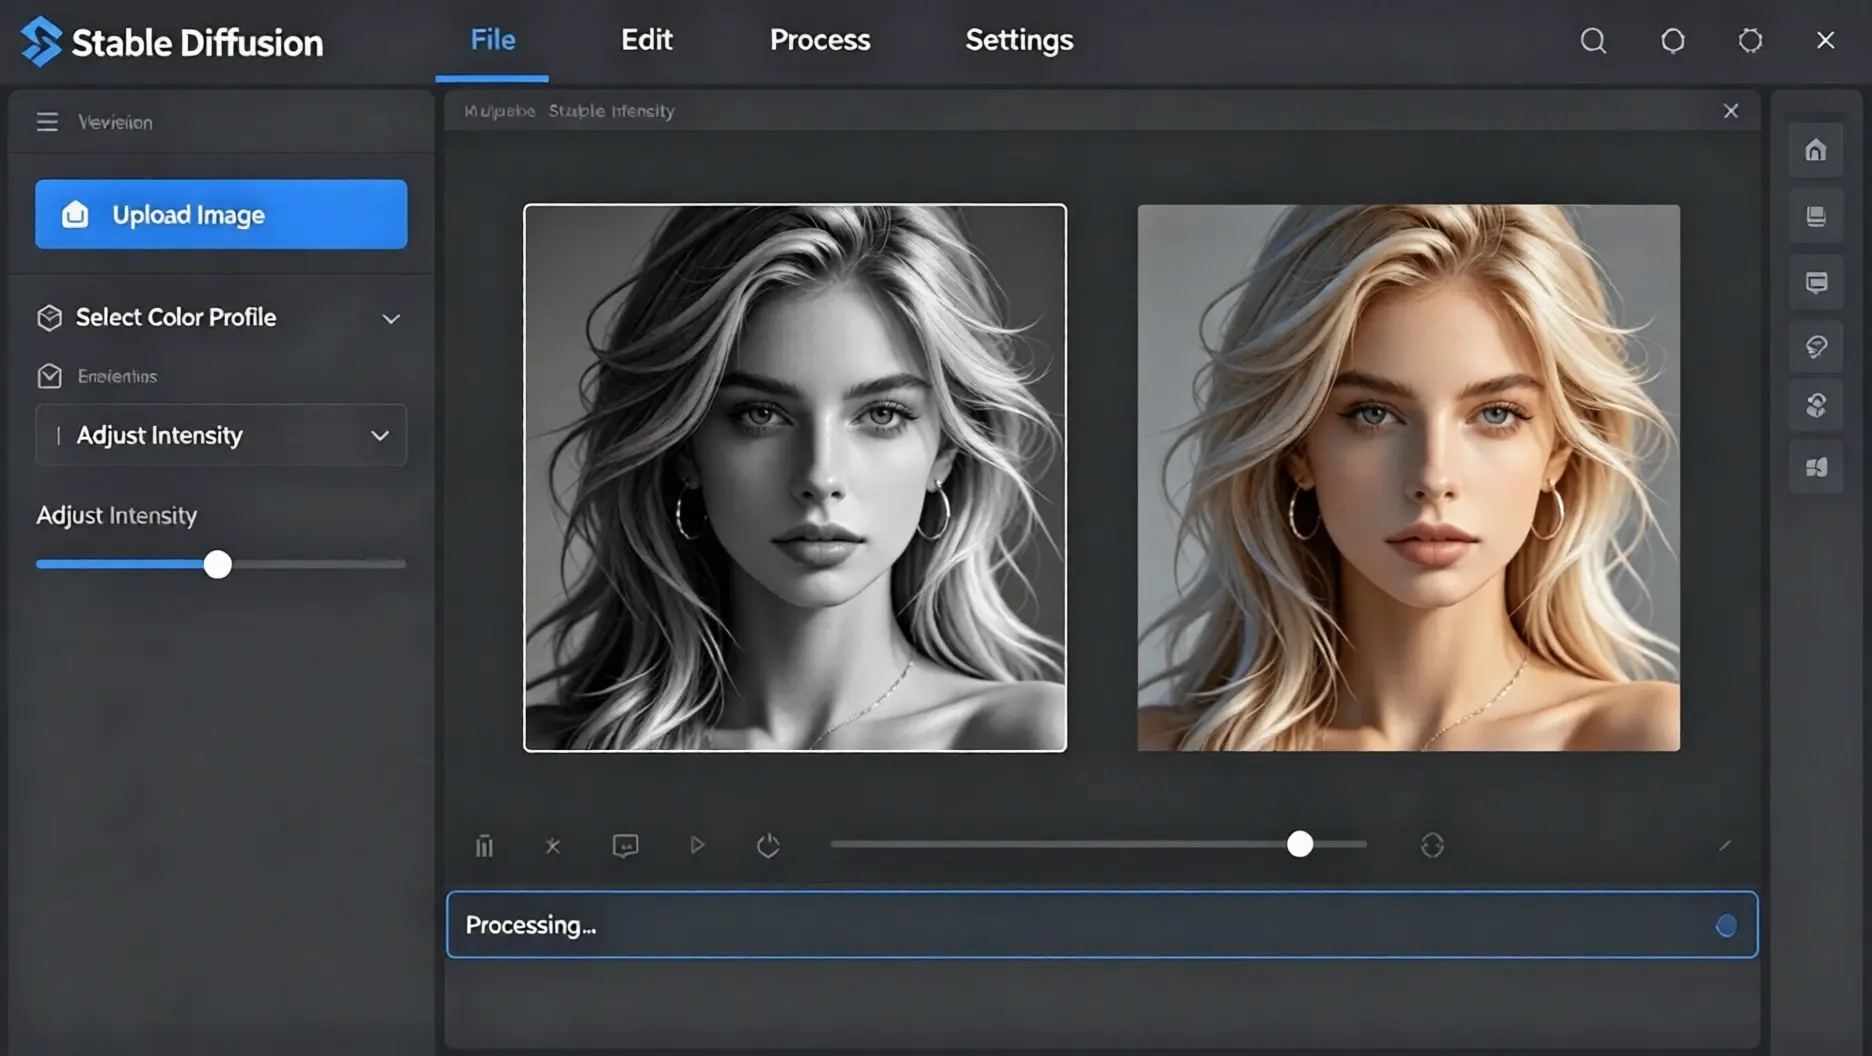
This is the "Gold Standard" for 2026. Platforms like EzEnhancer.ai use Semantic Segmentation—a process where the AI understands exactly what every pixel represents in 3D space.
The Workflow:
- Intelligent Segmentation: Upon upload, the AI "segments" the photo. It doesn't just see gray; it identifies "human skin," "silk fabric," and "outdoor sunlight."
- Texture Synthesis: Unlike basic tools that just "dye" the gray pixels, EzEnhancer reconstructs them. If the original photo is blurry, the AI synthesizes realistic micro-textures (like pores or fabric weaves) to match the color.
- Automated Color Harmony: The system applies a sophisticated color palette that respects the lighting of the original scene, automatically adjusting for "color temperature" so the person looks like they are actually in the environment.
- High-Resolution Upscaling: In the final pass, it uses a Super-Resolution algorithm to output a 4K or 8K file that is sharper than the original scan. If your original photo is extremely pixelated, using a dedicated upscaler first can lead to even better colorization results. Check out our guide on the Top 5 Remini Alternatives: Best Free AI Image Upscaler Tools to find the perfect tool for pre-restoration.
Why it’s valuable:
It provides the highest "Success-to-Effort" ratio. You get professional, high-resolution results in seconds that would take a Photoshop expert all day to achieve.
Method 3: Open Source Algorithms (DeOldify / Stable Diffusion)
The Process: Generative Adversarial Networks (GANs) & Prompting
This method uses "Pre-trained Models" that have looked at millions of pairs of color and black-and-white photos to learn the "logic" of color.
The Workflow:
- Model Loading: You run a script (like DeOldify) on a local GPU. The AI breaks the image down into a mathematical grid.
- Feature Recognition: The AI identifies objects (e.g., "This shape is a car, cars in 1950 were often cherry red or navy blue").
- Generative Inference: In tools like Stable Diffusion, you can use ControlNet to "guide" the AI. You might type a prompt: "1920s street, sunset lighting, sepia tone" to help the AI choose a specific mood.
Why it’s valuable:
It offers a "playground" for tech-savvy users who want to experiment with different AI models without paying for a subscription.
Which Method Should You Choose?
- Choose Photoshop if you are a professional historian or archivist.
- Choose Open Source if you are a developer who loves tweaking code.
- Choose EzEnhancer.ai if you want your family photos to look stunning, sharp, and naturally vibrant with zero technical hassle.
How to Avoid the "Fake AI" Look in Practice
If you want your old photos to look like they were shot yesterday, you need a workflow that handles both color accuracy and microscopic texture.
While you could spend hours doing this manually in Photoshop, we built EzEnhancer.ai specifically to solve the common pitfalls of basic AI tools in just a few seconds. Here is how it addresses the issues we mentioned above:
Fixing the "Waxy Skin" Trap
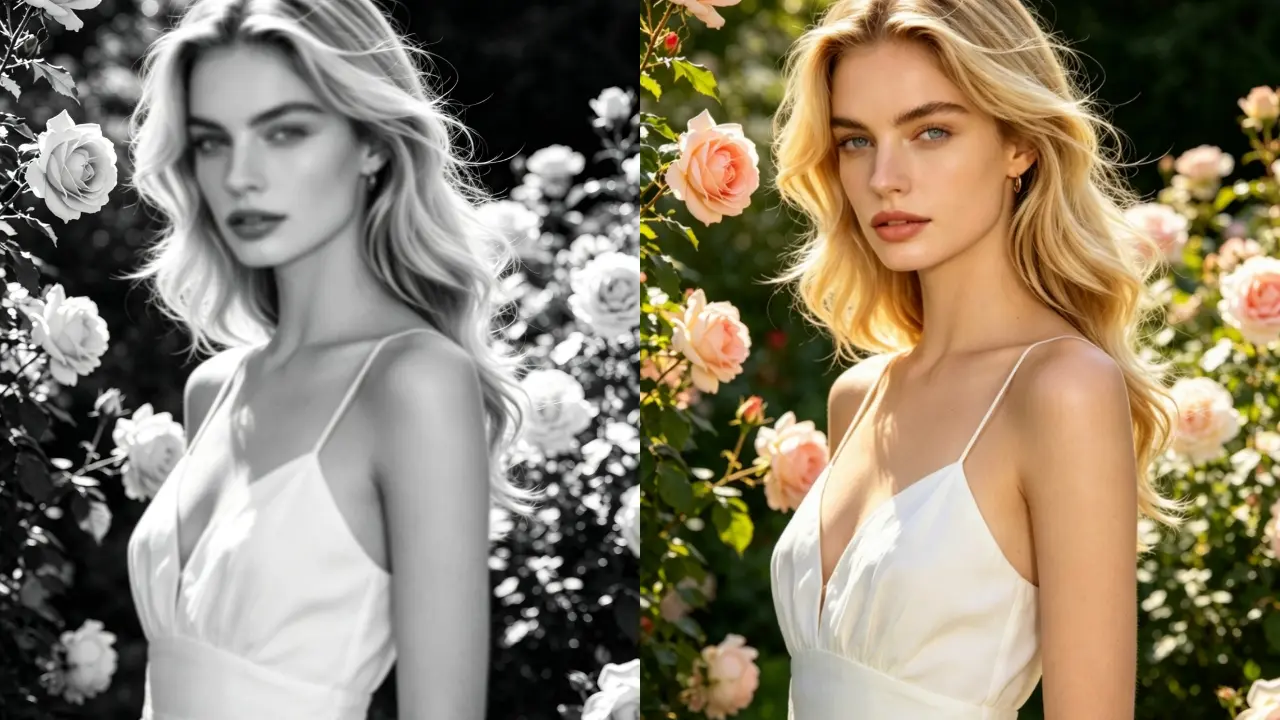
Instead of applying a flat color wash, EzEnhancer analyzes ambient light and melanin depth. Whether you are restoring a 1920s portrait from Southeast Asia or a mid-century photo from West Africa, the engine renders photorealistic, multi-ethnic skin tones that look organic—never whitewashed or plastic.
Preventing Color Bleeding
Through smart edge detection, the AI maps the exact boundaries between complex shapes (like hair against a bright sky), keeping colors strictly where they belong.
Restoring Lost Details (Texture Synthesis)
To ensure the photo doesn't look like a modern video game, the system doesn't just colorize—it reconstructs. It automatically adds micro-textures like skin pores and fabric weaves back into blurry areas, paired with a Super-Resolution pass to output a crisp 4K result.
Zero Learning Curve
You don't need a developer background or Photoshop skills. Just upload the scan, and the AI applies historically natural color harmony automatically.
Final Thoughts: Reclaim Your History
Stop settling for "decent" results that look like cartoons. Whether you want to colorize photo online free for social media or create a high-quality print for a family reunion, your memories deserve the best technology.
Ready to see your history in living color? Try EzEenhancer.ai Photo Colorizer Now and bring your past back to life.
Frequently Asked Questions About AI Photo Colorizer
Q: Can I colorize highly damaged, torn, or scratched photos?
A: Yes. Unlike basic tools, EzEenhancer.ai combines colorization with advanced scratch removal. It uses "Inpainting" technology to fill in missing pixels and remove dust while simultaneously applying color, giving you a clean, restored result.
Q: Does the colorization process reduce the photo’s original quality?
A: Quite the opposite. While most free photo colorizers compress your files, EzEnhancer utilizes an 4K Super-Resolution pass. This means your colorized output is often 4x sharper than your original black-and-white scan.
Q: Is it possible to colorize a photo without it looking "AI-generated"?
A: The "fake" look comes from flat colors. By using Texture Synthesis, our AI photo colorizer adds microscopic details like skin pores and fabric weaves back into the image. This ensures your photo maintains an "organic" feel that is consistent with modern photography standards.