Restore Old Photos with AI: Complete Guide
Photographs are windows into our past—capturing moments with loved ones, milestone celebrations, and cherished memories. But over time, these precious images fade, develop scratches, or become damaged. The good news? Modern AI technology makes restoration easier than ever before.
In this comprehensive guide, we'll walk you through the complete process of restoring old photos using EzEnhancer's AI-powered tools. Whether you're dealing with faded family portraits, water-damaged photographs, or blurry vintage images, you'll learn exactly how to bring these memories back to life.
Why Old Photos Fade and Deteriorate
Before diving into restoration techniques, it's helpful to understand why old photos degrade:

Common Photo Damage Issues:
- Fading - Color loss due to light exposure and chemical degradation
- Scratches and Creases - Physical damage from handling and storage
- Dust and Spots - Accumulated particles over decades
- Blur and Softness - Loss of sharpness from age or poor original quality
- Water Damage - Stains and discoloration from moisture exposure
- Mold and Mildew - Growth from improper storage conditions
- Color Shifts - Yellowing or color cast changes over time
The challenge with traditional restoration was that it required expensive professional services or complex software skills. Today, AI-powered tools democratize this process, making professional-quality restoration accessible to everyone.
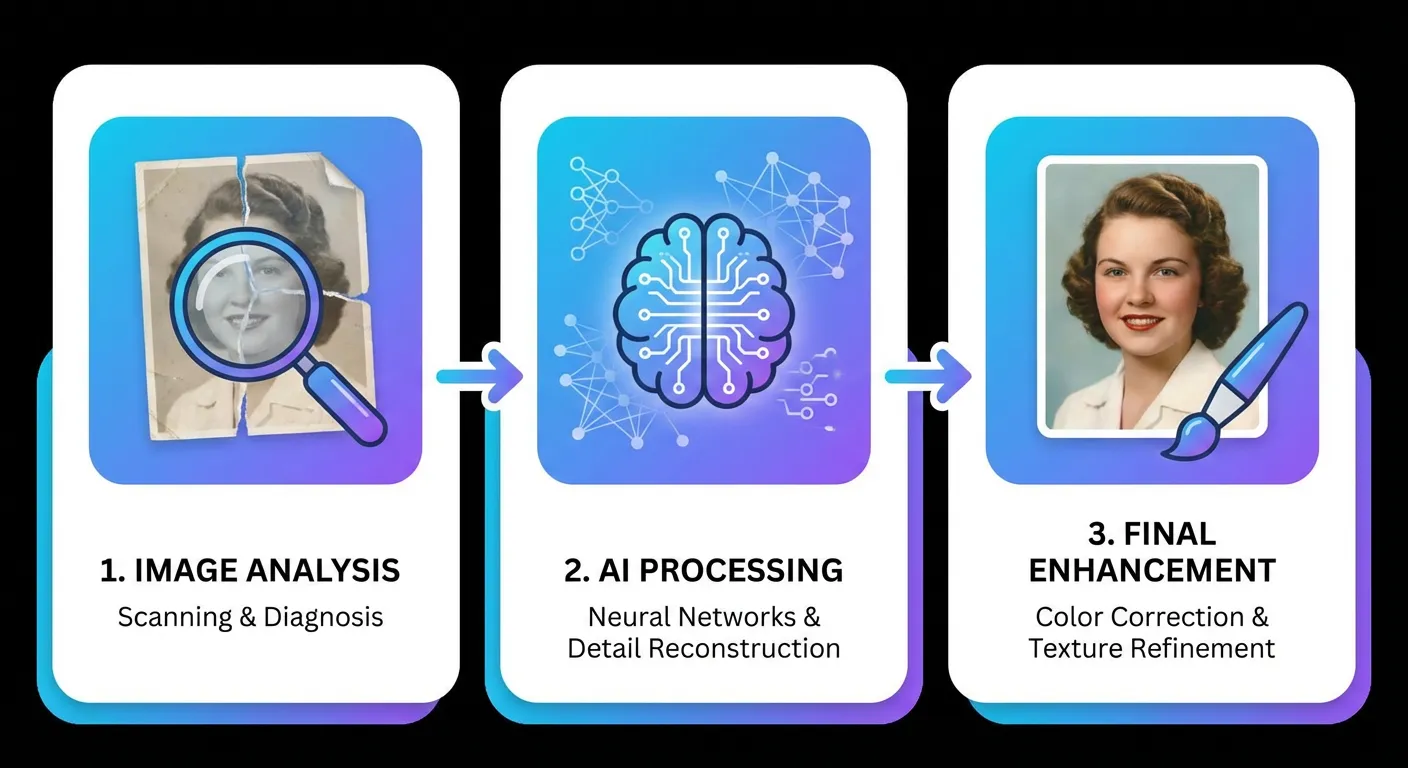
The AI Photo Restoration Process
Modern AI restoration works by analyzing damaged images and intelligently reconstructing missing or degraded information. Here's how it works:
Step 1: Image Analysis The AI examines your photo to identify:
- Areas of damage or fading
- Original color information
- Structural elements and patterns
- Quality degradation patterns
Step 2: Intelligent Reconstruction Using deep learning algorithms trained on millions of photos, the AI:
- Restores faded colors to their original vibrancy
- Removes scratches and dust spots
- Sharpens blurry areas
- Corrects color casts and yellowing
Step 3: Quality Enhancement The final step applies:
- Detail enhancement for clarity
- Noise reduction for cleaner results
- Color optimization for natural appearance
- Resolution improvement where possible
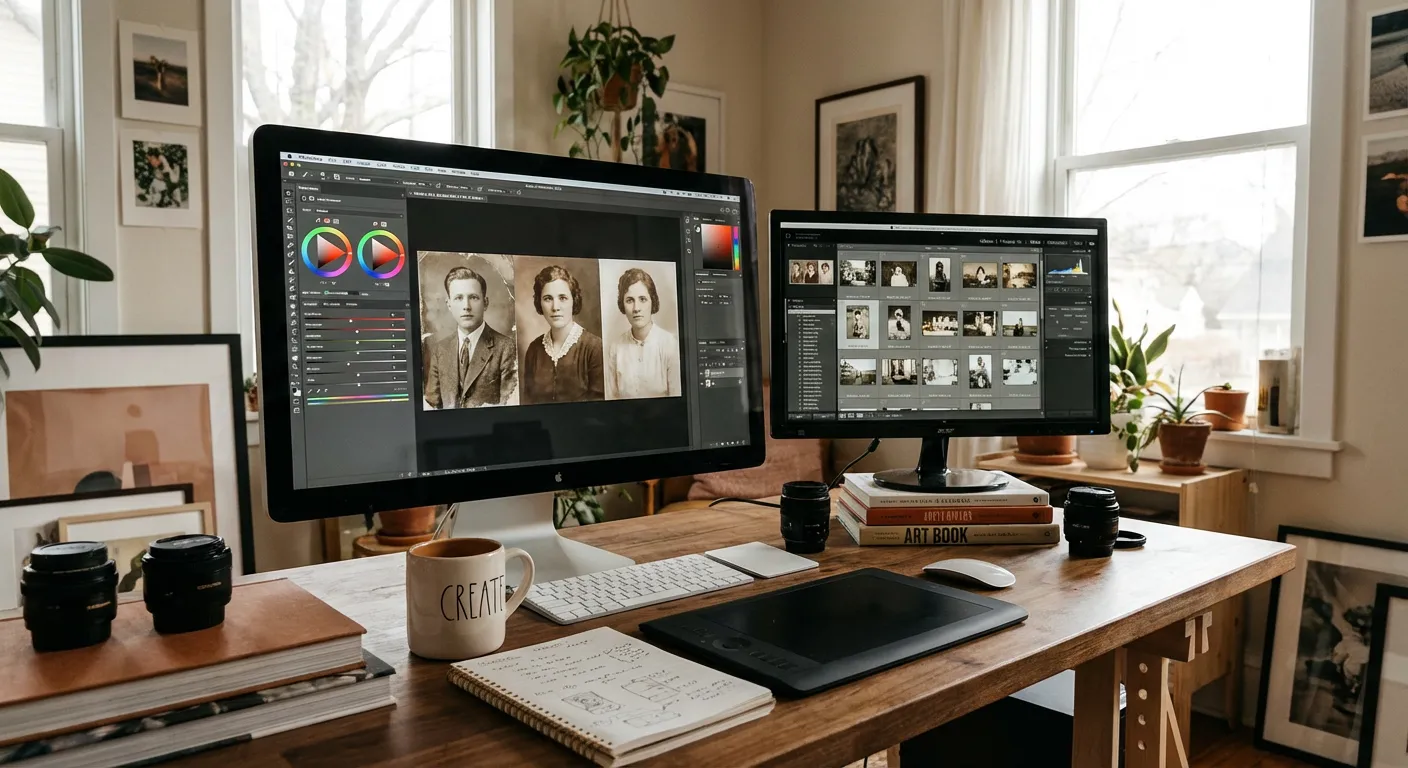
Step-by-Step Guide: Restoring Your Old Photos
Now let's walk through the practical process of restoring your precious photos using EzEnhancer's suite of AI tools.
Step 1: Prepare Your Photo

Digitize Your Physical Photo If you have a physical photograph:
- Use a smartphone camera or scanner to digitize it
- Ensure good lighting to capture all details
- Avoid shadows and glare
- Save in JPG, PNG, or WebP format
- Maximum file size: 18MB for optimal processing
Organize Your Photos
- Gather all photos you want to restore
- Create a backup of originals (important!)
- Note any specific damage areas you want to address
Step 2: Use AI Image Enhancement

Restore Color and Overall Quality
The AI Image Enhancer is ideal for faded photos and images with color issues. Here's how to use it:
- Visit EzEnhancer's AI Image Enhancer
- Go to the enhancement tool
- Click "Upload Photo" or drag and drop your image
- The tool accepts photos from any camera or device
- Let AI Analyze Your Photo
- The AI automatically analyzes your image
- It identifies fading, color shifts, and quality issues
- Processing takes just 5-15 seconds
- Review the Results
- Compare before and after versions
- The enhancement restores color vibrancy
- Overall image quality improves
- Download Your Enhanced Photo
- Save the high-quality result
- No watermarks on your download
- Full resolution is preserved
When to Use: Best for faded photos, photos with color casts or yellowing, and images that have lost color vibrancy over time. This step is crucial for severely faded photos before moving to other restoration tools.
Pro Tip: For high-clarity photos that don't have significant fading, you may skip this step and go directly to sharpening and upscaling for better results.
Step 3: Sharpen Blurry or Soft Areas
Enhance Clarity and Detail
The Image Sharpener tool is particularly effective for high-clarity photos and images that need detail enhancement. Here's how to use it:
- Use the Image Sharpener Tool
- Upload your enhanced photo from Step 2
- The AI analyzes the image structure and details
- It intelligently enhances clarity and sharpness
- Watch Real-Time Processing
- See your photo transform in real-time
- The AI preserves natural appearance
- No artificial or over-processed look
- Compare and Download
- View before/after comparison
- Download your sharpened photo
- The result features enhanced details and clarity
When to Use: Perfect for high-resolution photos, family portraits, group photos, or any image where you want to recover lost facial details and enhance overall sharpness. Works especially well on photos that are already relatively clear but need detail enhancement.
Step 4: Upscale for Better Resolution
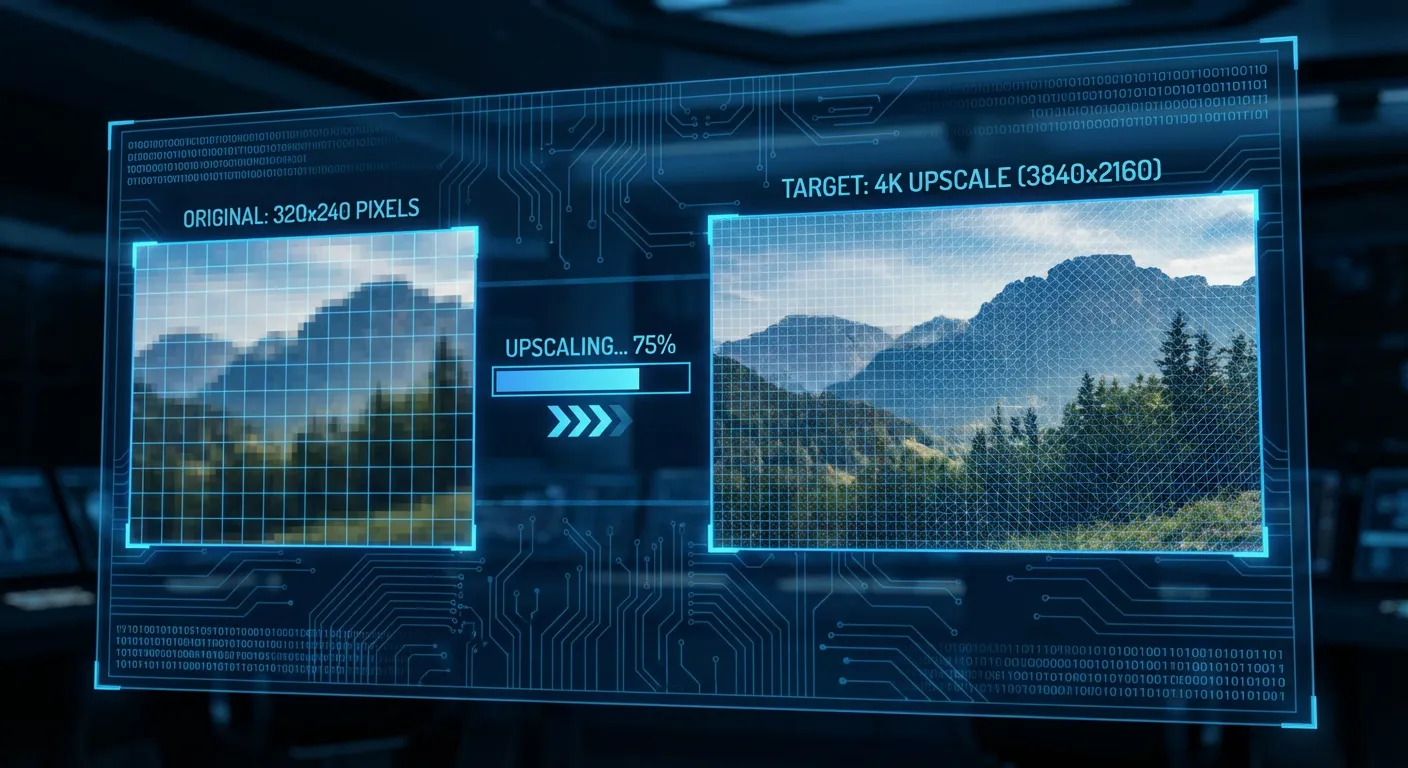
Increase Resolution Without Quality Loss
If your old photo is low-resolution, upscaling can dramatically improve it:
- Use the AI Image Upscaler
- Upload your sharpened photo
- The tool uses super-resolution technology
- It intelligently increases resolution
- Upscale to Higher Resolution
- Enlarge low-resolution images
- Maintain sharpness and clarity
- Perfect for preparing photos for printing
- Preserve Quality
- Our algorithm maintains natural appearance
- No pixelation or artificial artifacts
- Professional-quality results
- Download Your Upscaled Photo
- Get your photo at higher resolution
- Ready for printing or framing
- Suitable for large format displays
Pro Tip: Upscaling works best after sharpening. The combination of sharpening + upscaling gives you the best results for old, low-resolution photos.
Step 5: Final Quality Check
Ensure Professional Results
Before finalizing your restoration:
- Compare All Versions
- Review original and processed versions
- Check for any artifacts or unnatural areas
- Verify colors look natural and vibrant
- Make Adjustments if Needed
- If results aren't perfect, try re-processing with different tools
- Experiment with different tool combinations
- EzEnhancer's free tier allows multiple attempts
- Save Your Final Result
- Download the best version
- Consider saving at multiple resolutions
- Back up your restored photo
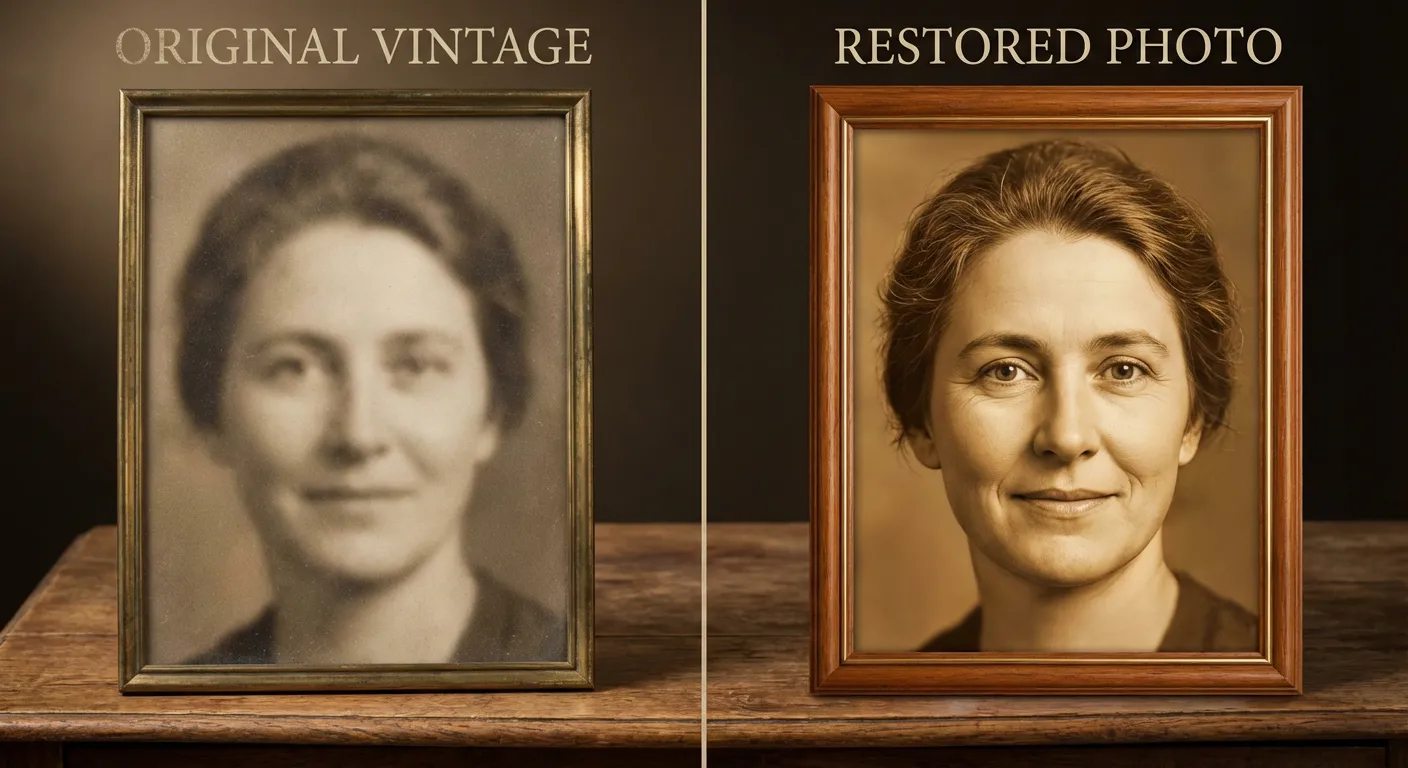
Real-World Restoration Examples
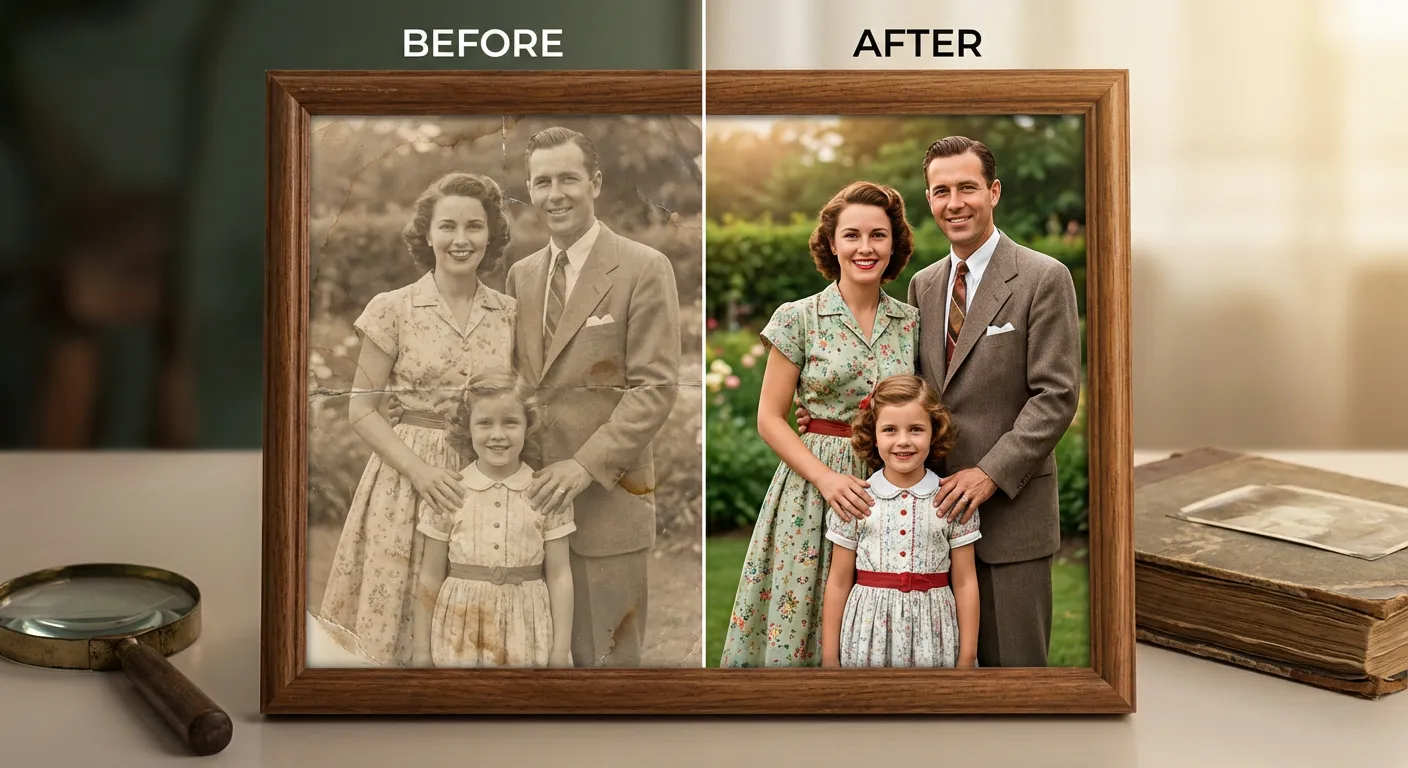
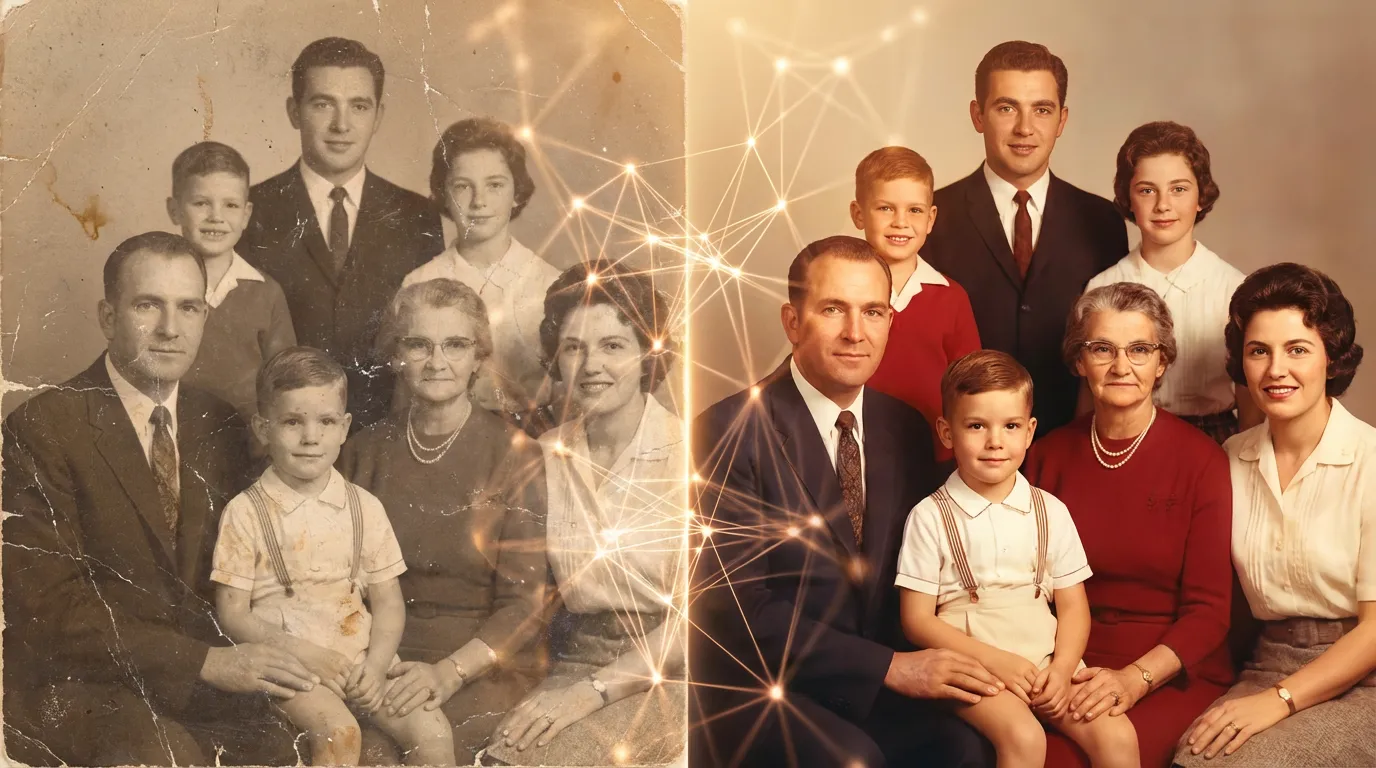
Example 1: Faded Family Portrait
Original Issue: A 30-year-old family portrait with severe fading, color shift to yellow, and reduced clarity.
Restoration Process:
- AI Enhancement - Restored original colors, removed yellow cast
- Image Sharpening - Enhanced details and clarity
- Result - Vibrant, clear family portrait ready for framing
Outcome: The restored photo now shows natural skin tones, clear facial features, and the warmth of the original moment.
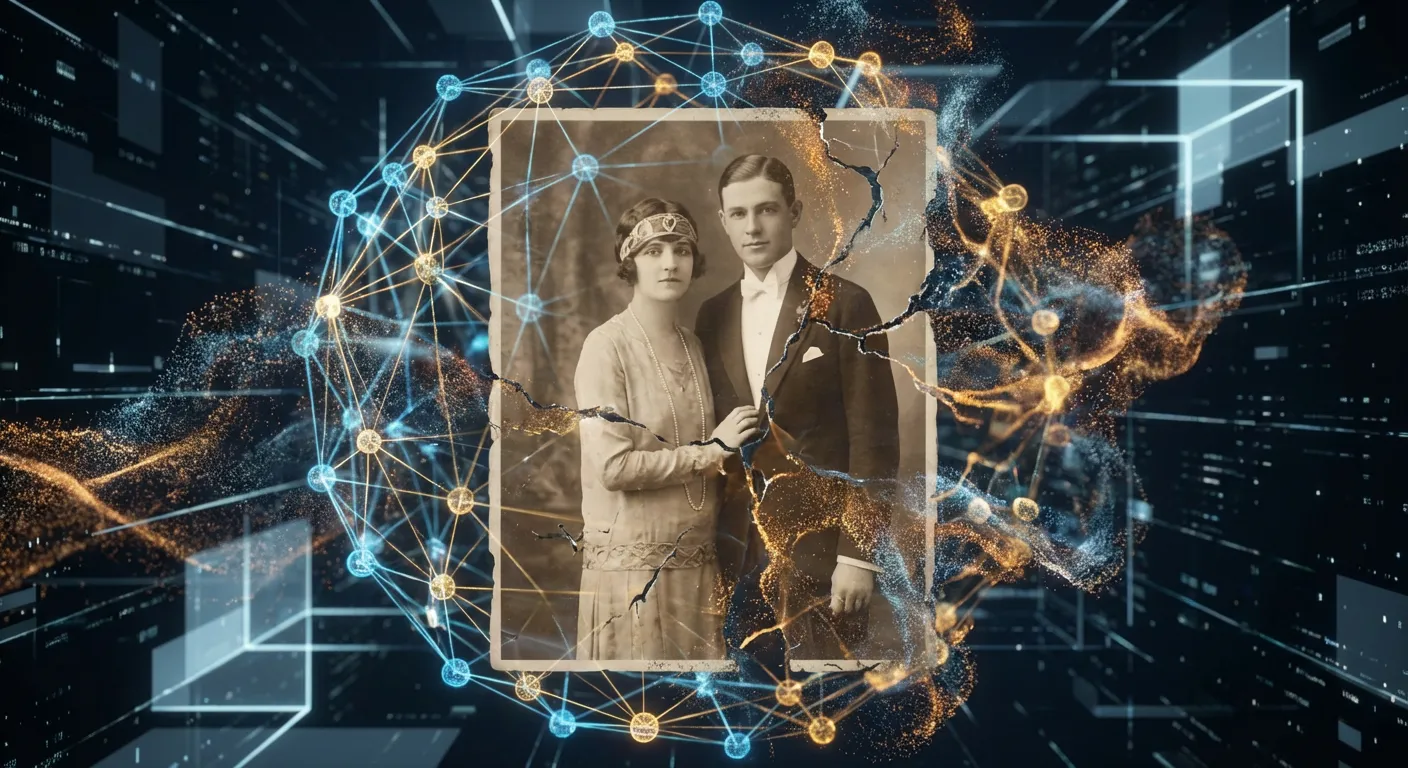
Example 2: Water-Damaged Vintage Photo
Original Issue: A 1970s photo with water stains, fading, and reduced clarity.
Restoration Process:
- AI Enhancement - Removed stains, restored color vibrancy
- Image Sharpening - Enhanced details and clarity
- AI Upscaler - Increased resolution for better quality
- Result - Professional-quality restoration of a damaged memory
Outcome: The photo is now suitable for printing, sharing with family, or creating a digital archive.
Example 3: Low-Resolution Scanned Photo
Original Issue: A poorly scanned old photo with low resolution and reduced clarity.
Restoration Process:
- Image Sharpening - Enhanced details and clarity
- AI Upscaler - Increased resolution from 800x600 to 2400x1800
- Result - High-resolution photo ready for large prints
Outcome: The restored photo can now be printed at 8x10 or larger without quality loss.
Advanced Tips for Professional Results
Batch Processing Multiple Photos
If you have many old photos to restore:
- Organize Your Photos
- Group similar damage types together
- Start with the most important photos
- Create a restoration workflow
- Use Batch Processing
- Upload multiple photos at once
- EzEnhancer processes them simultaneously
- Save time on large restoration projects
- Maintain Consistency
- Use the same settings for similar photos
- Ensures consistent results across your collection
- Creates a cohesive restored photo archive
Choosing the Right Tool for Your Photo
Use AI Image Enhancer when:
- Photo is faded or has lost color vibrancy
- Photo has color casts or yellowing
- Overall color quality needs restoration
- Photo has been stored in poor conditions
Use Image Sharpener when:
- Photo is high-clarity but needs detail enhancement
- You want to recover fine details and textures
- Photo needs improved sharpness and definition
- You're preparing photos for printing or professional use
Use AI Image Upscaler when:
- Photo is low-resolution
- You want to print at larger sizes
- You need higher quality for digital sharing
- Photo needs to be enlarged without quality loss
Use Combination Approach when:
- Photo has multiple issues (fading + low resolution)
- You want professional-quality restoration
- Photo is very old with both color and clarity issues
- Best workflow: Enhancement → Sharpening → Upscaling
Common Mistakes to Avoid
- Over-Processing
- Don't apply enhancement to already high-clarity photos
- Can introduce unwanted artifacts
- Use sharpening and upscaling for high-clarity images instead
- Wrong Tool Selection
- Don't use enhancement on photos that mainly need sharpening
- High-clarity photos benefit more from sharpening than enhancement
- Match the tool to your photo's specific issues
- Ignoring Backups
- Always keep original files
- Save each restoration step
- Allows you to try different approaches
- Expecting Miracles
- Severely damaged photos have limits
- AI works best on photos with recoverable information
- Some damage is permanent
Preserving Your Restored Photos
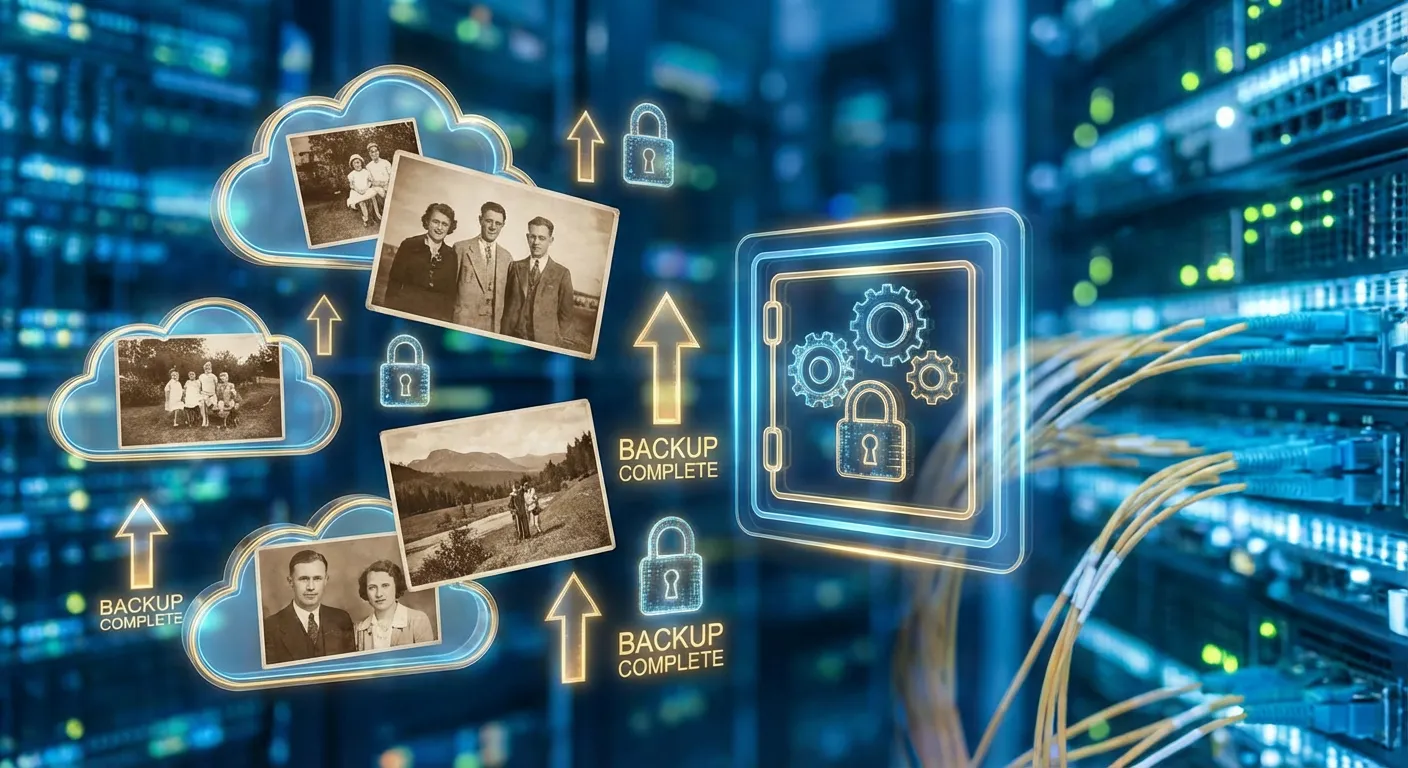
Once you've restored your precious memories, protect them:
Digital Preservation:
- Save in multiple formats (JPG, PNG)
- Store on cloud services (Google Drive, Dropbox)
- Create local backups on external drives
- Consider archival-quality storage
Physical Preservation:
- Print high-quality copies
- Use archival-quality paper and ink
- Store in acid-free albums
- Keep in cool, dry conditions
Sharing with Family:
- Create a digital photo album
- Share restored photos with relatives
- Document the stories behind photos
- Preserve family history for future generations
Frequently Asked Questions
Q: How long does photo restoration take? A: Most photos are processed in 5-15 seconds. Batch processing multiple photos takes proportionally longer but is still very fast.
Q: Will restoration damage my original photo? A: No. EzEnhancer works on digital copies. Your original photo remains untouched. Always keep backups of originals.
Q: Can severely damaged photos be restored? A: AI restoration works best on photos with recoverable information. Severely damaged photos may have limitations, but often surprising results are possible.
Q: What file formats are supported? A: EzEnhancer accepts JPG, PNG, and WebP formats. Maximum file size is 18MB for optimal processing.
Q: Is restoration really free? A: Yes! EzEnhancer offers a generous free daily quota. No registration required, no watermarks on downloads, and full access to all restoration tools.
Q: Can I restore color to black and white photos? A: Yes! EzEnhancer's Photo Restoration and AI Image Enhancement tools automatically apply colorization and color enhancement to black and white photos. When you upload a black and white photo, the AI intelligently adds natural colors based on the image content and context. For best results, use the Photo Restoration tool which is specifically designed to handle black and white photos with automatic colorization.
Q: How do I get the best results? A: The best approach depends on your photo's condition. For faded photos: start with AI Enhancement, then Sharpening, then Upscaling if needed. For high-clarity photos: use Sharpening and Upscaling directly. For low-resolution photos: try AI Enhancement and Unblur Image first to improve clarity, then use Sharpening and Upscaling for the best results.
Conclusion: Bringing Memories Back to Life
Old photographs are irreplaceable treasures. They connect us to our past, preserve family history, and capture moments that can never be recreated. With AI-powered restoration tools, you no longer need expensive professional services or complex software skills to restore these precious memories.
EzEnhancer makes photo restoration accessible to everyone. Whether you're restoring a single cherished family portrait or digitizing an entire photo collection, our AI tools deliver professional-quality results in minutes.
Ready to restore your precious memories?
Start with EzEnhancer today:
- Visit our AI Image Enhancer tool
- Upload your old photo
- Watch as AI brings your memories back to life
- Download your restored photo—completely free, no registration needed
Your family history deserves to be preserved in its best light. Let AI help you restore those precious moments for future generations to cherish.
Related Tools & Resources
- AI Image Enhancer - Restore faded colors and improve overall quality
- Image Sharpener - Recover lost details and clarity
- AI Image Upscaler - Increase resolution without quality loss
- Unblur Image Tool - Remove blur from old photos
Have a restoration success story? Share your before and after photos with us on social media using #EzEnhancerRestoration. We'd love to see your precious memories restored!